

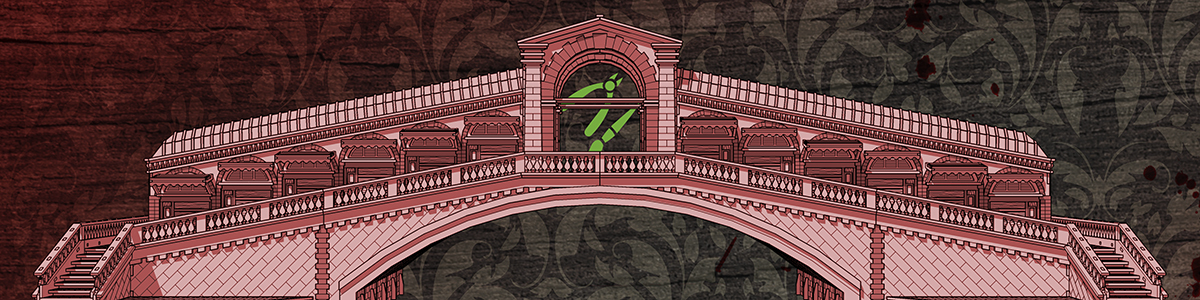
The Rialto Bridge has returned!
Recently on the Monsters Behind the Masks podcast I got asked about progress on the Rialto Bridge.
For those who haven’t seen anything about this before, check here and here.
As a little passion project in my own time, I’ve been trying to make a scale version of the famous Rialto Bridge for use in games of Carnevale. I say “in” games of Carnevale, but the bridge is an entire board in itself! Standing at four feet long, it truly is an entire game to get from one side to the other.
Well, last time we left off I had assembled the shops and archways of the bridge. After that it was time to tackle the main construction.
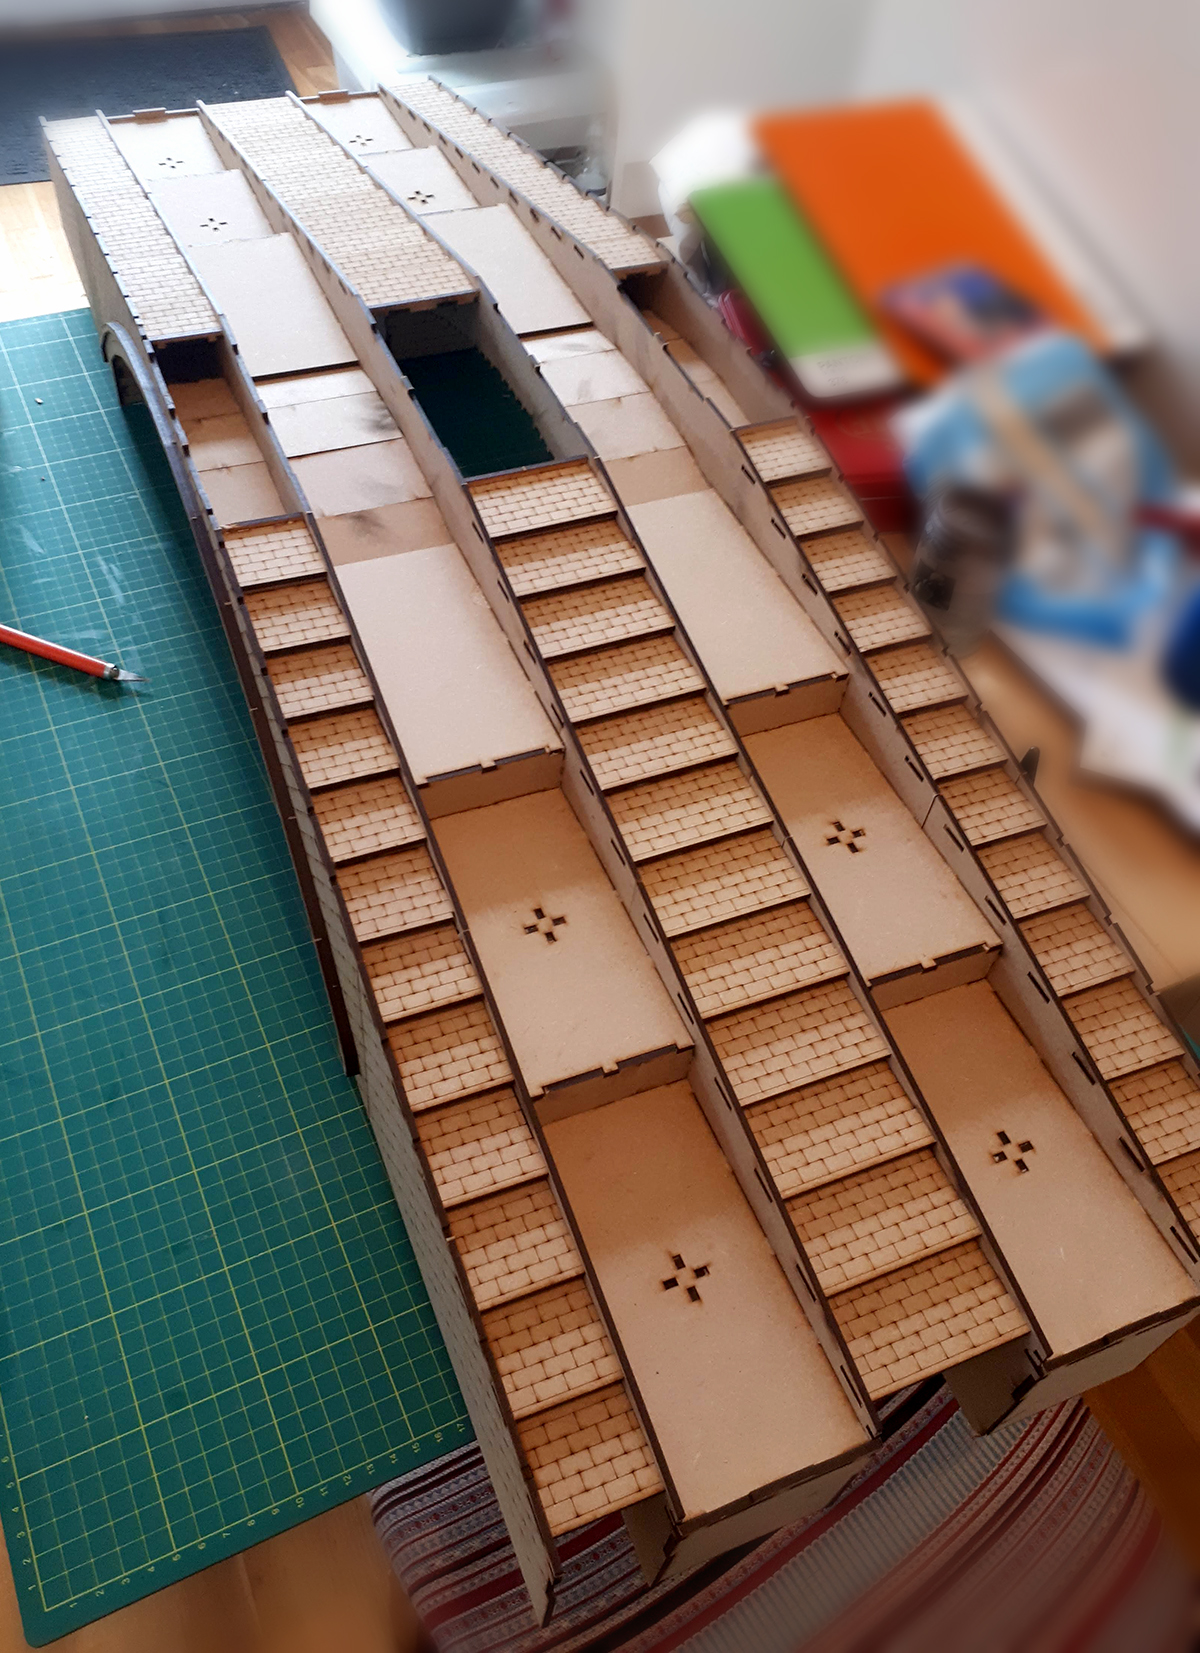
The Rialto Bridge model is made over a hidden frame. There are four main support beams which will be hidden away at the end. Unfortunately our lasers aren’t quite big enough to cut the whole thing in one go, so each beam was split into three. There are a couple of spacers that these long beams slot into, in order to support them.
These beams are what the shops and archways sit into. You can see here that they slot neatly into the centre. In theory, when the model is complete, the buildings will be removable for ease of transport.
The next step was where the trouble started.
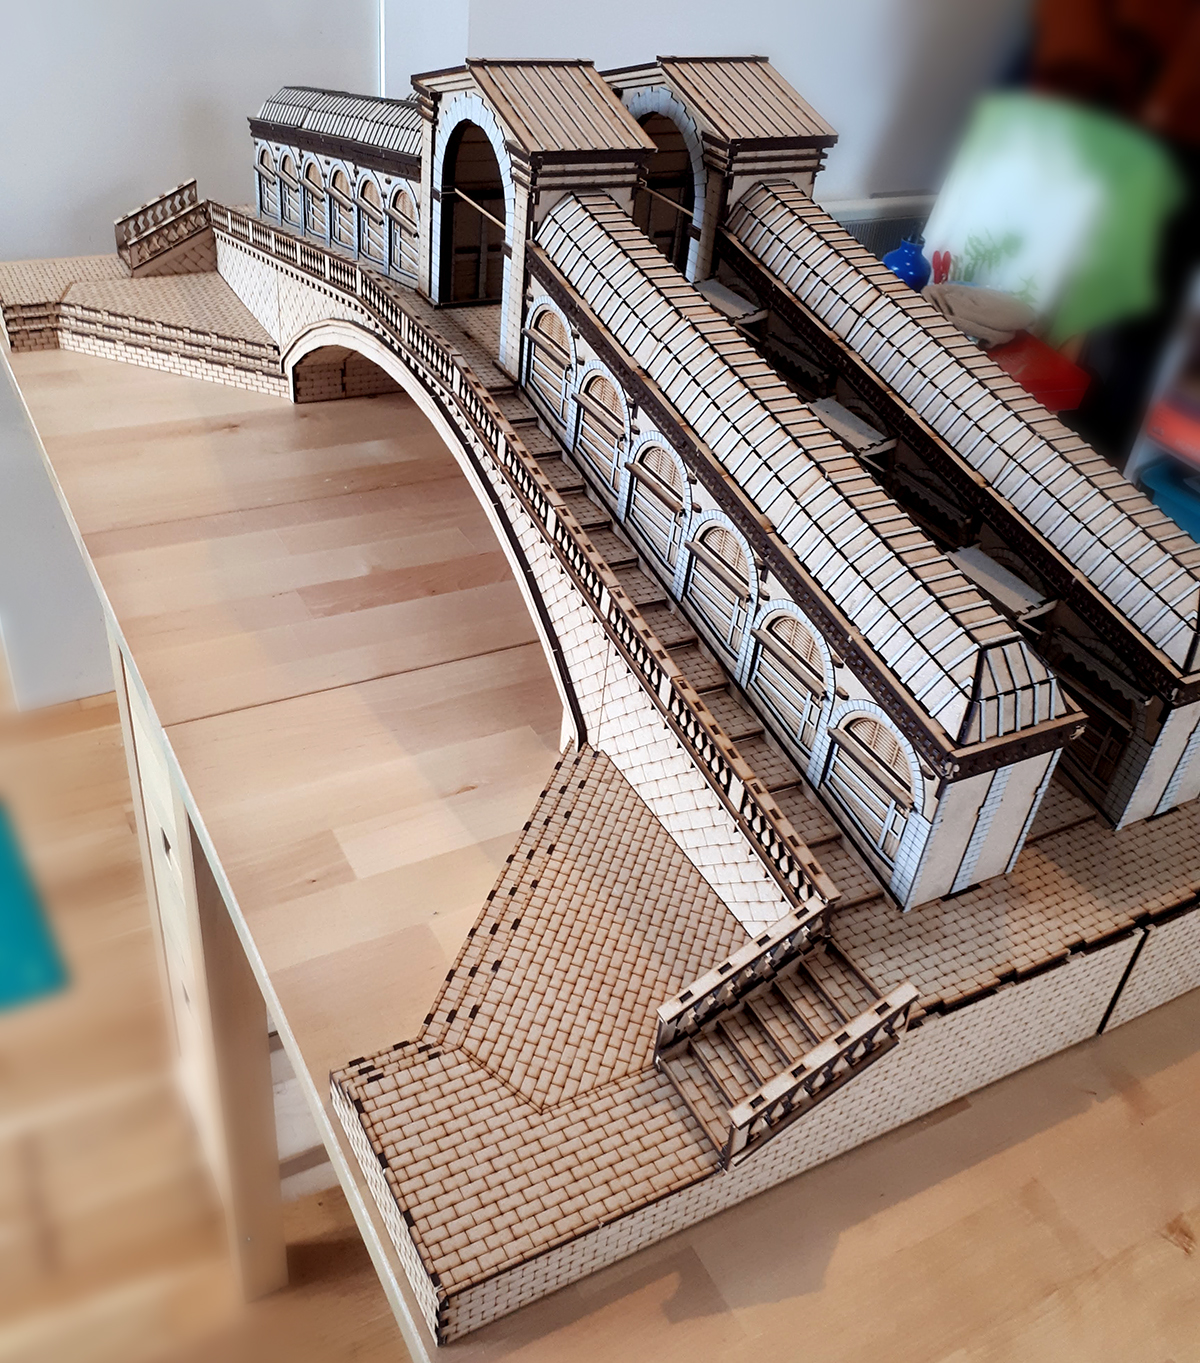
The outer walls on the bridge were attached, connecting each step to the inner and outer of the bridge. The buildings weren’t on top for the assembly, but I put them back for the picture!
Now, anyone that’s made MDF kits before will see a problem here. Each of those steps has to slot into the inner wall and the outer wall at the same time. That’s 24 steps to line up at once, which is a real pain! With some minor laser errors it was an annoyance, but I got through it and attached the decorative archway on the front. Still a lot of decorations to go.
And now a bottom view!
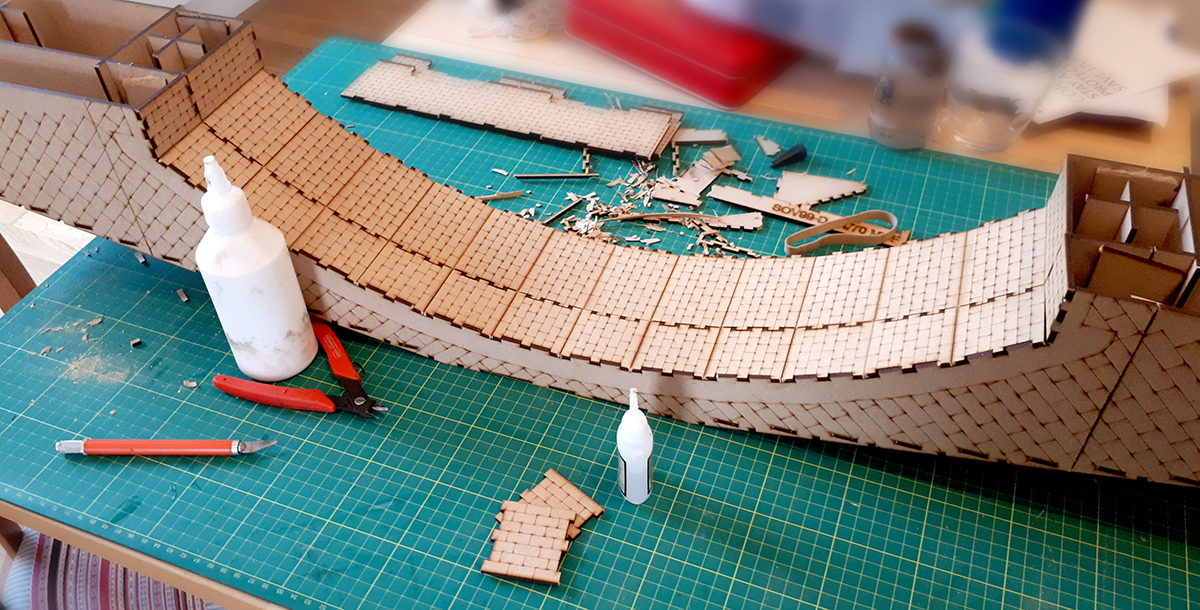
The next step was to add the brickwork underneath the bridge. Because it’s a curve, it has to be split into several individual straight sections for the MDF to sit into. 14 sections to be exact! Because of the supporting beams, each of those 14 panels has to be divided up, so there’s actually five rows of them. That’s 70 panels total!
Unfortunately there were some significant laser errors on some of these pieces. The most notable was on the long archway. Some of the tabs to join the panels onto were warped, which meant that almost every panel had to be cut or sanded down a little to fit. I think that luckily this would just be made a little easier with a slightly better cut, but that’s the luck of the draw! It wasn’t too bad to fix it up.
In this picture, you can also see some of the support frames underneath the bridge. These bits are entirely hidden, so I was free to add some pieces to help spread out the weight. The cross pieces are essentially just big scissor joints that slot into the floor where the shops sit. They… didn’t work very well.
With the two sides put together separately, it was now time to add them together. Again, you can see where those scissor joint supports slot in.
As with the sides, the centre pressed together by relying on getting all the stairs to line up at the same time. Luckily they fit very well. Unfortunately that needed 24 steps to line up on two massive pieces, so it took a little jiggling, some extra glue, and a few swears. Sometimes you just have to give the kit a few stern words to make it work.
This picture shows a great angle of how the internal supports work. Each step is a single shop, and they all slot together with the archways in the centre. This looks really neat and great on paper. In real life though, it has a key issue: lots of joins. The more joins you have, the weaker the construction is overall. Those three steps for the shops to go on ended up a lot weaker than I expected, so I’ll revisit that in the next design.
All that was left to do was to add the railings (they were awful to assemble), put together the street and stair sections to go on the end, and…

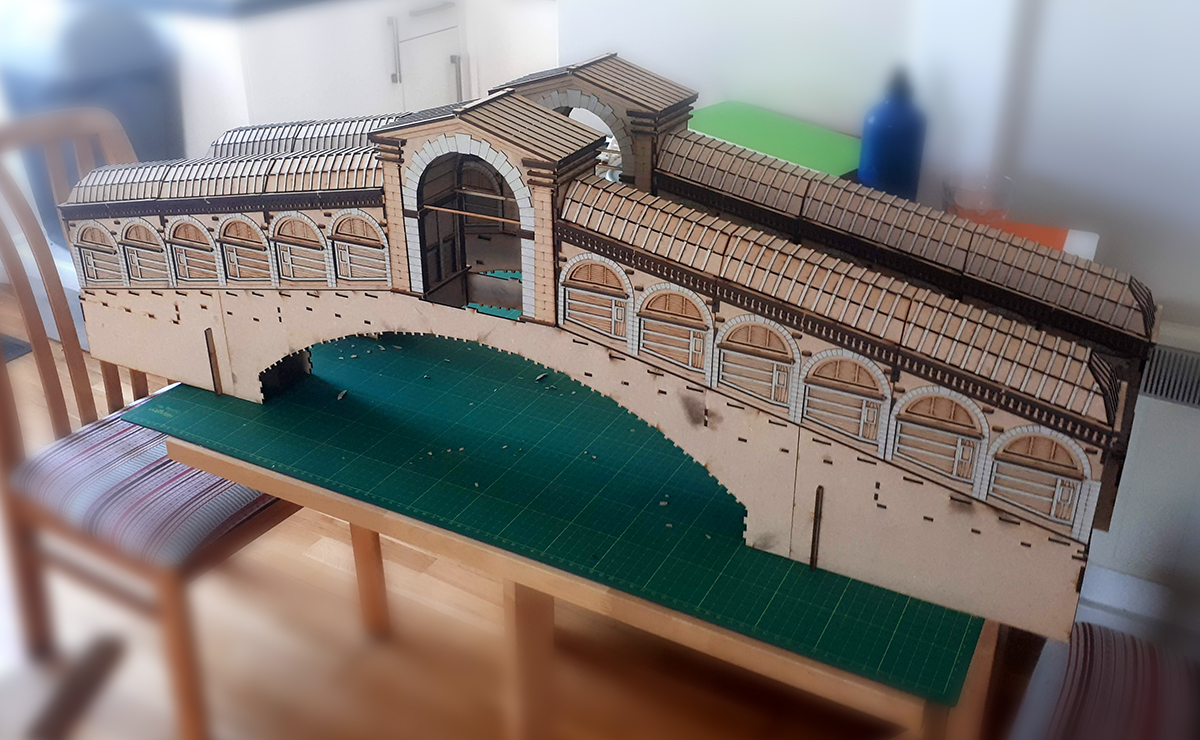
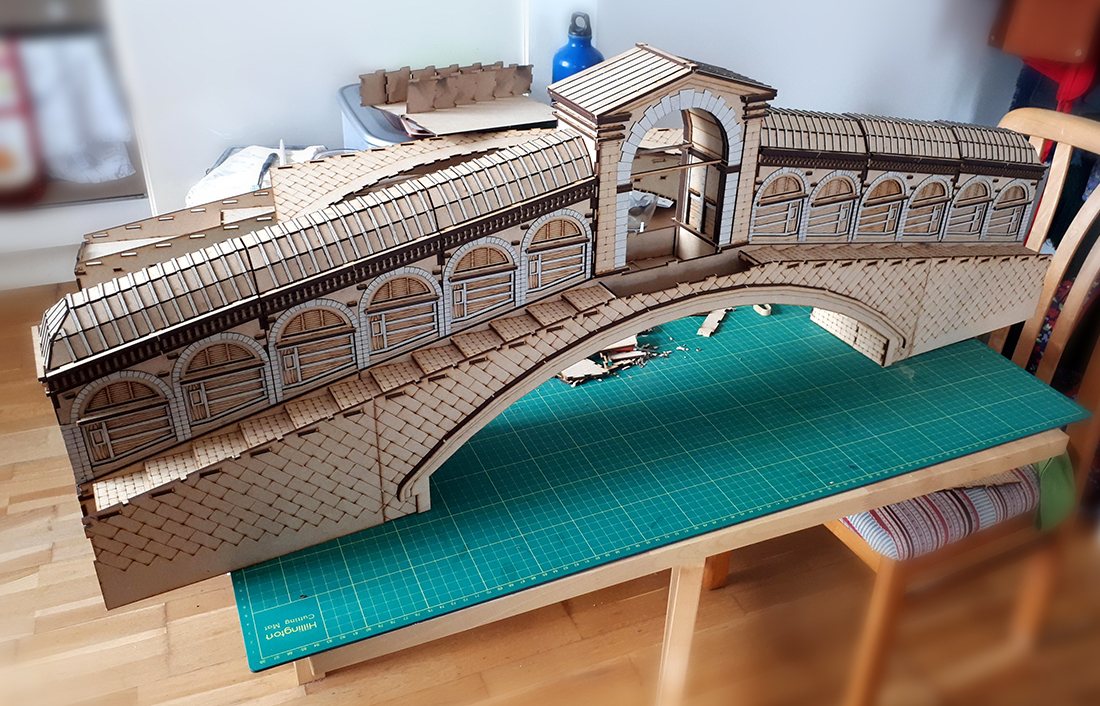
Voila!
The Rialto Bridge is complete!
From this angle it looks great, but the construction has quite a lot of problems underneath the surface.
The biggest problem is visible here. The top level of the bridge (where the lowest stairs connect) was attached to the main assembly, with the street sections and their walls connecting to that. Unfortunately with a kit this size there’s an issue of extra space.
When you glue the kits together, there’s often a little extra space between the pieces. Fractions of a millimetre where the glue goes, or where two pieces haven’t matched up perfectly. And then there’s the issue of laser errors. Particularly on such large pieces, a single millimetre on one side of the cut turns into multiple millimetres on the far side. Ultimately that meant that the streets just would not fit together onto the sides of the bridge. This angle is the better side – the other end was worse!
What this means is that this is not going to be the final version of the kit. I had hoped it would work well, but a kit this size never goes together first time.
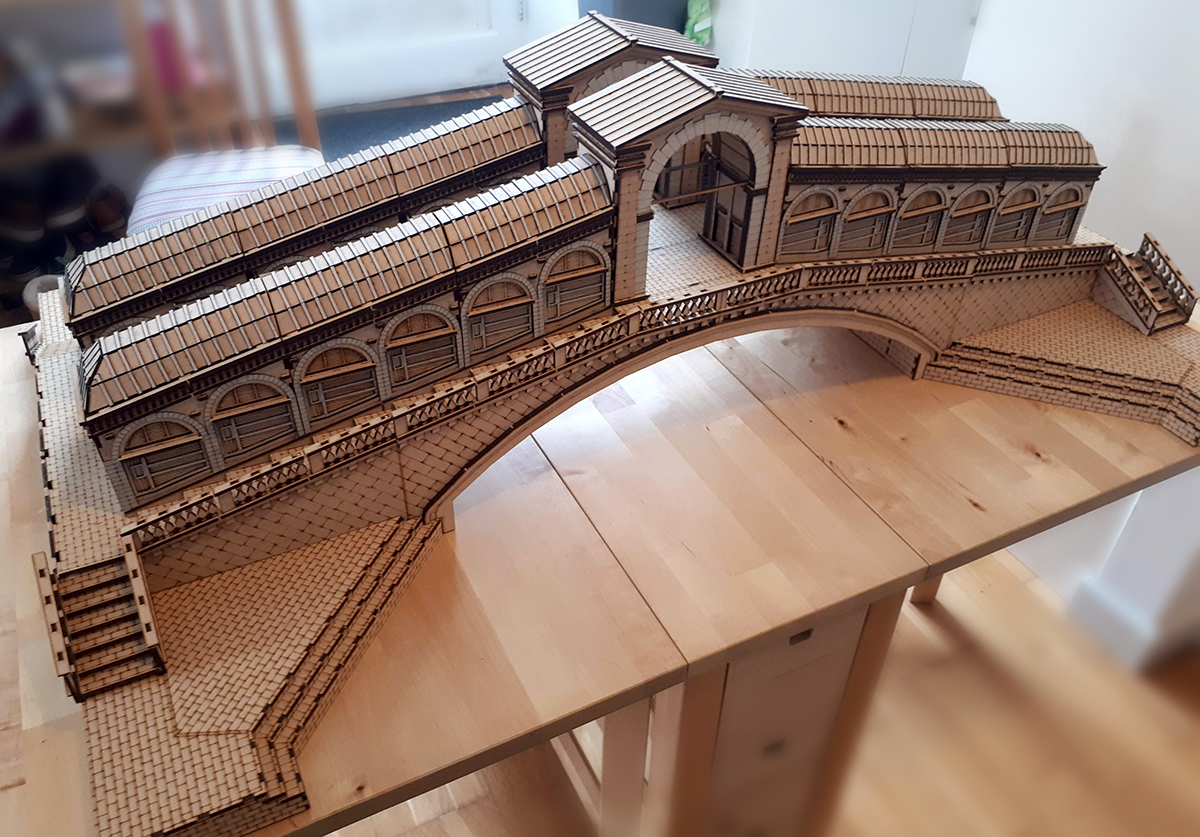
You can see how big it is though! That’s my entire dining table!
I learned a lot with this build. There were things I was used to working on smaller kits that absolutely didn’t want to go together. I thought the street sections would be strong enough, but they don’t have enough support underneath, so need more.
Then there’s the things I’d done for the first time like supports underneath. I had a few ideas for them, but ultimately the entire bridge needs a lot more of a structure underneath, with multiple supporting beams to hold pieces together.
And then there’s the issue of how the shops fit on the top. They work, but they’re very tight. I’d assumed that each shop was going to be quite heavy and cumbersome, but in fact they ended up surprisingly light-weight. To remove a little extra weight and make them easier to assemble, I might end up combining the shops into entire rows, rather than assembling each individually.
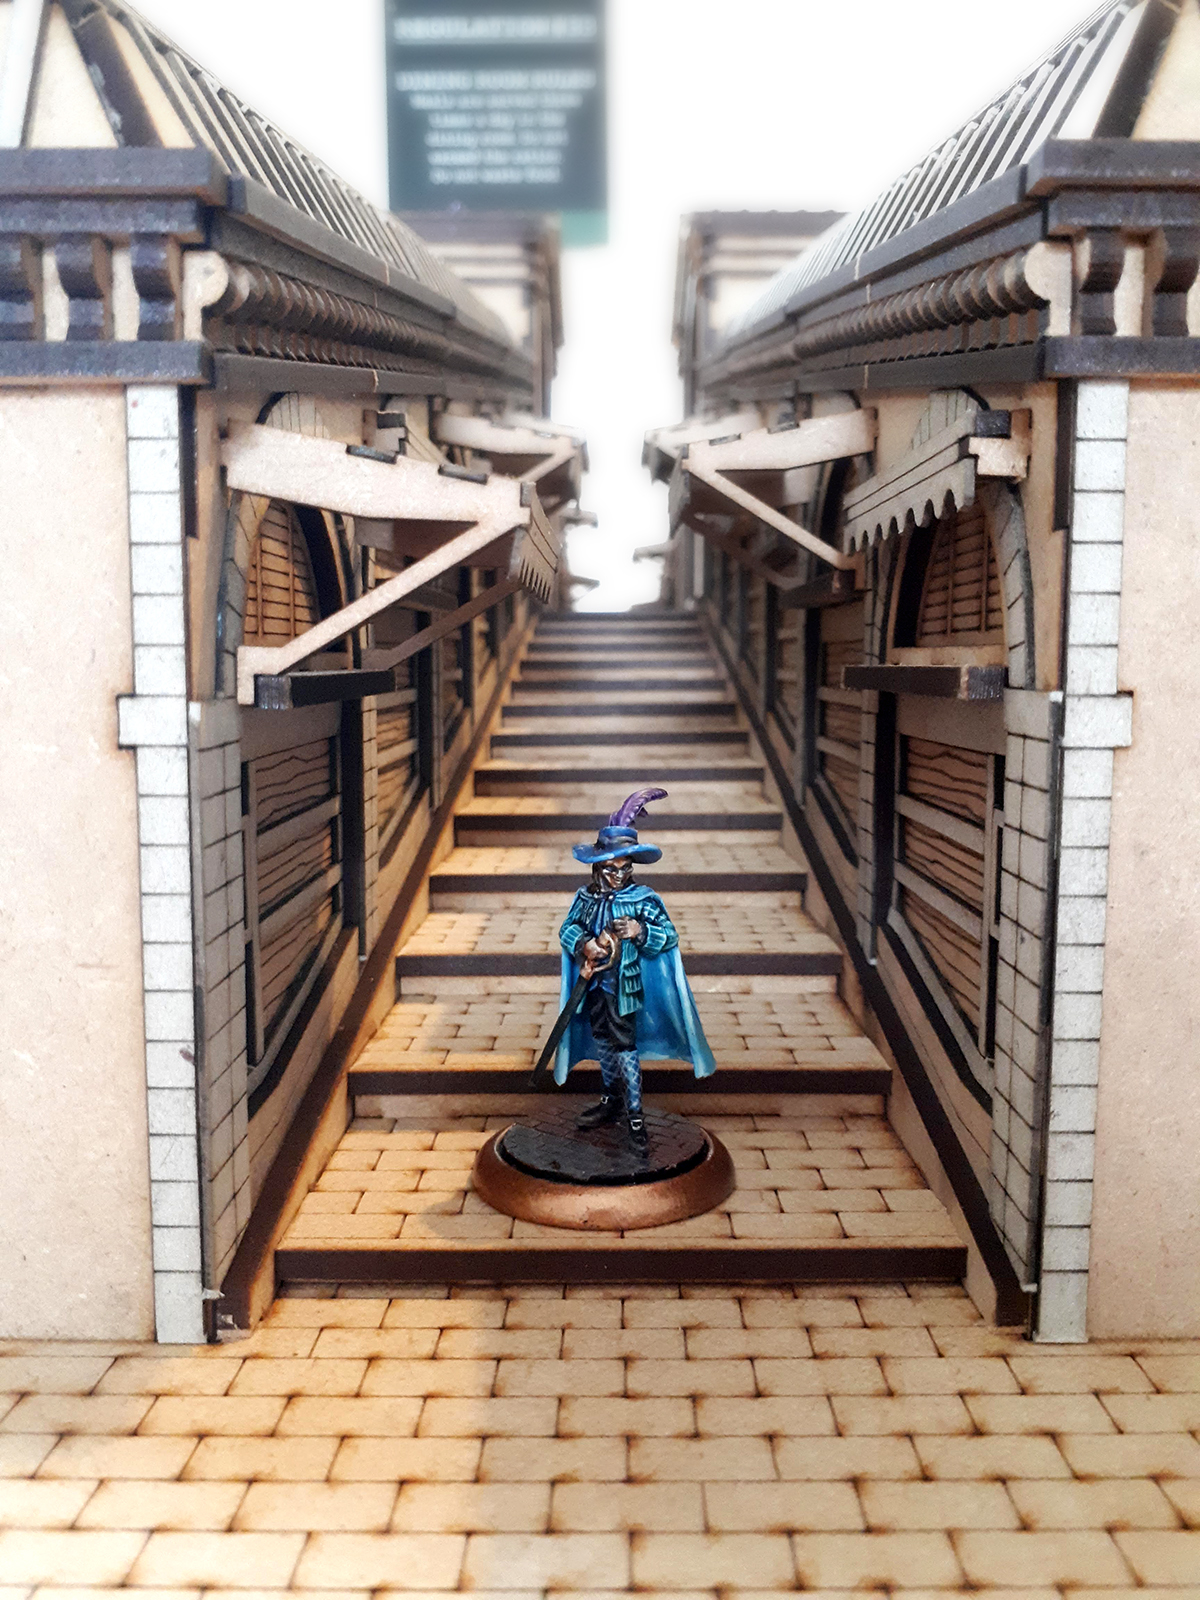
The scale of the bridge is very near perfect though, so I’m really glad I went back and edited the scale before. My Barnabotti there is having a wonderful time. He must have stayed up until the early hours of the morning, because it’s never usually that quiet!
So that’s all for now. A mixed result. Lots of lessons learned, and the bridge does still look pretty epic, even if it’s straining at the seams!
I’ll head back to the drawing board and make some adjustments for the next version of the bridge, and hopefully get some time to assemble it in the future.
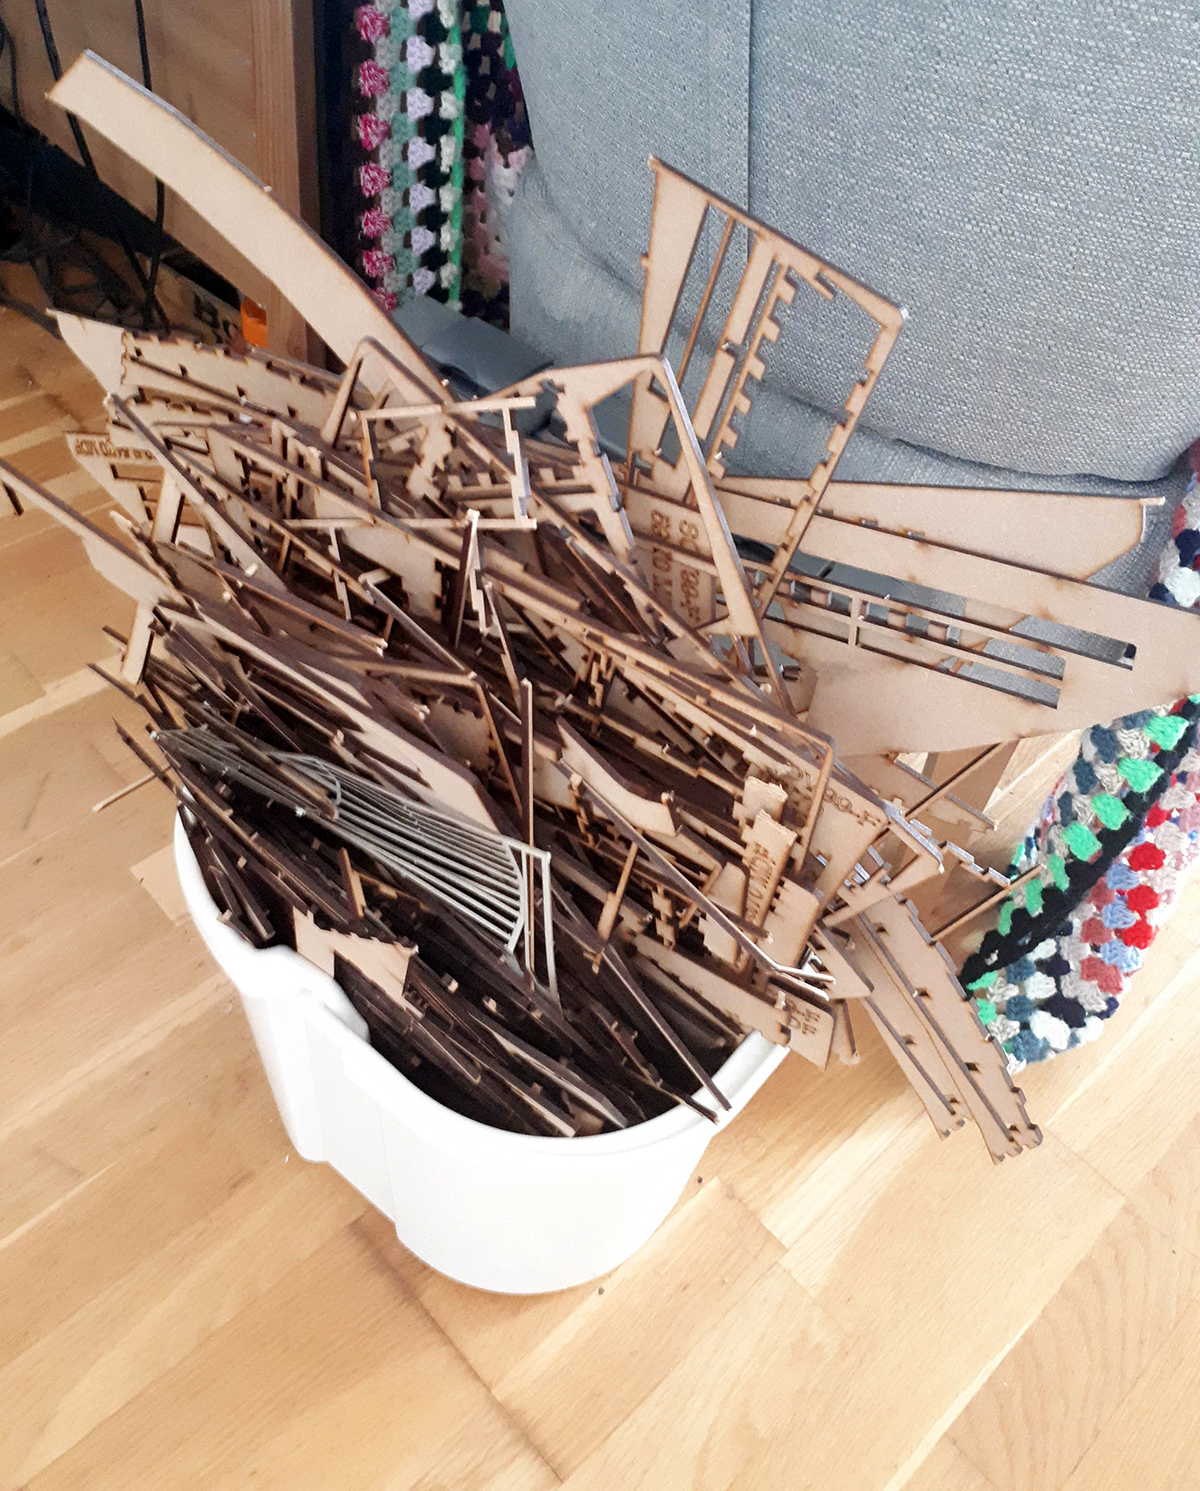
I’ll leave you with the stack of sprues that were left over at the end!
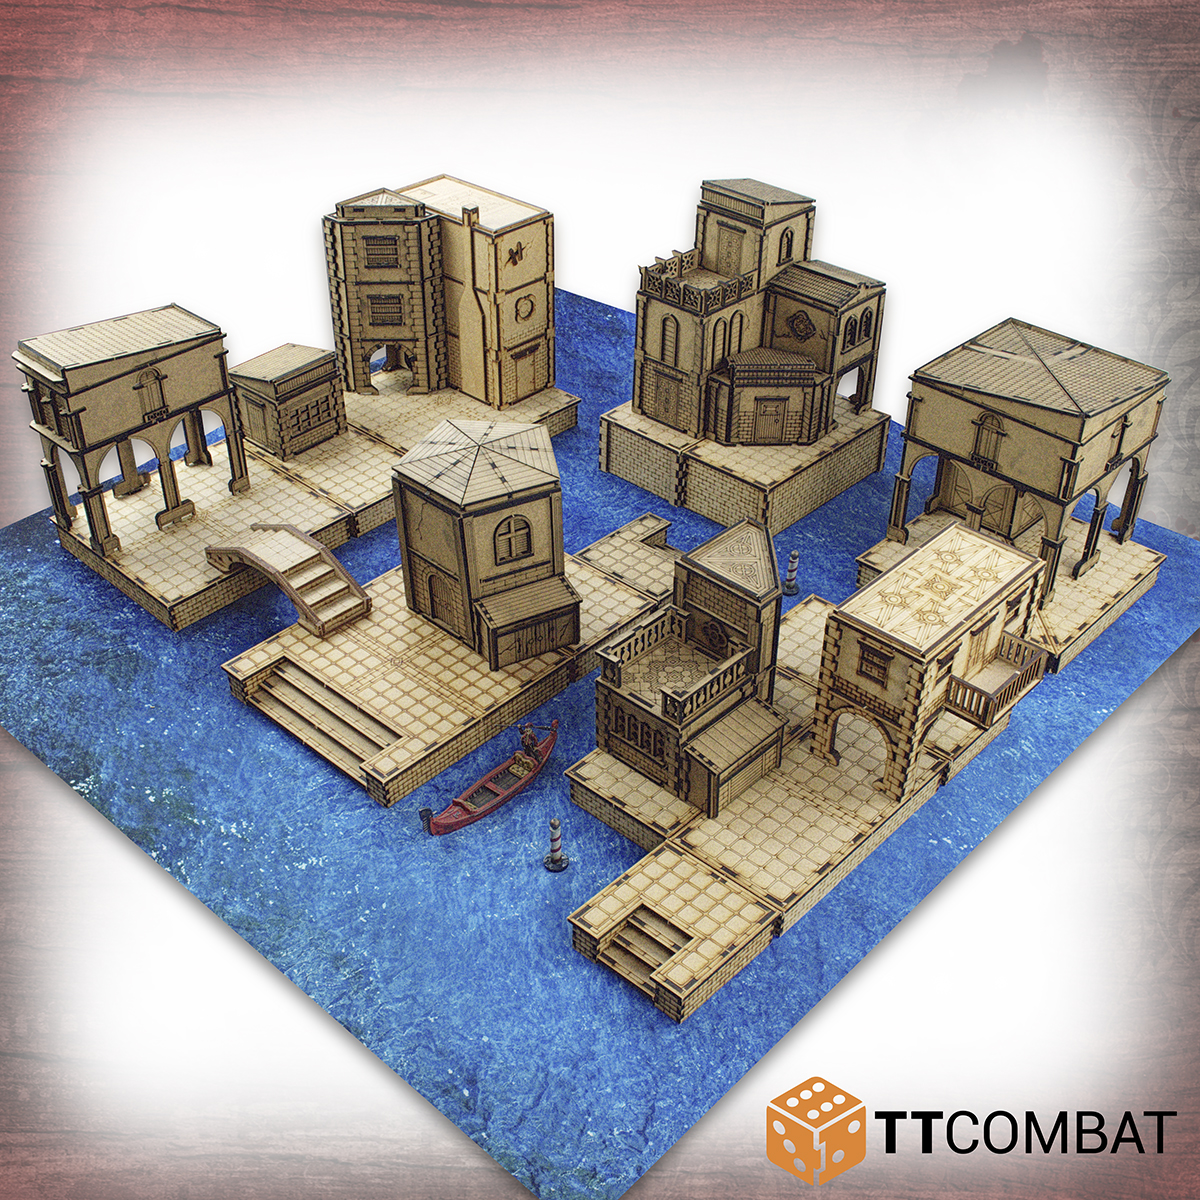
Although the Rialto Bridge isn’t ready yet, we do have loads of Streets of Venice terrain over in the TTCombat webstore! The new Calle sets released last week are the first bunch of combined kits. You get three buildings in one pack, offering a great saving, and letting you deck out your Carnevale board quickly and easily. With mixed heights and sizes in each set, they’re perfect to get your board underway.
I know this egoistic, but I need you to stop what you are doing. It already enough of a struggle to not plunge headfirst into Carnevale, and publishing posts like this does not help at all! 😀
That being said, as a mechanical engineer, I would worry seriously about the middle of the bridge holding up to repeated abuse. Normally bridges rely on their ends not being able to move apart. A construction like this will put serious bending loads on the middle. Perhaps connecting the ends with (unsightly) lower bit, or adding a bit friction to underside via a sheet of rubber or the like?
Apologies if this is already apparent to you. 😉
You’re quite right, and that’s something that’s being added to the next build! 🙂