

If you’ve ever been to Venice then you’ll know there’s only one place worth crossing the Grand Canal, and we’ve tried to make it!
At the end of last year we teased a massive project on the last day of our Advent Calendar, and today it’s time for an update.
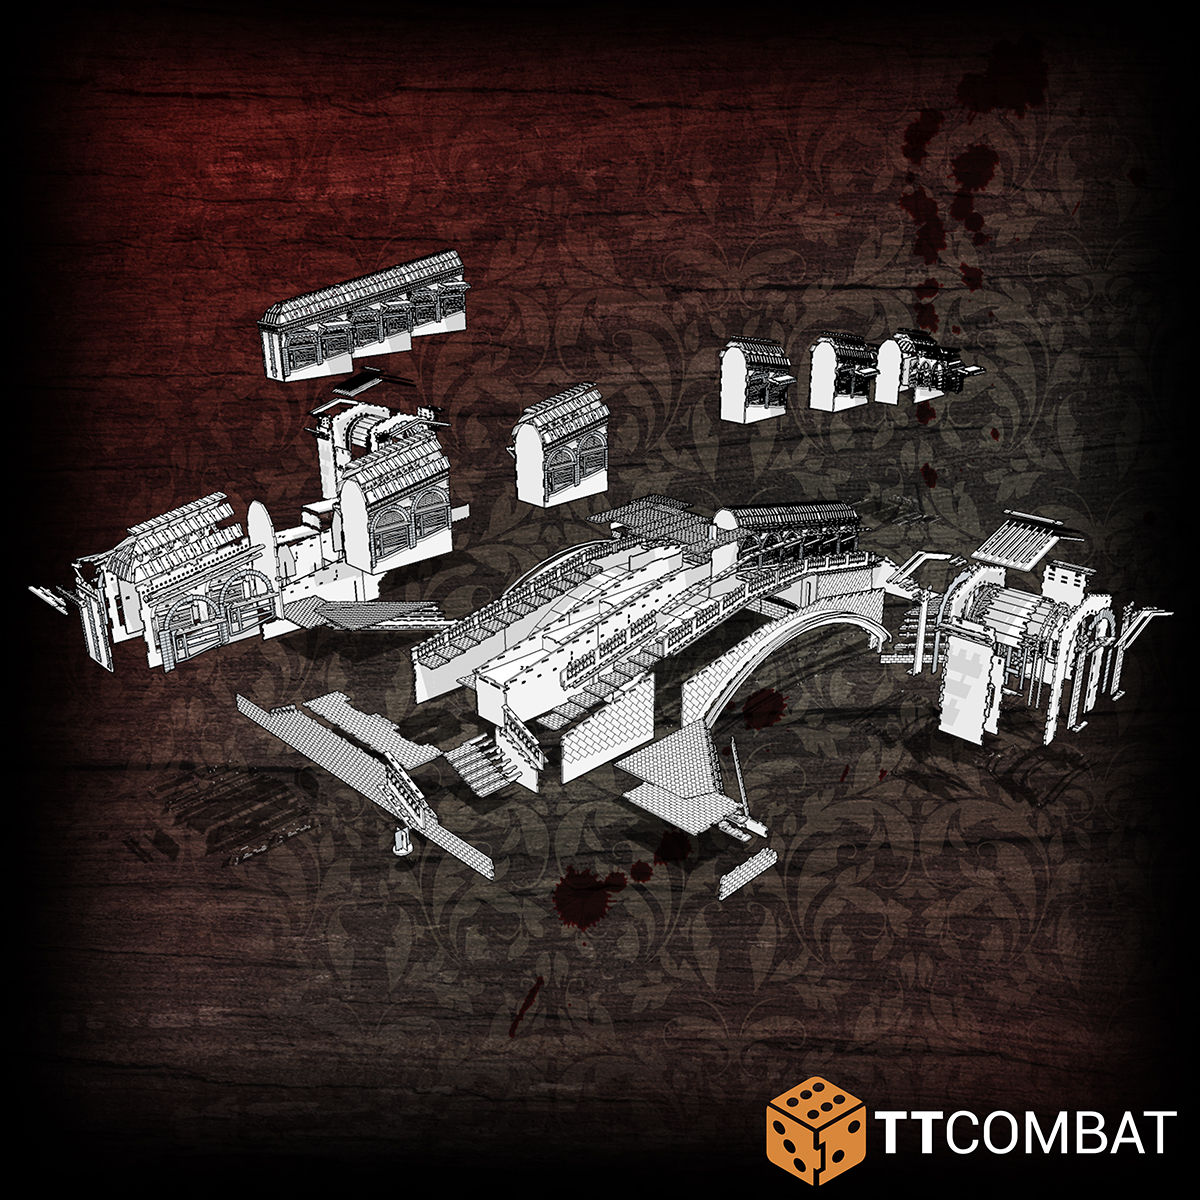
The Rialto Bridge is possibly the most iconic landmark in all of Venice. At almost 50m long, it’s a true sight to behold! Although there are four bridges crossing the Grand Canal in modern times, during Carnevale in 1795, the Rialto was the only one.
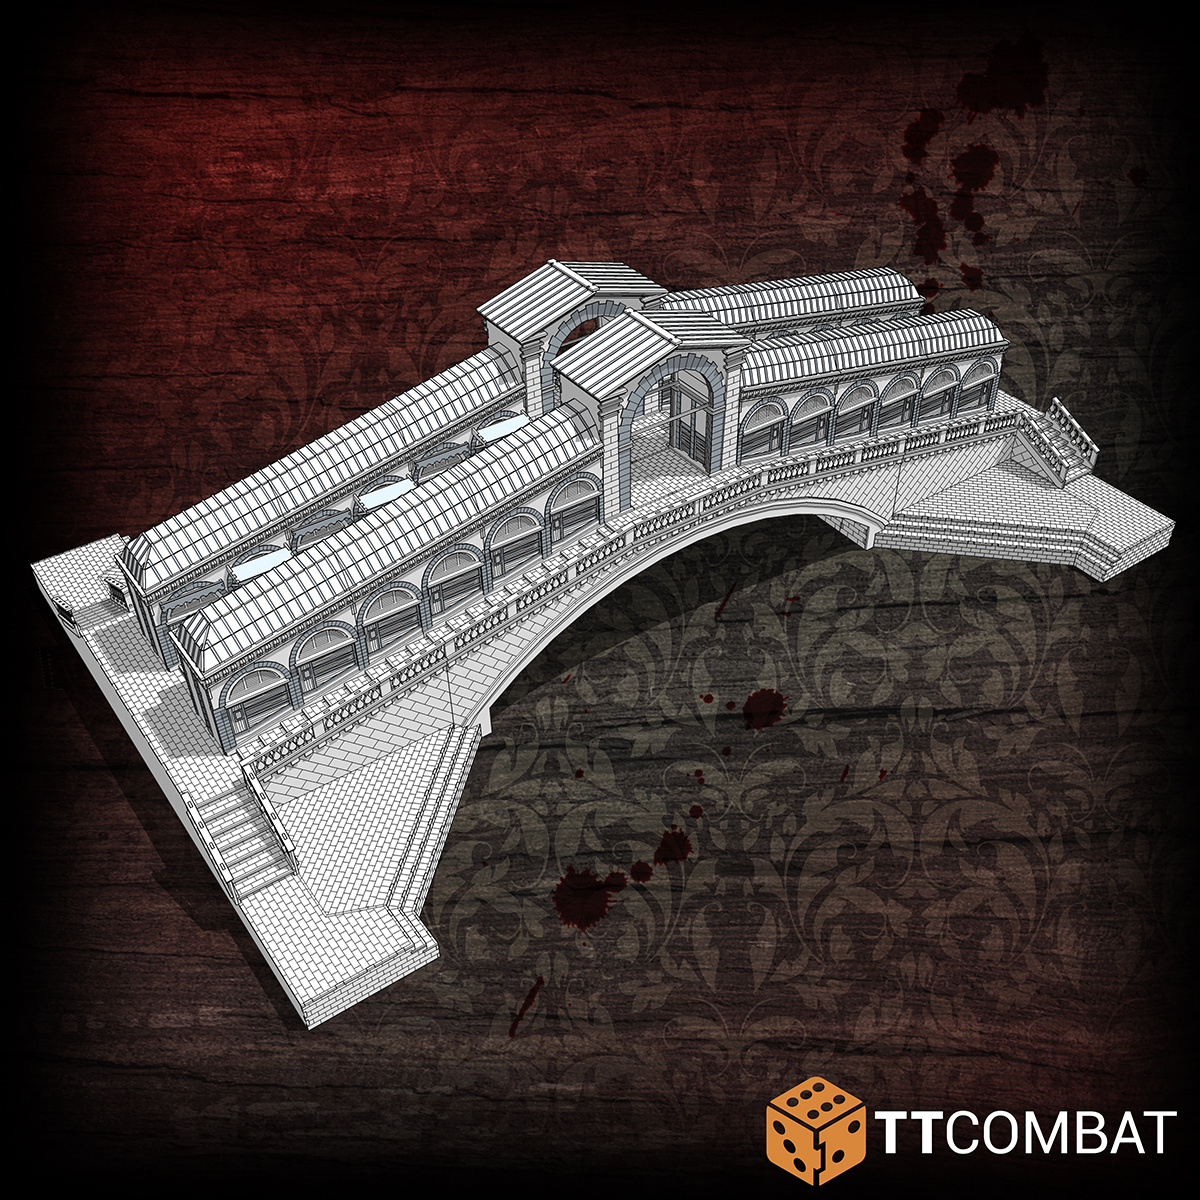
This is where we left off our Rialto Bridge build last time. The 3D files were made and it was almost ready to be cut. But on final assembly of the 3D file, I realised that it was much too big, so I had to go back to basics and make it smaller.
For reference, it needed to shrink by about that much.
We often get people emailing in asking if we can resize certain kits to be a different scale. Turning Sci-Fi Utopia buildings into 10mm scale, or making our 15mm World War kits into 28mm kits. And unfortunately, it’s not quite as simple as just resizing. What I’ve done above is literally just selecting the whole bridge and shrinking it down.
But here’s the thing: it also shrinks the thickness of the MDF. So the 3mm MDF turns into 1.5mm MDF or 5mm MDF depending on how much the file is stretched or shrunk. But we only have 3mm MDF, so all of those measurements are now wrong! Every single join is therefore an incorrect size. And while a few mm here and there may not sound like much, when you expand that to a whole kit, it’s suddenly several inches off by the time you’re done, and so just doesn’t work unfortunately.
And thus started the arduous process of making the whole Rialto Bridge again.
Luckily enough, this time I was working from a complete template, and along the way I realised a bunch of changes I could do to help it go together better as well. Before long (actually, it was another few dozen hours of late nights), we ended up with the new bridge.
Now the resized version is a mere 4 foot long!
Yeah… that’s a bit of a mess.
One of the last things we like to do before cutting kits is to do a pull-apart. Especially with larger kits, it’s always useful to see exactly how it goes together. When you’re doing big sets like this or the San Geremia Tower it’s very easy to miss a locating hole or a tab and once its cut, you’ll find the whole thing doesn’t go together.
So we take each element of the kit, pull it away from the pieces its attached to, and take it apart piece by piece. This way we also get a sense of how best to build it. Usually when designing you’ll flit from piece to piece, not necessarily designing it in the same way it’ll get built. That sometimes means you’ll make a piece that’s physically impossible to put in! Sometimes it attaches in 3 different angles or needs to be put inside an area that’s tricky to get into once its all glued together. This pull-apart helps to stop that from happening.
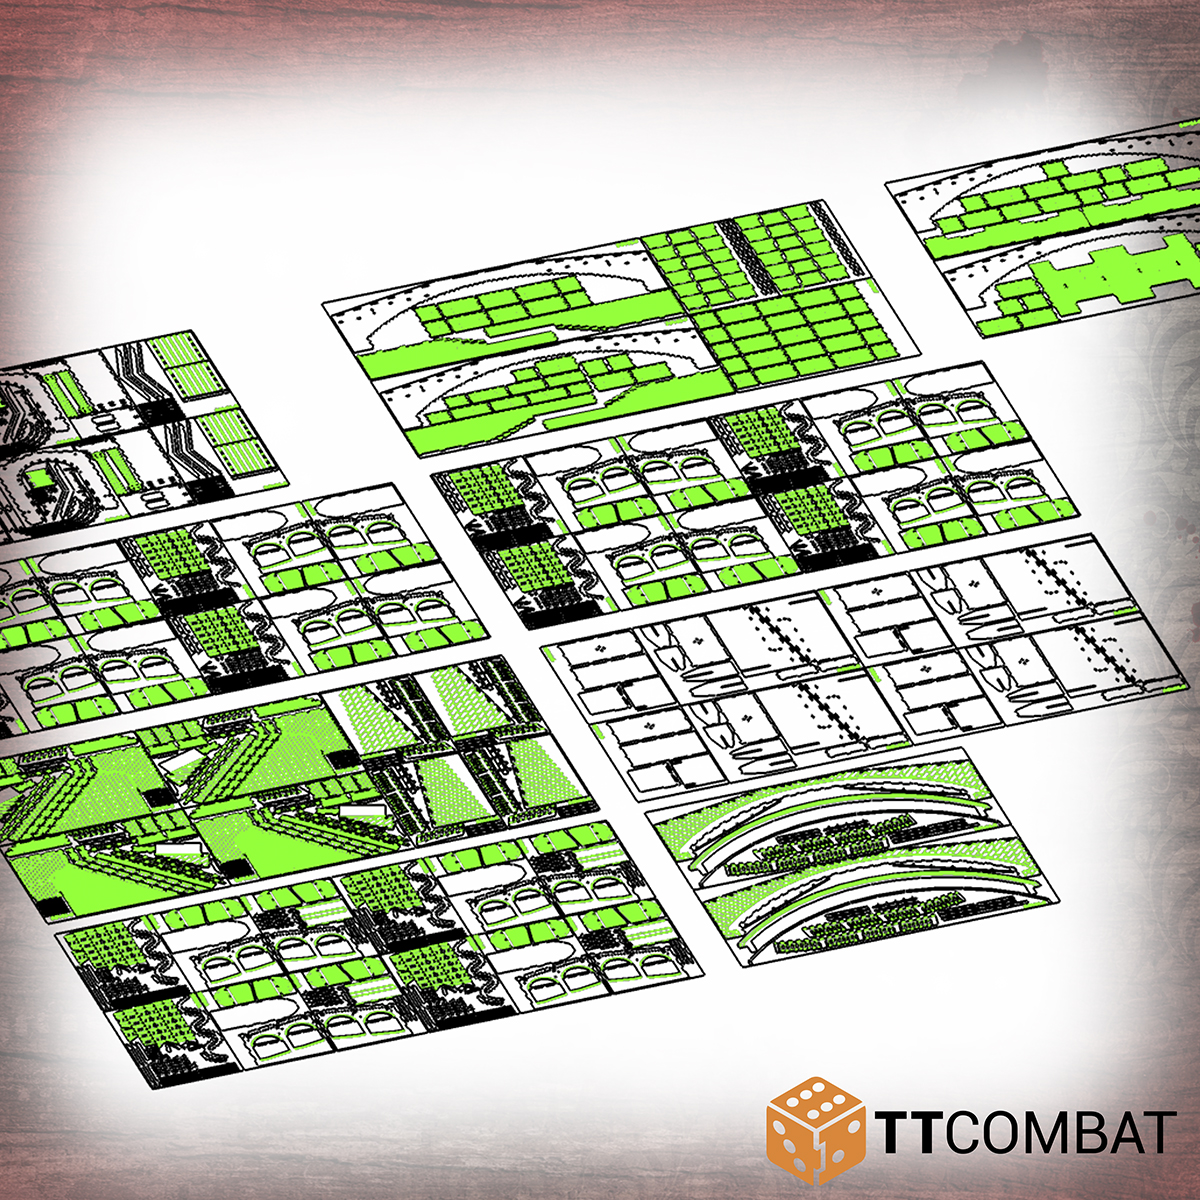
From there we flatten everything down (which isn’t exactly a small job in itself). After flattening the pieces, we have to colour code them. The black line is where the laser cuts all the way through, and the green line is where the laser scores in detail. Other kits use even more colours that correspond to different settings (such as etching on these monks).
After colour coding, each piece needs to be tabbed. That means adding 1mm holes in every single piece so that they don’t fall out of the sprue. Although it means more work when putting the kit together, it also means each piece arrives intact, doesn’t fall out when cut, and doesn’t knock the laser out of alignment mid-cut.
So after all those hours sorting the kit, the laser team cut it for me, and I went to work on assembly!
I started off with the smallest, and easiest pieces to put together.
The bridge is made up of 12 separate buildings. I kept them separate because I thought they’d be a bit too heavy and unwieldy all together. Turns out these little buildings are actually light and simple! That was the first thing I learned when doing this first test cut. We usually go through 2-3 test cuts before finalising the design of each kit, and I was sure this would take even more tries.
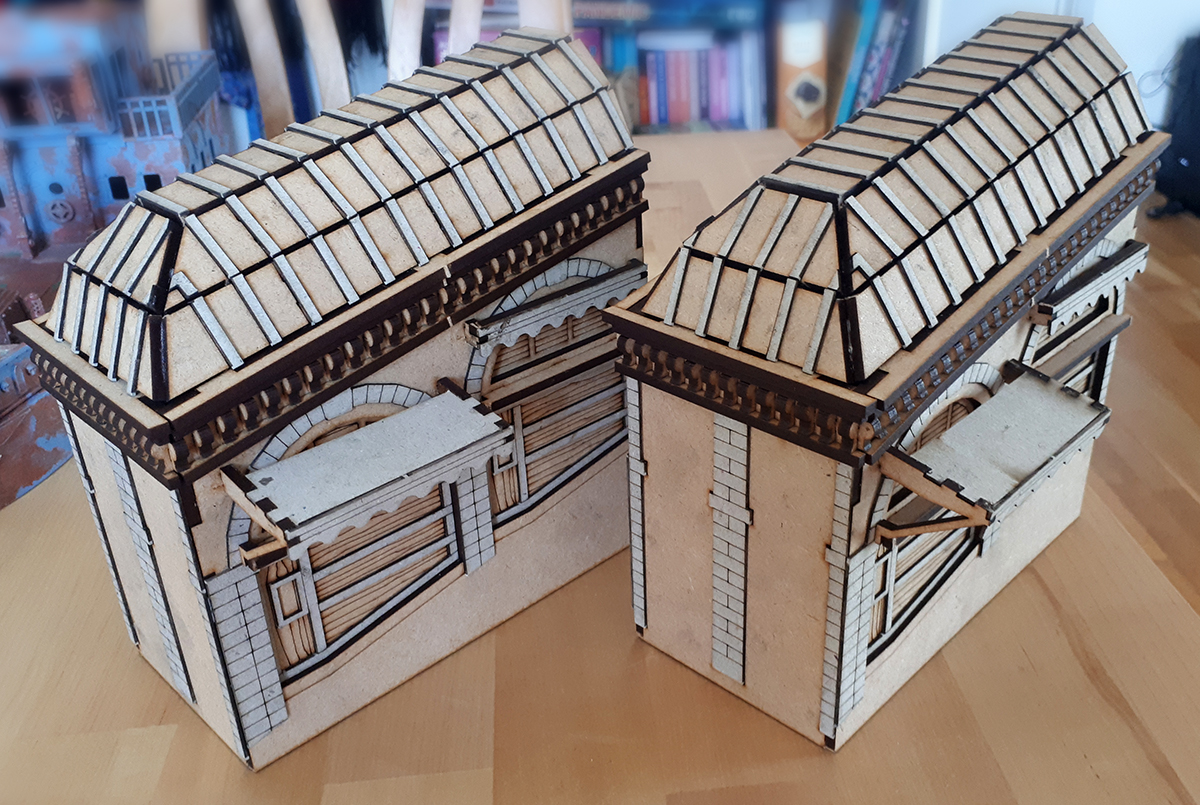
It’s a tiny bridge! Just the end bits are done here. I decided to have awnings on the inside of the buildings, and alternated between open and closed. That way you can play on them, but also under them with ease.

There are a lot of small, annoying components here. Not a problem when you’re constructing a single building, but much more annoying when there are twelve!
For reference: those little rounded decorative doo-hickies around the roof? There are 660 of those in the kit.
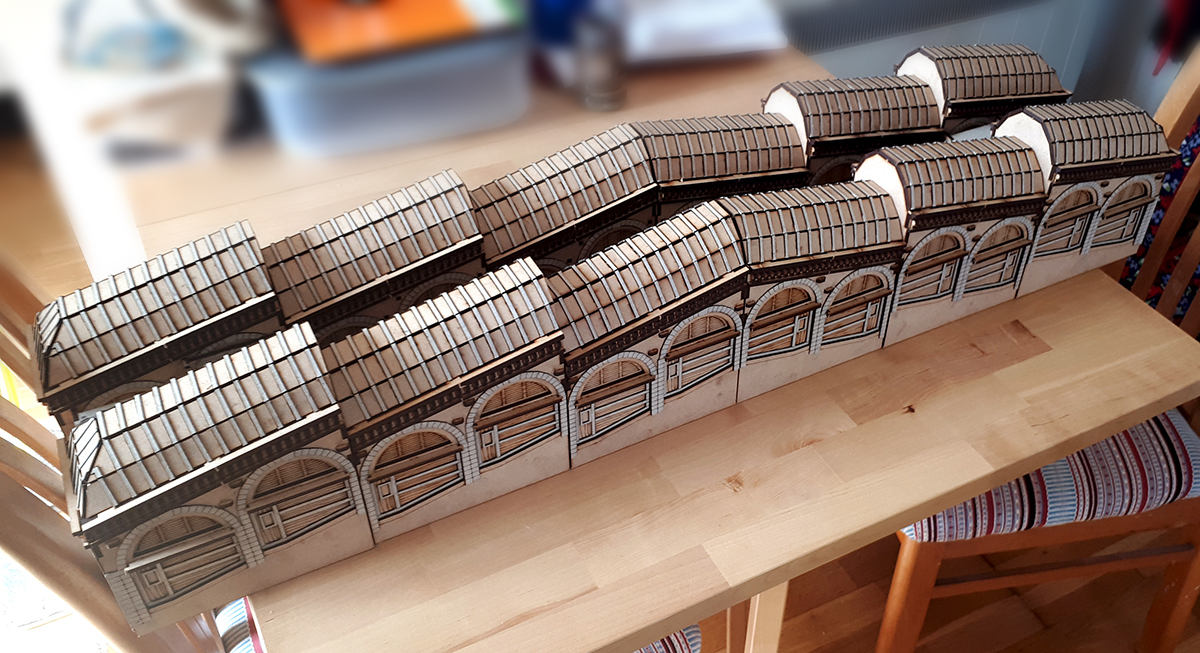
But I got them all assembled!
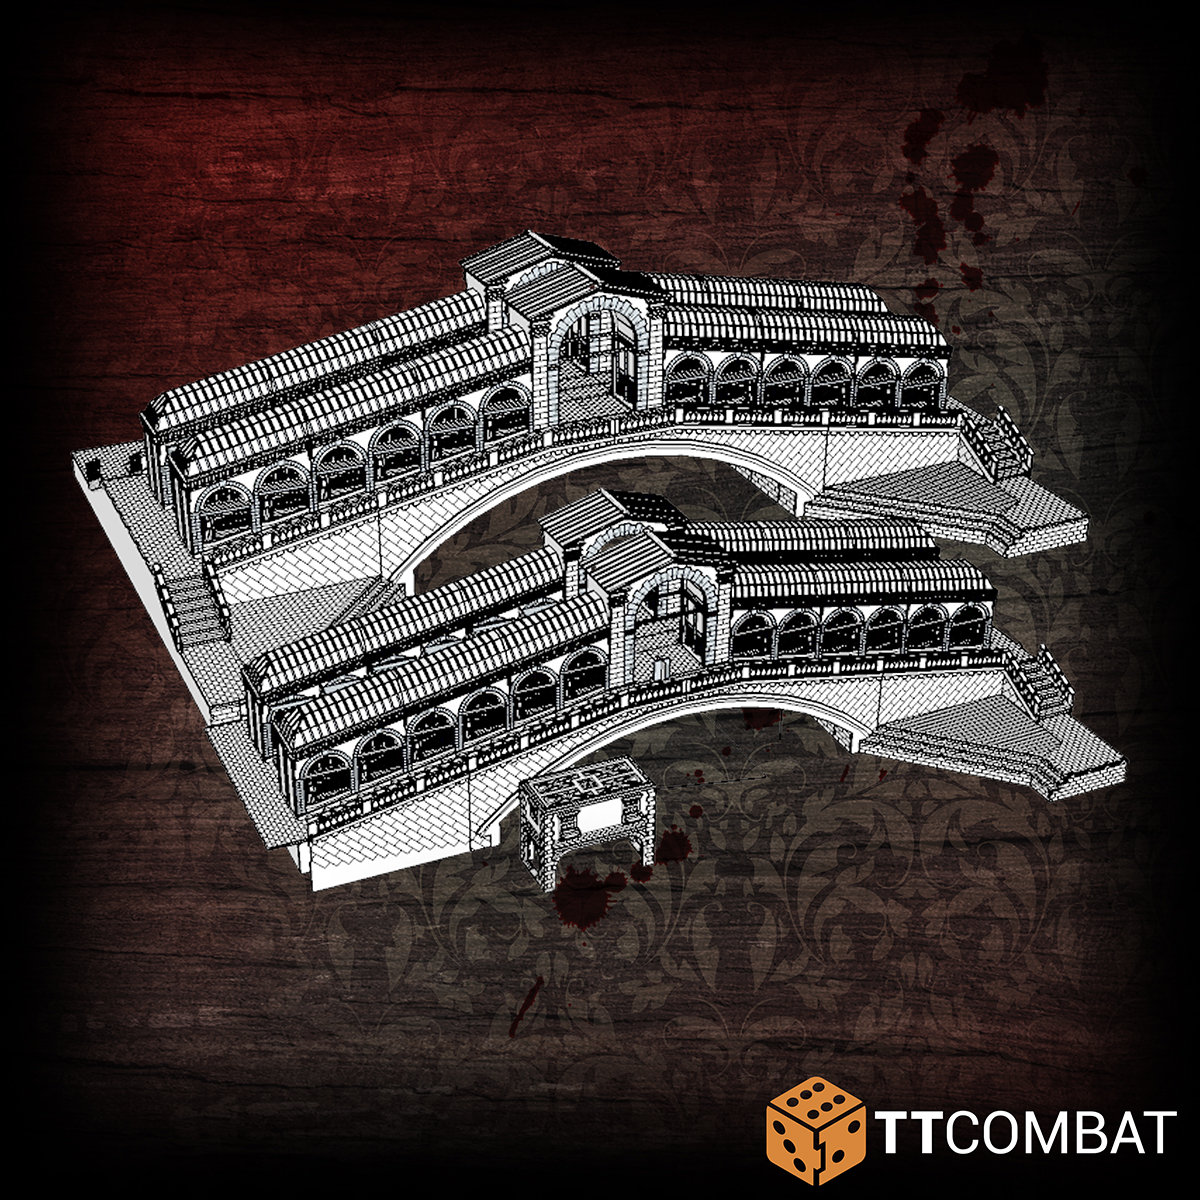
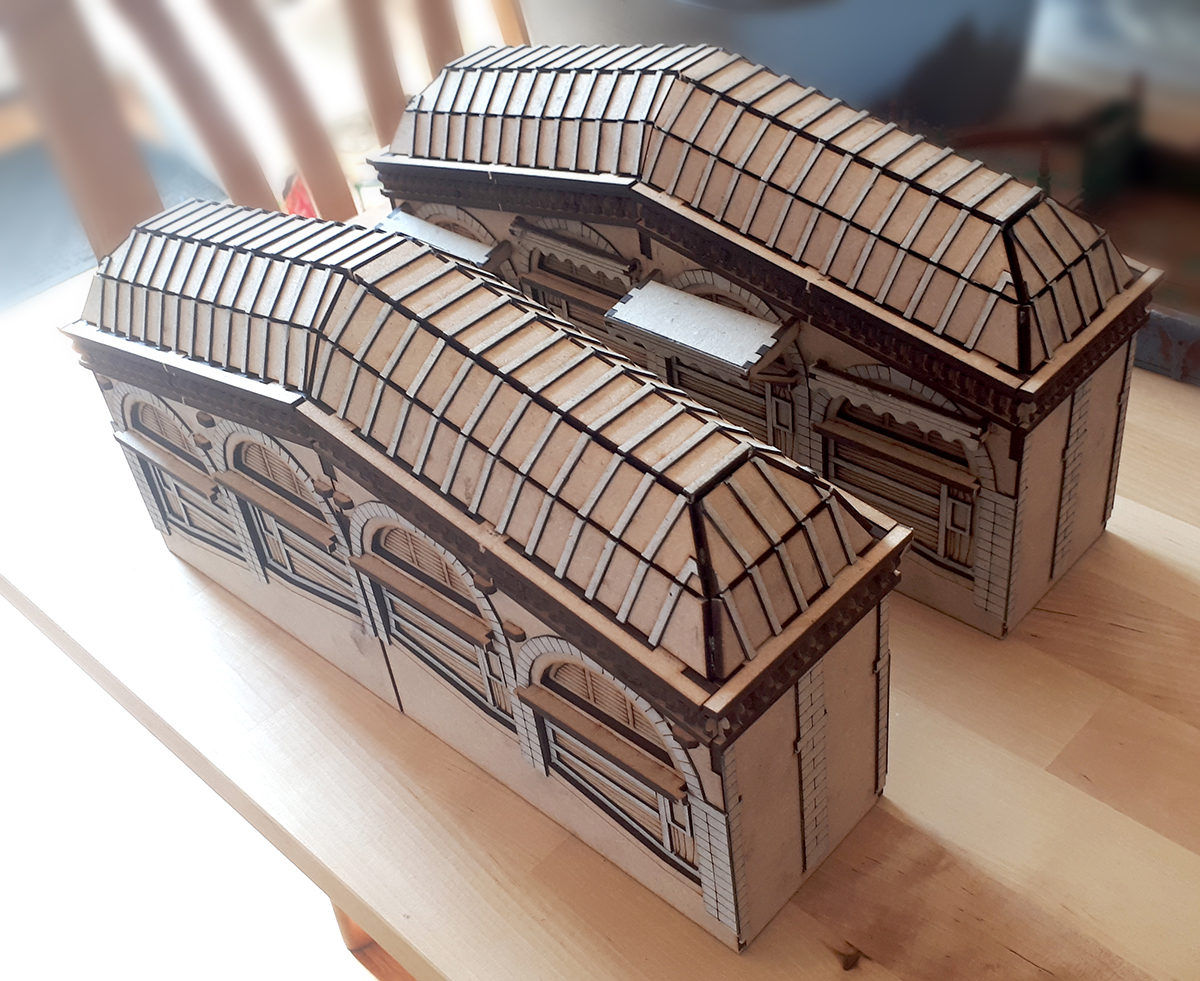
These 12 buildings make up the core of the detail on the bridge. While the rest of the bridge is certainly bigger, I think these will be the majority of the time, since they have the most components.
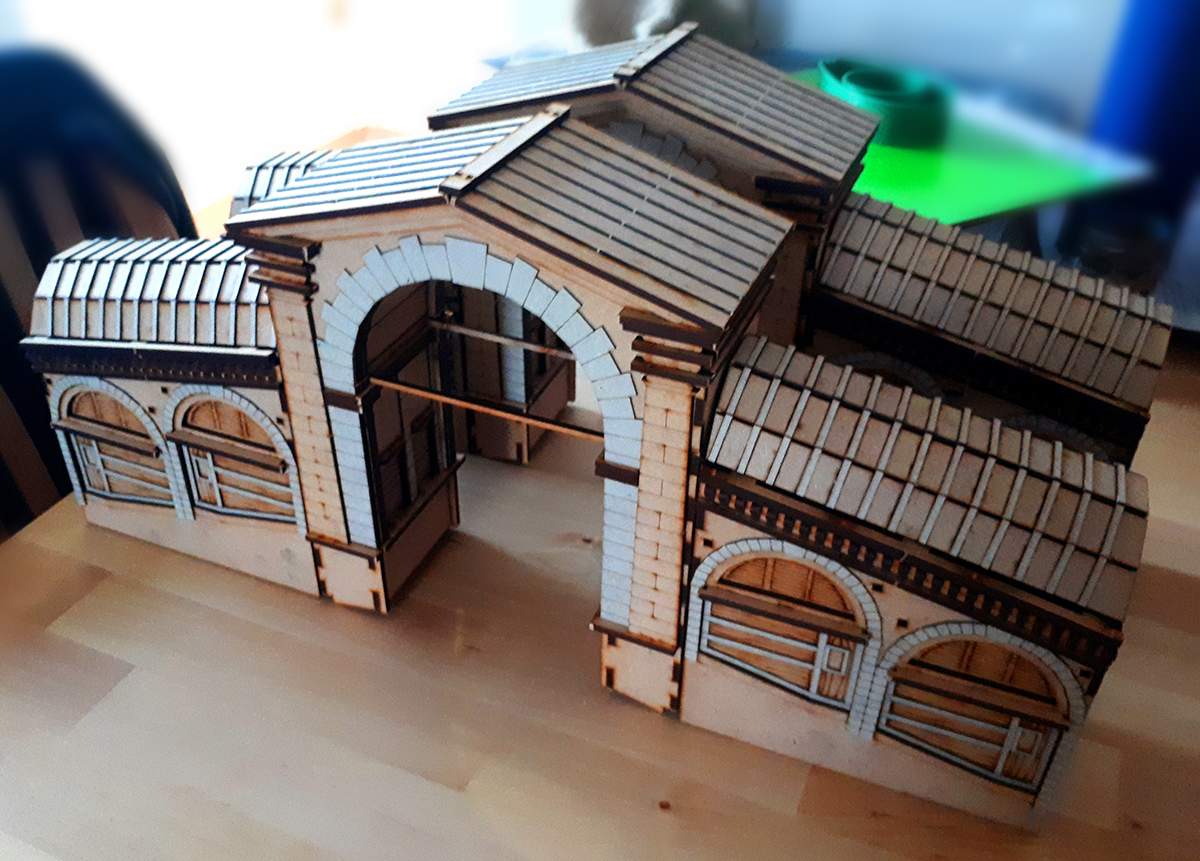
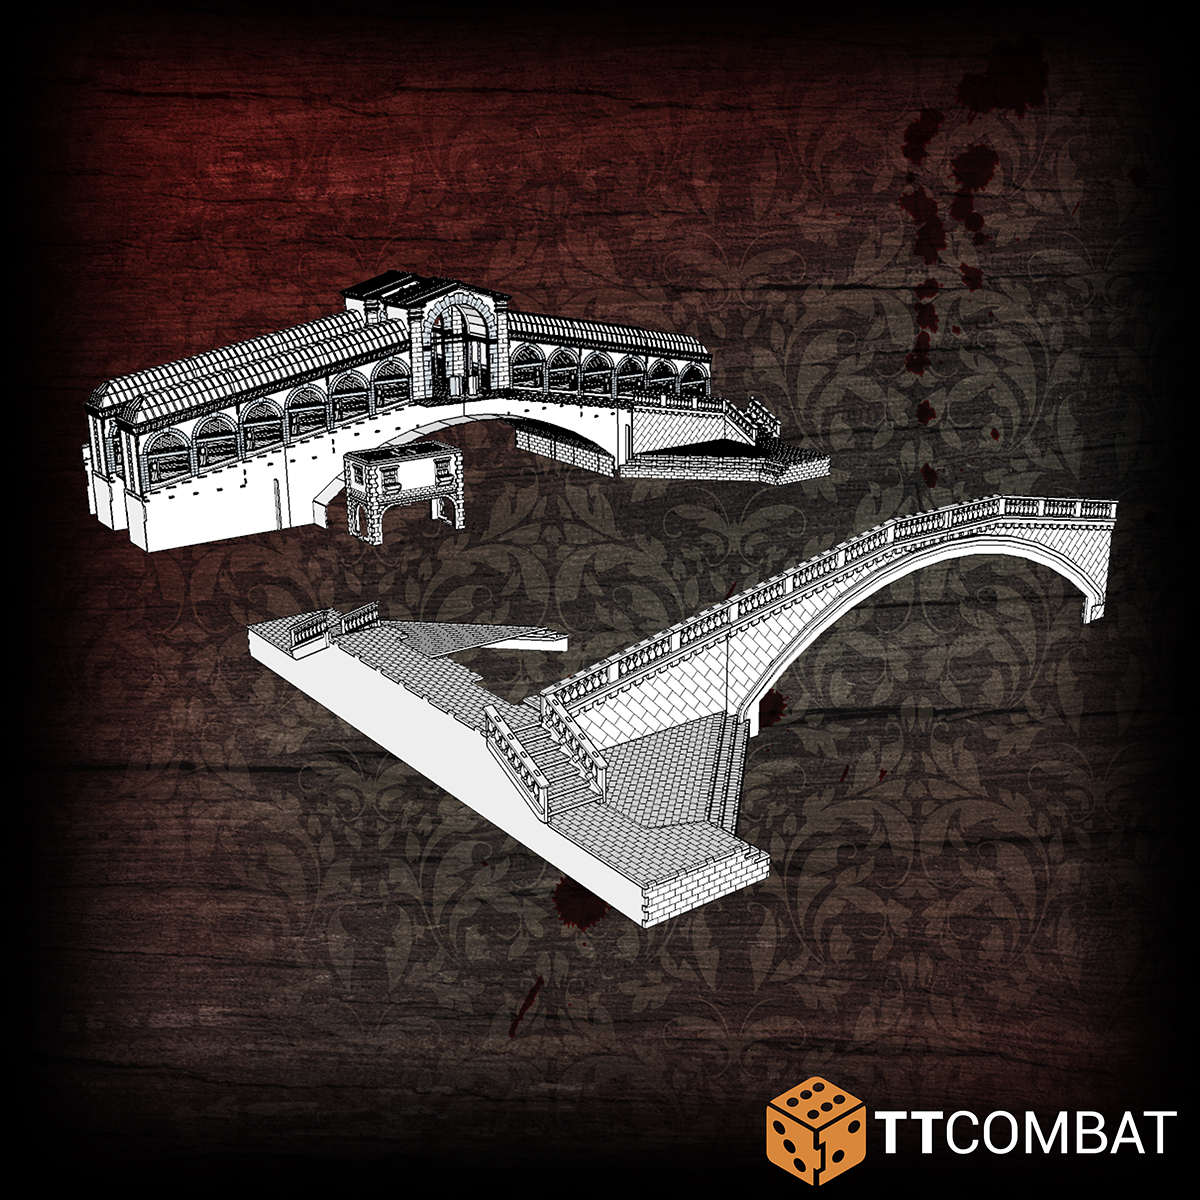
And our final picture today is the last of the detail: the arches.
Possibly the most visually identifiable part of the bridge, these arches are really massive, and deserve to stand out. Here they are next to their neighbour buildings. Although they’re not glued together, since all these pieces will eventually slot into the frame of the bridge, and can therefore be removed for transport and storage.
At over half-way there, that’s a good a time as any to stop for today.
I’ve learned a lot throughout the process of building this kit up to this stage, and while it all looks great, there are some key changes I’ll be making to the design to help it go together better. Most of the details I think are going in the right direction, but there’s still loads of work left to do here.
We’ll be back in a future WIP Wednesday when the rest of it is done and we can see the whole first testcut assembled!
Until then, if this interests you, you’ll definitely be interested in the rest of the Streets of Venice range, and you should check out Carnevale as well: it’s a game of skirmish combat in Venice itself, with lots of daring acrobatics and fighting in the canals.