
Want to know how we did it? Check out the WIP!
A very special bases WIP today! By now you’ve all seen a tease of the latest batch of Tomb World bases we’re releasing later this week.
After the last wave came out, we had people asking just how to paint them, and that’s what we’re going to do today! Strap yourselves in and get you paintbrushes ready, because we’re going to get started!
STEP 1 – BASECOAT
Of course, we start off by cleaning up our bases. A little sanding on the bottom is sometimes necessary to take off the excess resin, and very occasionally you’ll need to fill some little holes with modelling putting. Not often on bases though! After that, be sure to soak your bases in warm, soapy water and then give them a little scrub to remove any release agent on them.
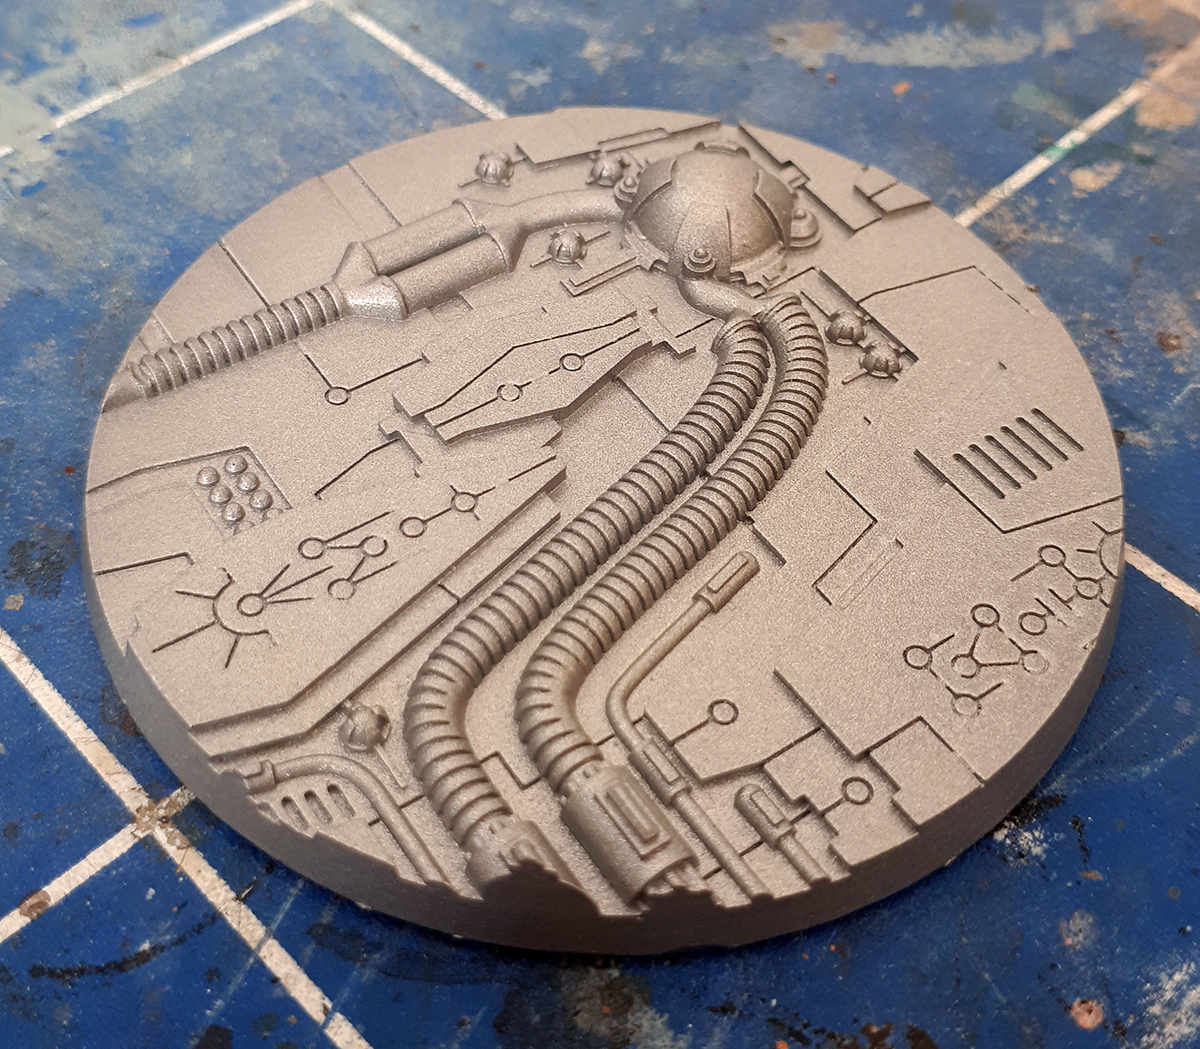
For the basecoat I used Army Painter Plate Mail Metal which coincidentally we started selling on the webstore last week!
I don’t actually bother with an undercoat on these. Some people will say to always do an undercoat, but I find the Army Painter sprays cover very well on their own. Although a silver basecoat on a grey base is quite hard to see what parts you’ve missed!
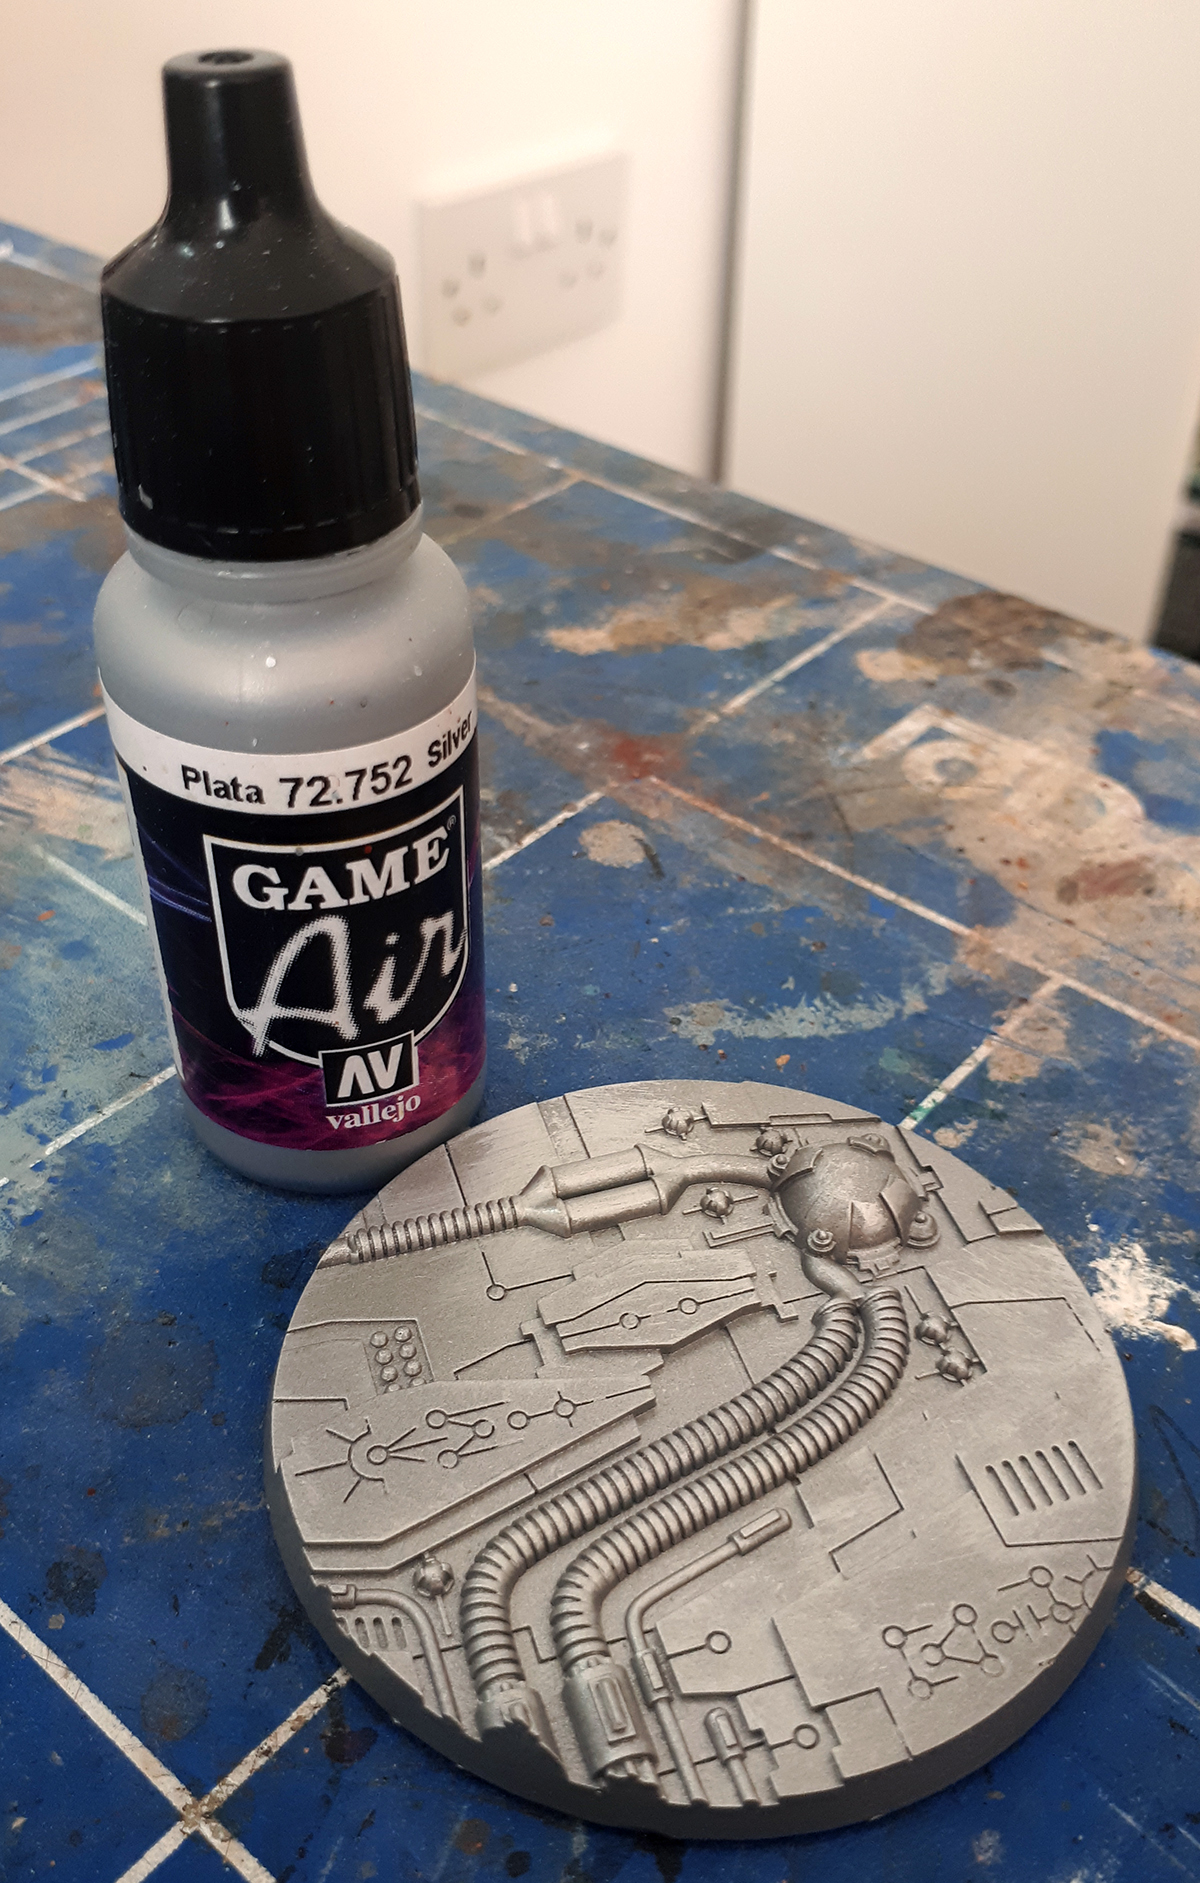
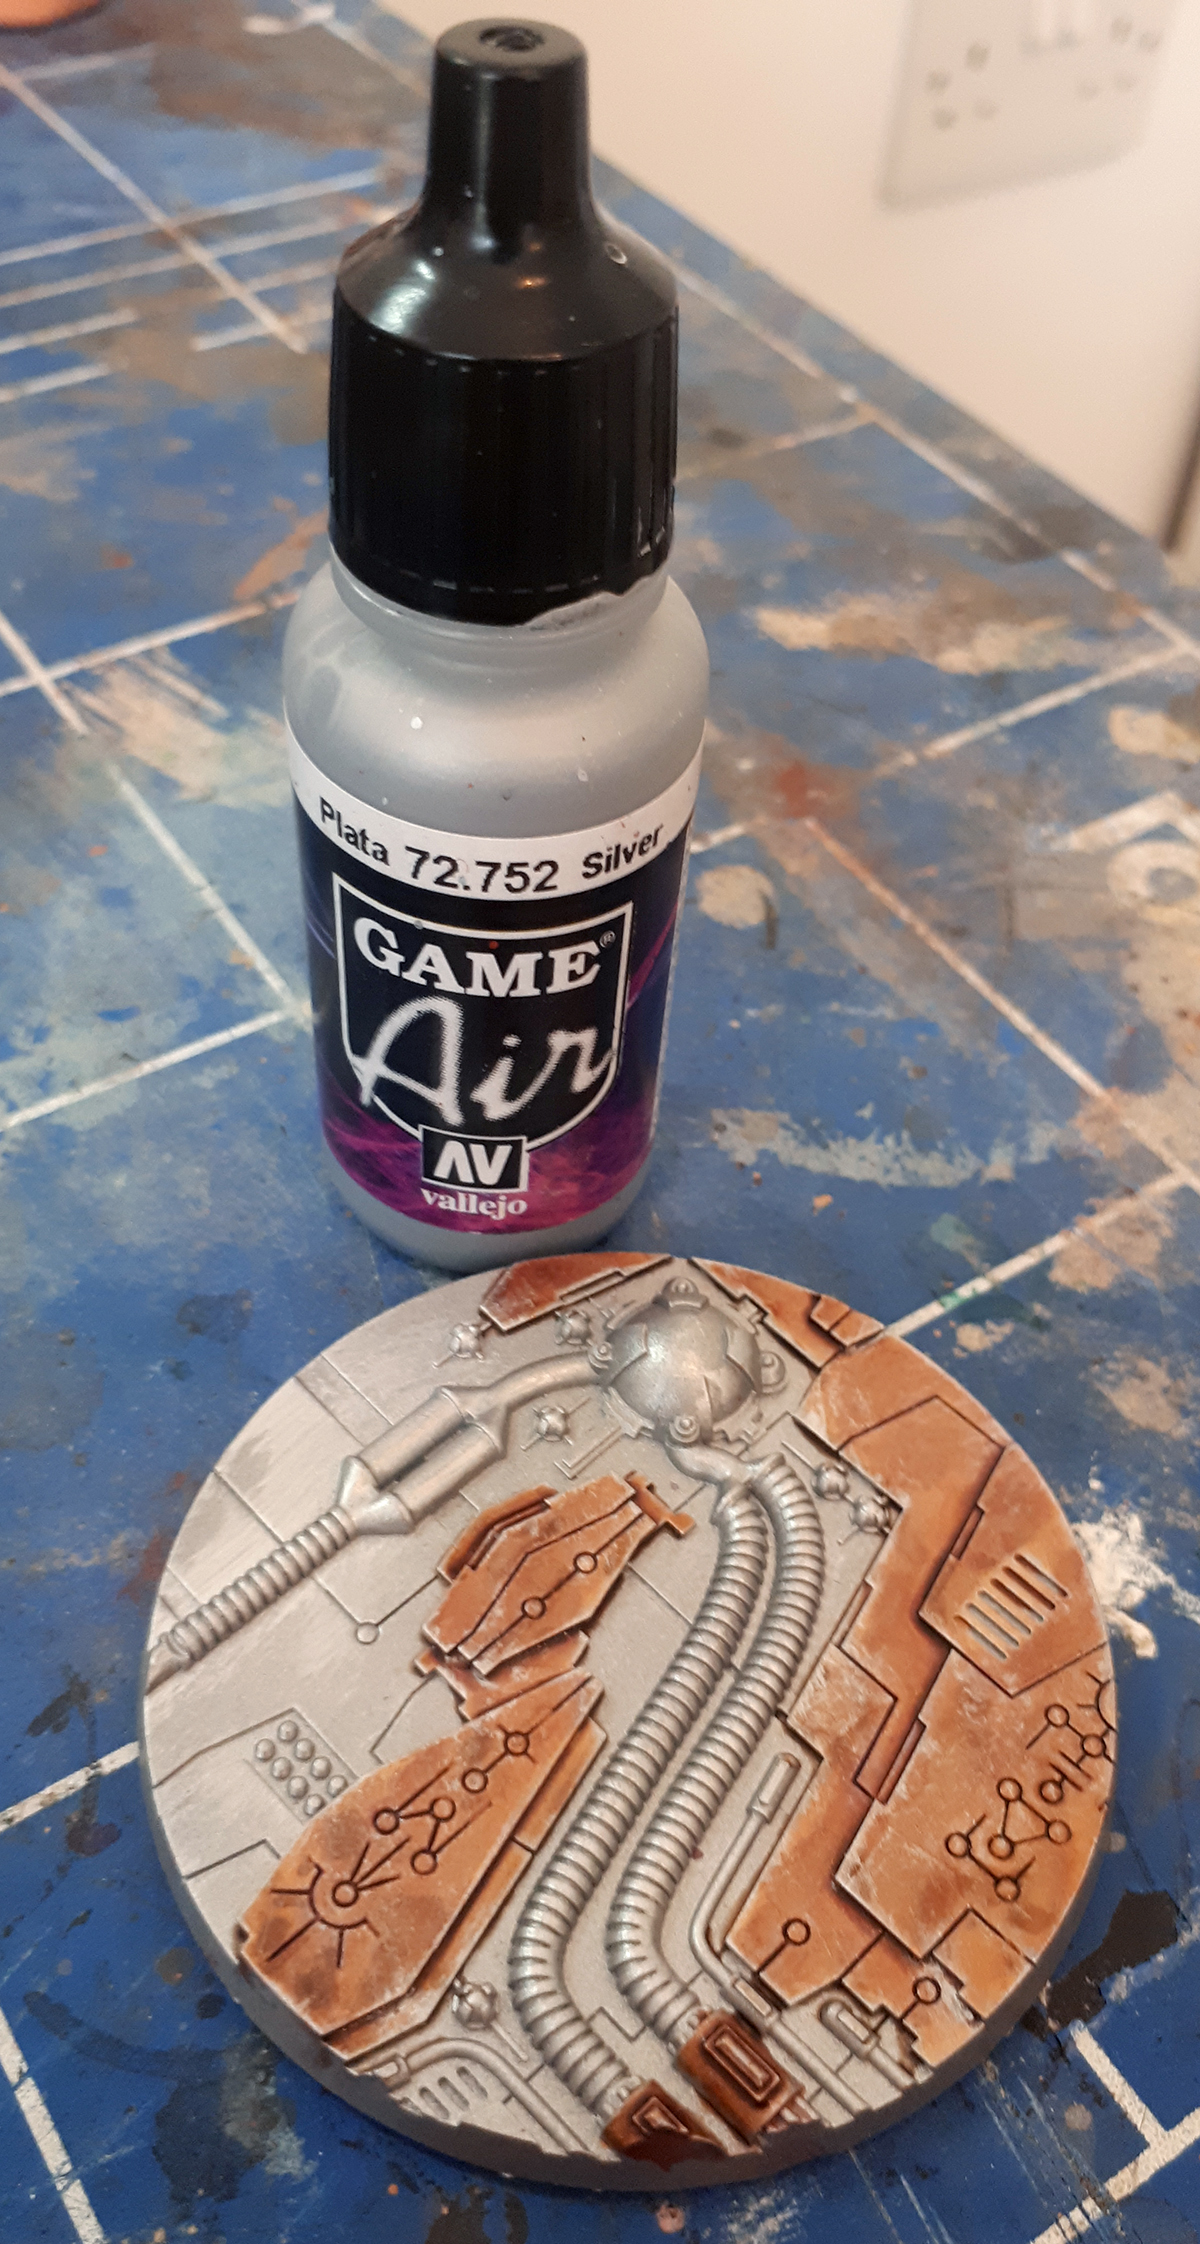
The very first thing I do is drybrush the whole base with Vallejo Game Air Silver. This paint is amazing! It’s very thin since it’s designed for an airbrush, but it works really well brushed on too.
This helps to give some natural highlights later on, provides a little light texture, and you can get any bits you missed with the spray!
STEP 2 – COPPER
The first thing we want to tackle is one of the biggest and lightest areas. I’ve chosen to do every raised plate in copper.
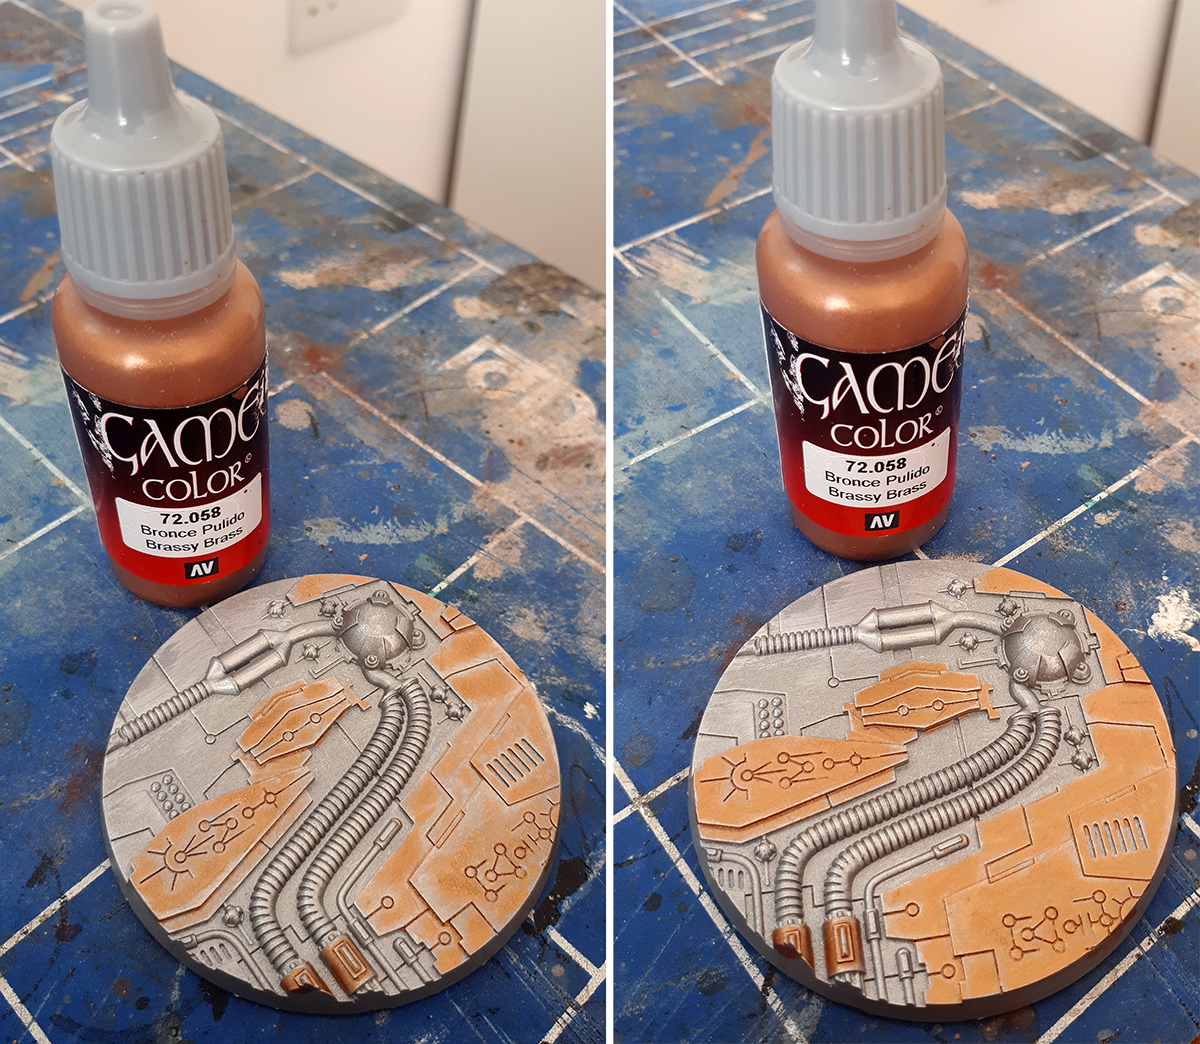
For the main colour I’ve used Vallejo Game Color Brassy Brass. It’s a nice, medium tone brass colour. I watered it aaaaaall the way down so it’s little more than a wash. On these flat panels it means that the basecoat silver will show through on the edges as a natural highlight.
I applied two coats of this, and you can see how progressive coats darken down the base.
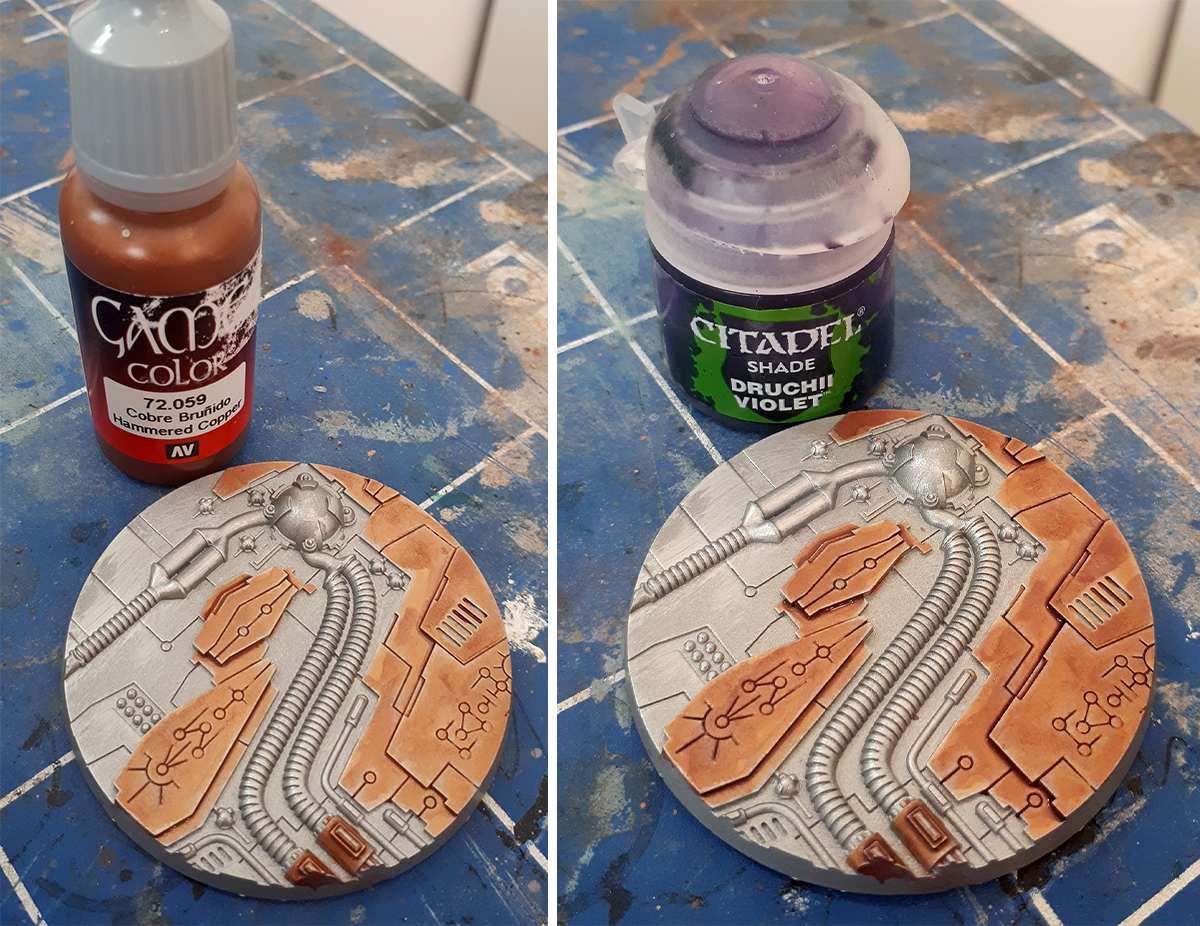
After the base colour is there, it’s time to start shading it down a bit to make it really dingy and dirty.
First of all I do a wash of Hammered Copper. I try to avoid the edges. There’s a lot of water mixed in here. You can apply this coat very neatly for a cleaner look, or get messy with it to give a mottled, dirty look. I went with that because it’s easier and I don’t have to be neat!
After that I used some Citadel Druchii Violet. Again, this is watered down and applied in a mottled way. You can see how it deepens the colour. Purple wash over copper is my secret technique!
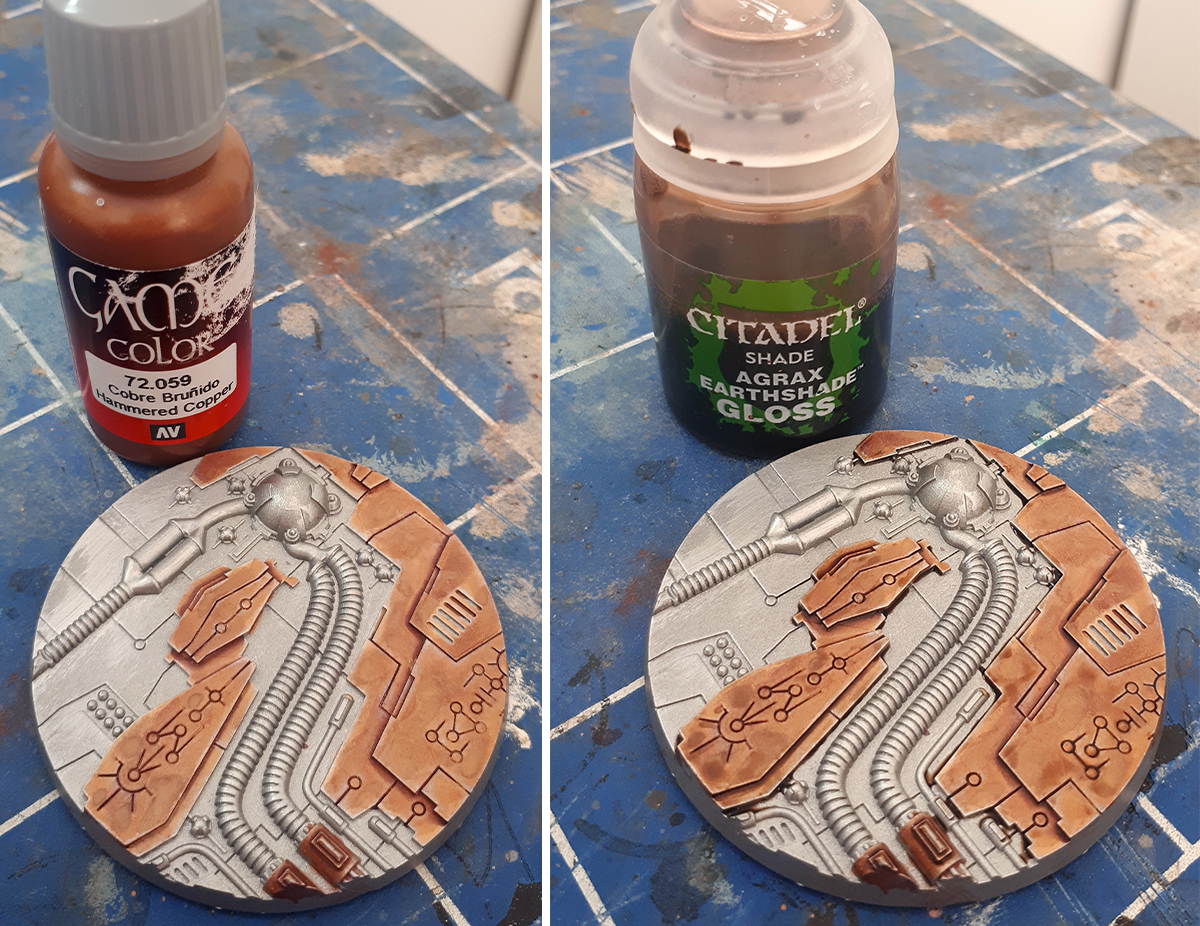
After that I go back with the Hammered Copper and dab it on. This is very watered down again, but it helps to bring back the metallic sheen on the copper than the Druchii Violet takes away.
Then it’s into the cracks with Citadel Agrax Earthshade Gloss. The gloss finish makes the metal look a bit oily, and helps to give it a bit more of that metallic sheen. Focus on painting in the recesses here, but don’t worry too much if it goes over the flat pieces – it provides a little grime!
Finally, to finish the copper I drybrush on Vallejo Game Air Silver. Just get a drybrush or a flat brush and try to just hit the edges. Again, a little messiness is fine, since it adds to that aged look.
With that, the copper is complete!
STEP 3 – BLACK
This one is an important colour, as it helps all the rest of the base really pop. And it’s really easy to do!
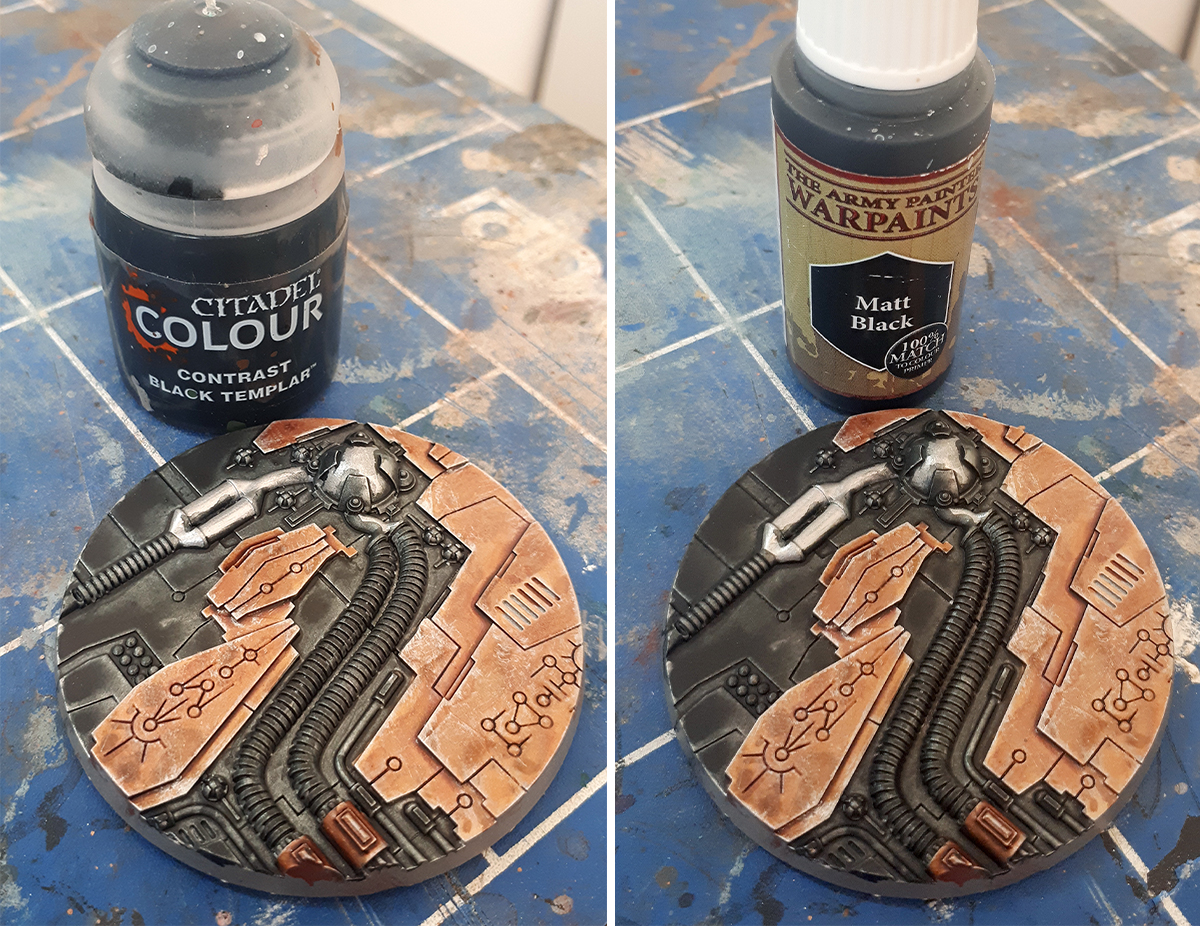
First of all, I apply a thick coat of Citadel Contrast Black Templar. This stuff is better than liquid gold. I’ve gone through pots of it painting Dropfleet models! Painting over a silver base coat means you’ll end up with subtle silver highlights.
After a coat of the contrast, I make a very watered down wash using Army Painter Matt Black and go over the whole thing again. You don’t have to do this, but I think the darker black is a nicer contrast. The Army Painter Matt Black is also a lot yellower than the Contrast paint (which is very blue), so that helps it fit with the warm copper.
After the Army Painter wash you can drybrush with a dark silver if you want the black to be beaten up. I didn’t bother.
STEP 4 – SILVER
There’s only a little silver here, so I kept it very simple.
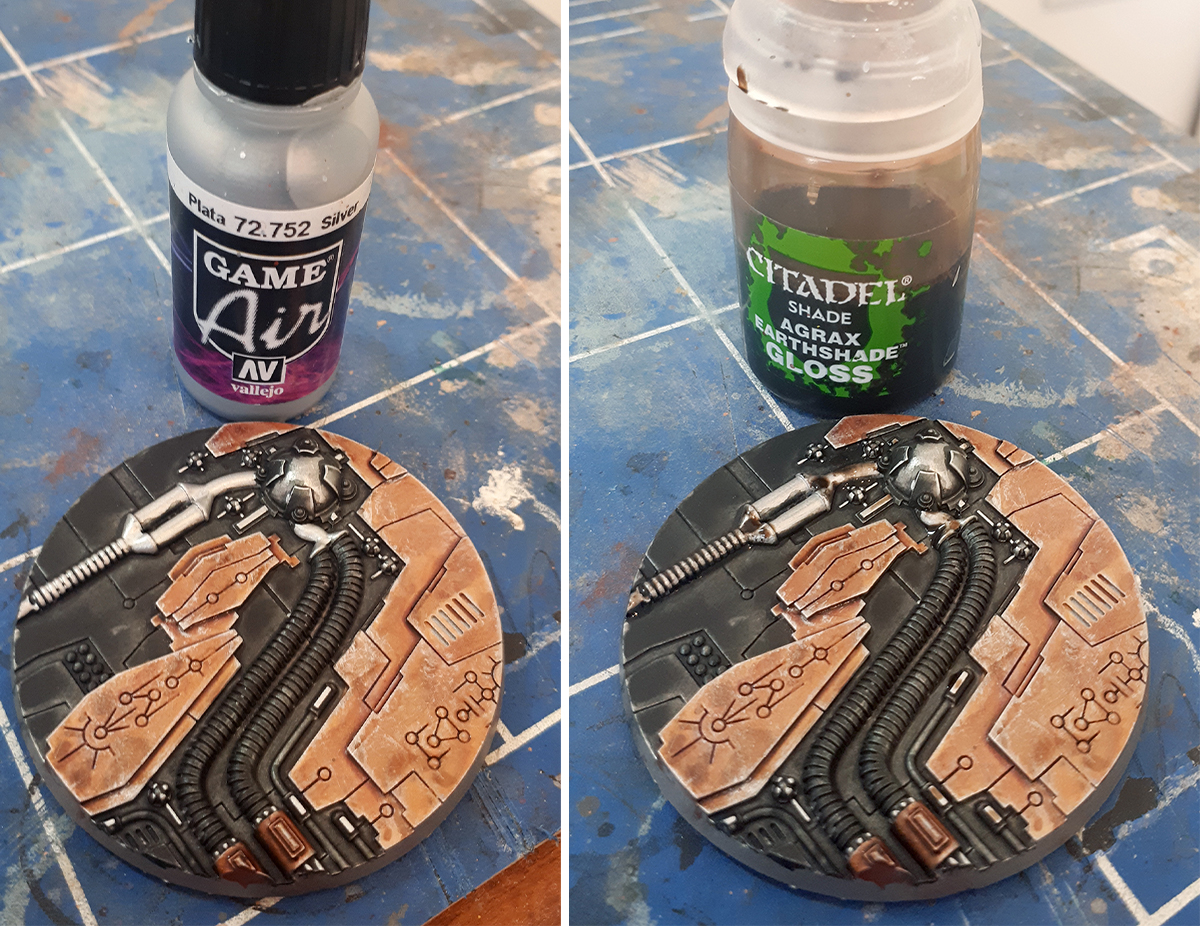
First of all I painted any bits I wanted silver in… well, in silver! This is mostly the odd pipe here and there.
After that it’s a thick coat of Agrax Earthshade Gloss. It gives the pipes a grimy, oily look. Nice and easy!
STEP 5 – GREEN
Alright, this is the bit we’ve been waiting for. Nothing says Space Pharoh like glowing green bits. And luckily there are plenty on these bases! I’m sure some of these bits would look good in silver (like the wires and cables), but I wanted to go EXTRA.
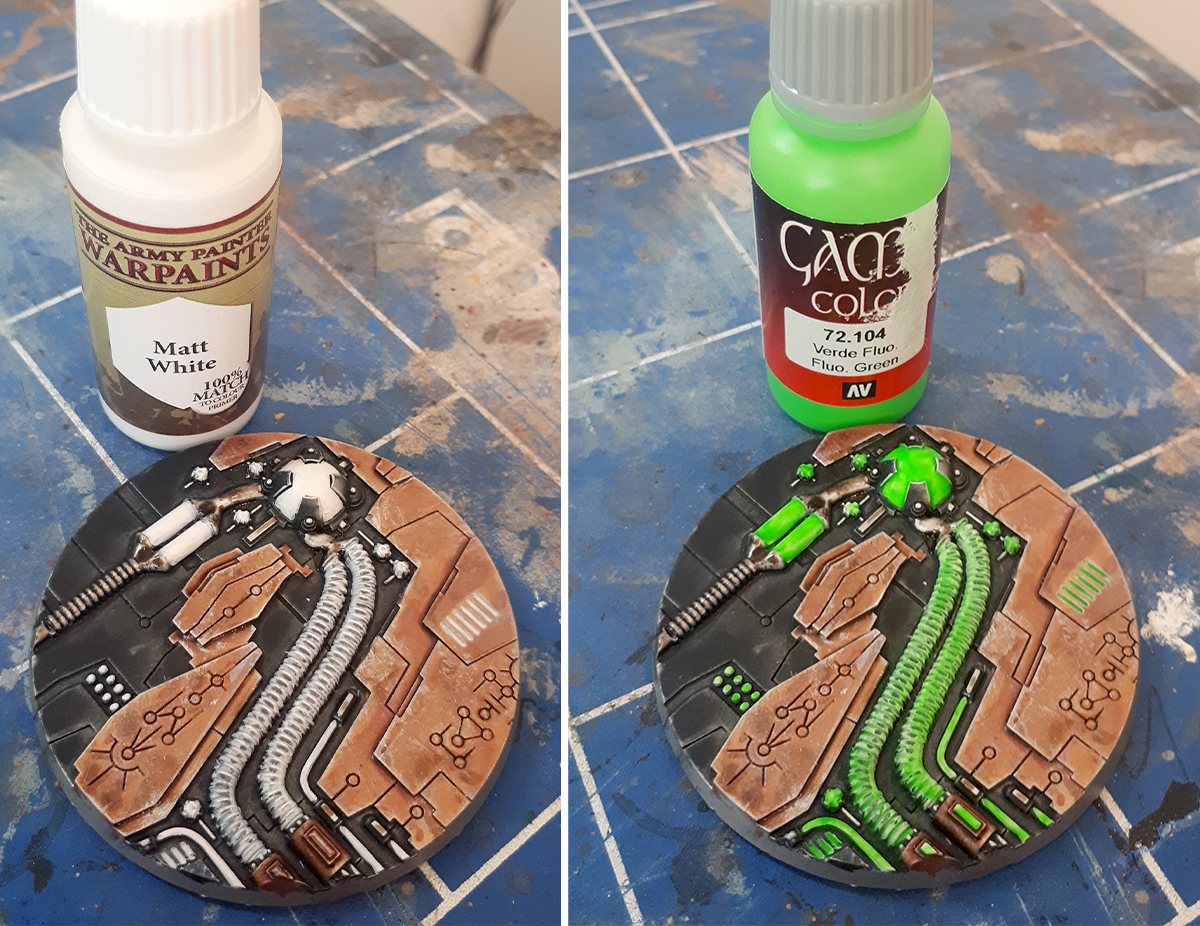
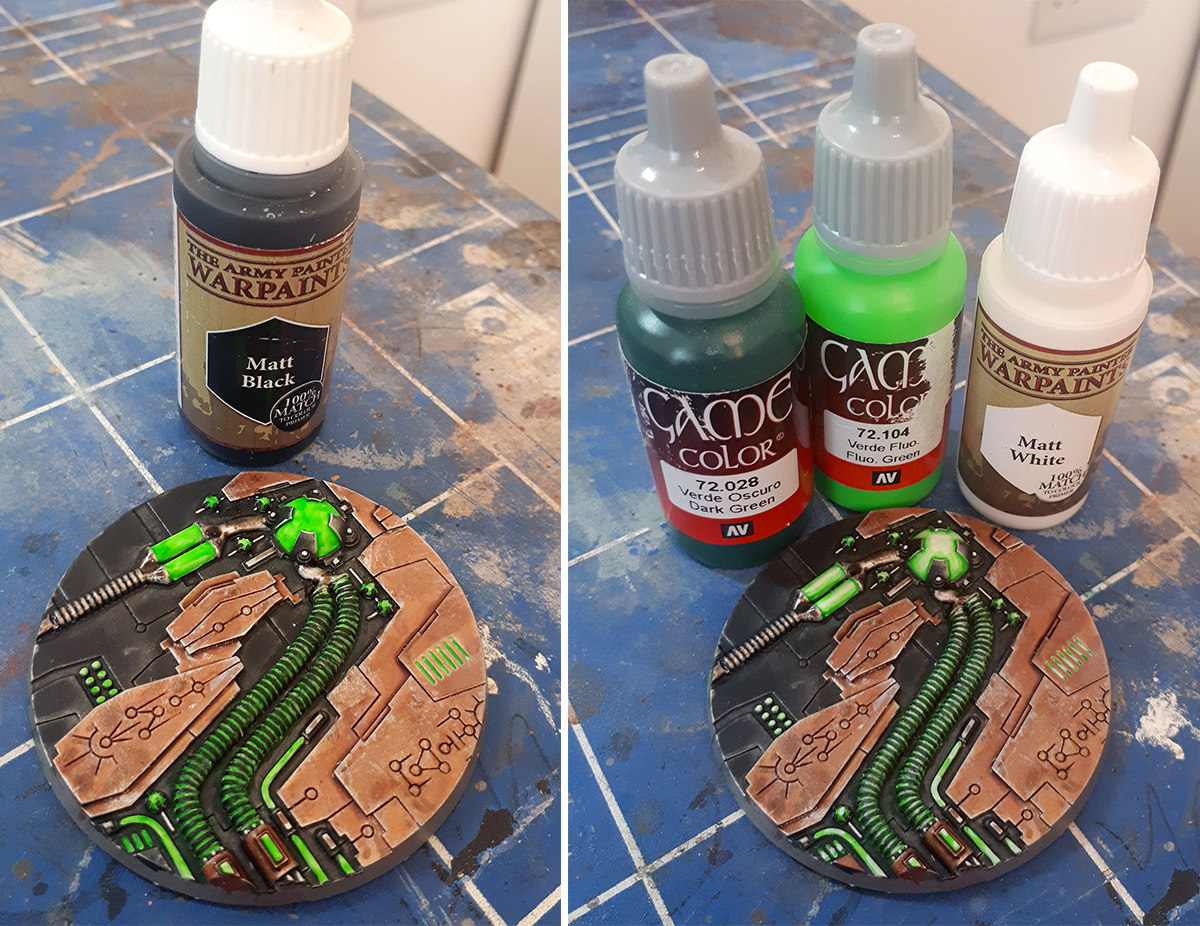
The first thing is to paint every bit you want green in Army Painter Matt White. To be honest, any white paint will do, but Army Painter is really affordable and just as good as anything else, especially for bases.
You’ll want to do a couple of coats on the larger areas like the big orbs. The recessed areas are easier if you water it right down. You should be watering your paints down anyway, but even more here! Don’t worry about being too messy – we’ll go back later to tidy it up.
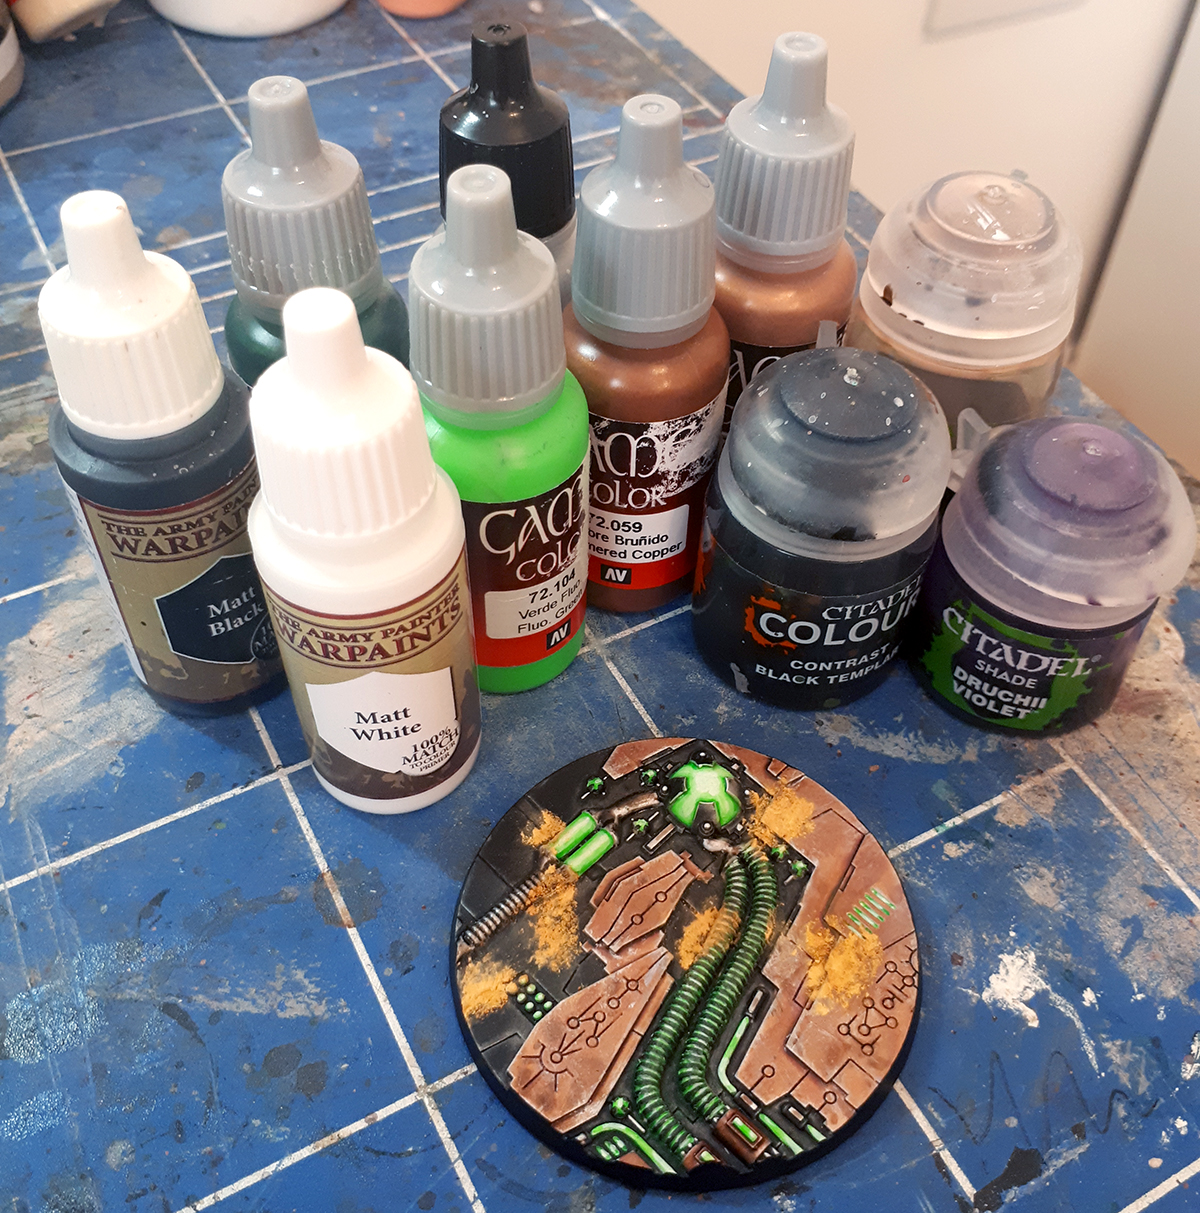
For the green is use Vallejo Game Color Fluo Green.
If you haven’t used this before: beware. It’s weird. It’s extremely thin. Thinner than you think it should be. But it dries and goos up very quickly too. My advice is to load up your brush and glob it on. Because it’s thinner when you first pour it, go for the recessed areas first, then the raised bits. It’s a very strange paint, but have a play with it.
It dries quickly, especially in a heatwave! I’d recommend only pouring out enough for 2-3 bases at a time, otherwise it’ll go very gooey and not be super useful. One of the great things about the fluo paints is that they have a very high surface tension, so you can really put a lot on and not worry much about it running into places you don’t want it.
Some of the larger bits might need 2 coats, but make sure it’s completely dry before doing the second coat, otherwise you’ll just pull off the first and waste your hard work.
Then it’s tidying time! Go over any bits you messed up with your Matt Black. Those ribbed cables are much easier to do this way, as are the little rectangular holes in the floor. Make a mess then tidy it up!
You can leave the green here if you want, but I like to add a little extra detail since it’s the most eye-catching part of the base.
Using the Fluo Green as well as Game Color Dark Green and some Matt White, I add some extra touches. All of the wires and little holes and little orbs get a highlight. It’s a 90/10 mix of Matt White/Fluo Green, painted carefully in little dots to make the centre of each glow.
The larger orbs get the same treatment (albeit a little more carefully since they’re so obvious), and some of them get a bit of darker green shading by mixing 90/10 Fluo Green/Dark Green. Particularly the big crystals benefit from this. Often a watered down Fluo Green will help to blend these all together.
That’s the basic base pretty much finished. The next step is optional, but really adds something extra.
STEP 6 – DUST
You don’t have to add dust, but it’s really easy and makes your bases look ancient – good for space mummies!
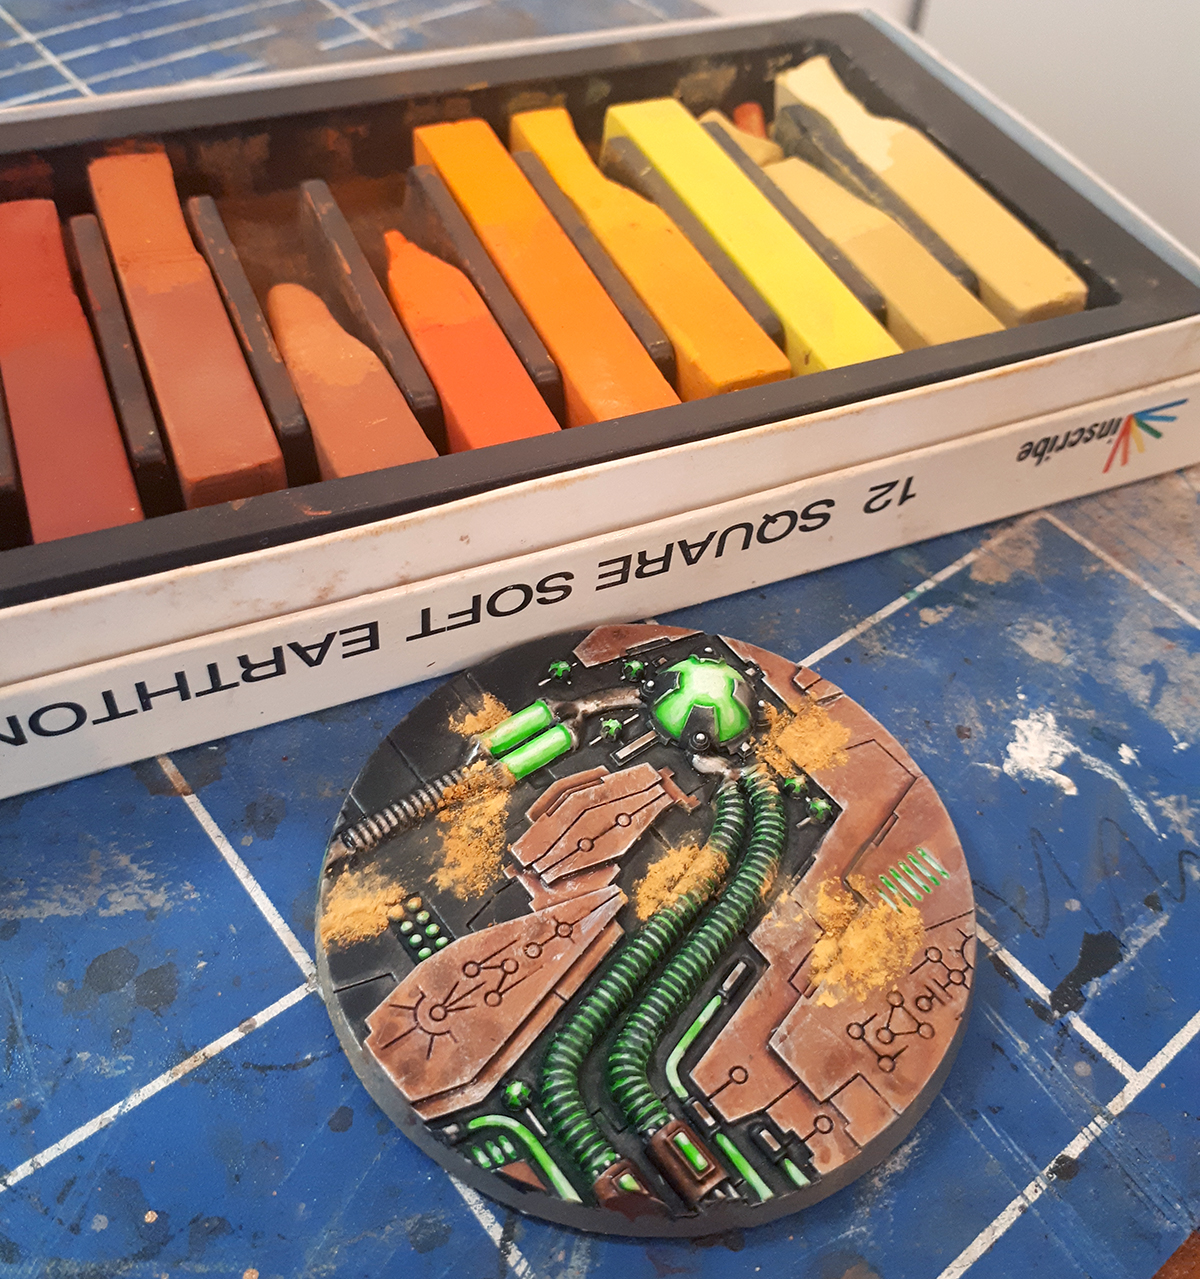
There are loads of different ways to do weathering powders. You can buy them already made from various places (Mig do really good ones) but they’re often quite expensive. So I make my own!
I went to a craft store and bought these super cheap chalk pastels years and years ago (they go a long way on miniatures). I get a bit of kitchen roll and with a hobby knife I scrape along the pastel, brushing the dust onto the tissue. This way I can make custom blends for each different project.
Fair warning: these pastels are held together with glue so it’s not going to be super fine dust, but unless you’re painting to an award-winning standard (I’m not), you won’t even notice.
I mix the different shades together, then start to apply! You can brush it on dry and fix it afterwards, but I find it easier to fix as you go. You can use any fixative (don’t be fooled by the miniatures companies – it’s the same fixative in a tiny bottle that canvas painters use in a massive bottle for half the price), and a lot of stuff will do the job. I actually use our MDF Sealer, since it works pretty much the same, it’s really cheap, and I always have loads hanging around!
With a brush just add a little sealer, then brush on some pigment. Your brush will get a bit clumped up if you keep double-dipping, but I think it makes it a bit more random, which is always good. It’s all water-based anyway so will wash off at the end no problem.
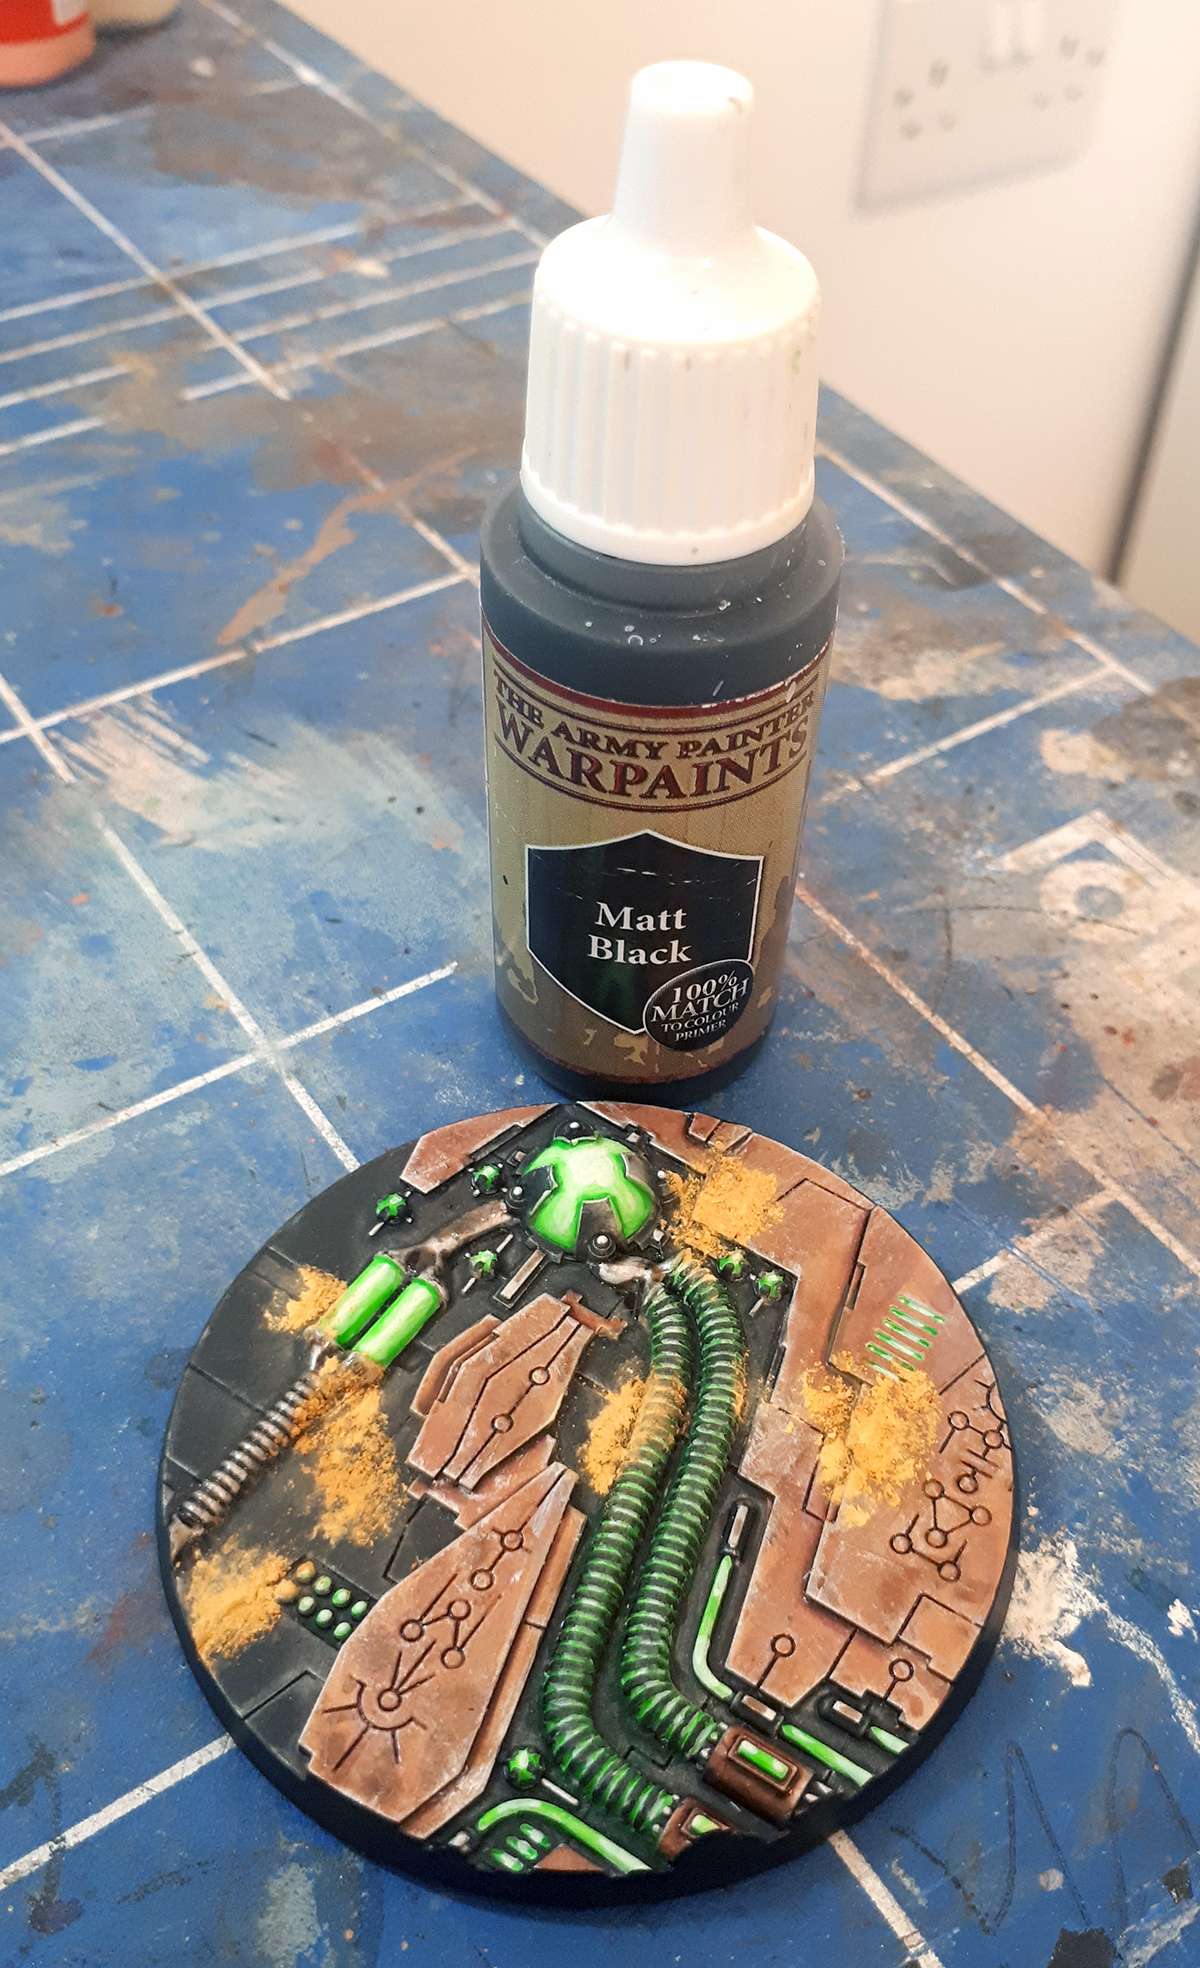
After all that, you just have to paint the base rim (I like mine black, unless I’m painting Patricians, in which case they’re all GOLD I KNOW I’M A MONSTER DON’T @ME). Then you’re done! Repeat a bunch of times and you’ll have a whole army of bases ready for their skeleton robot (or space fighter) occupants!
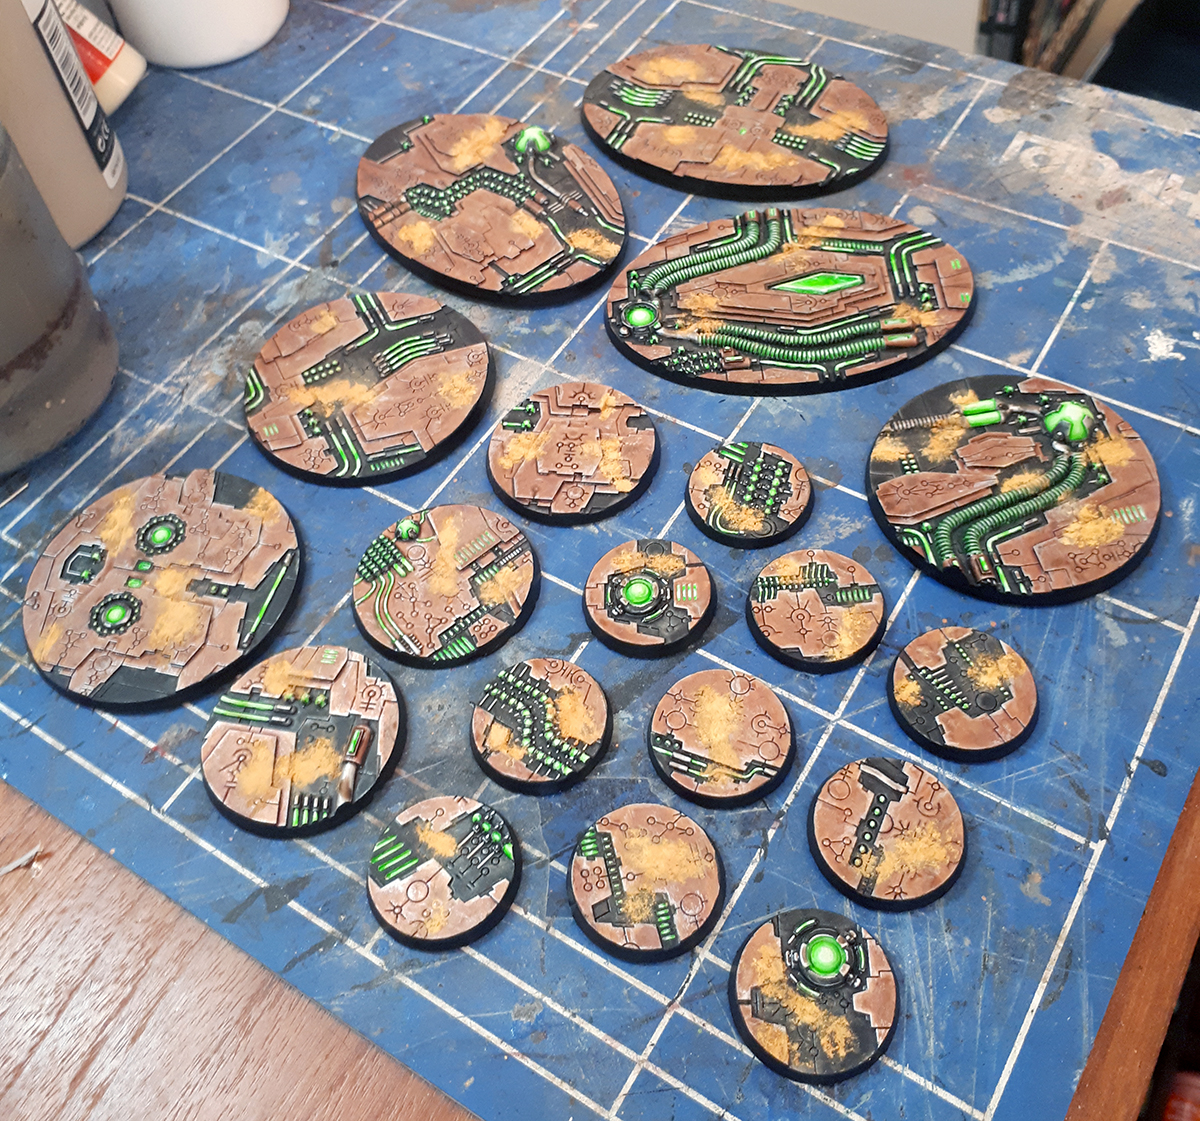
So what do you think? Eager to give it a go? You can pick up a bunch of Tomb World bases on the TTCombat webstore already, but we have more coming this Friday, including some bundle sets for your whole army!