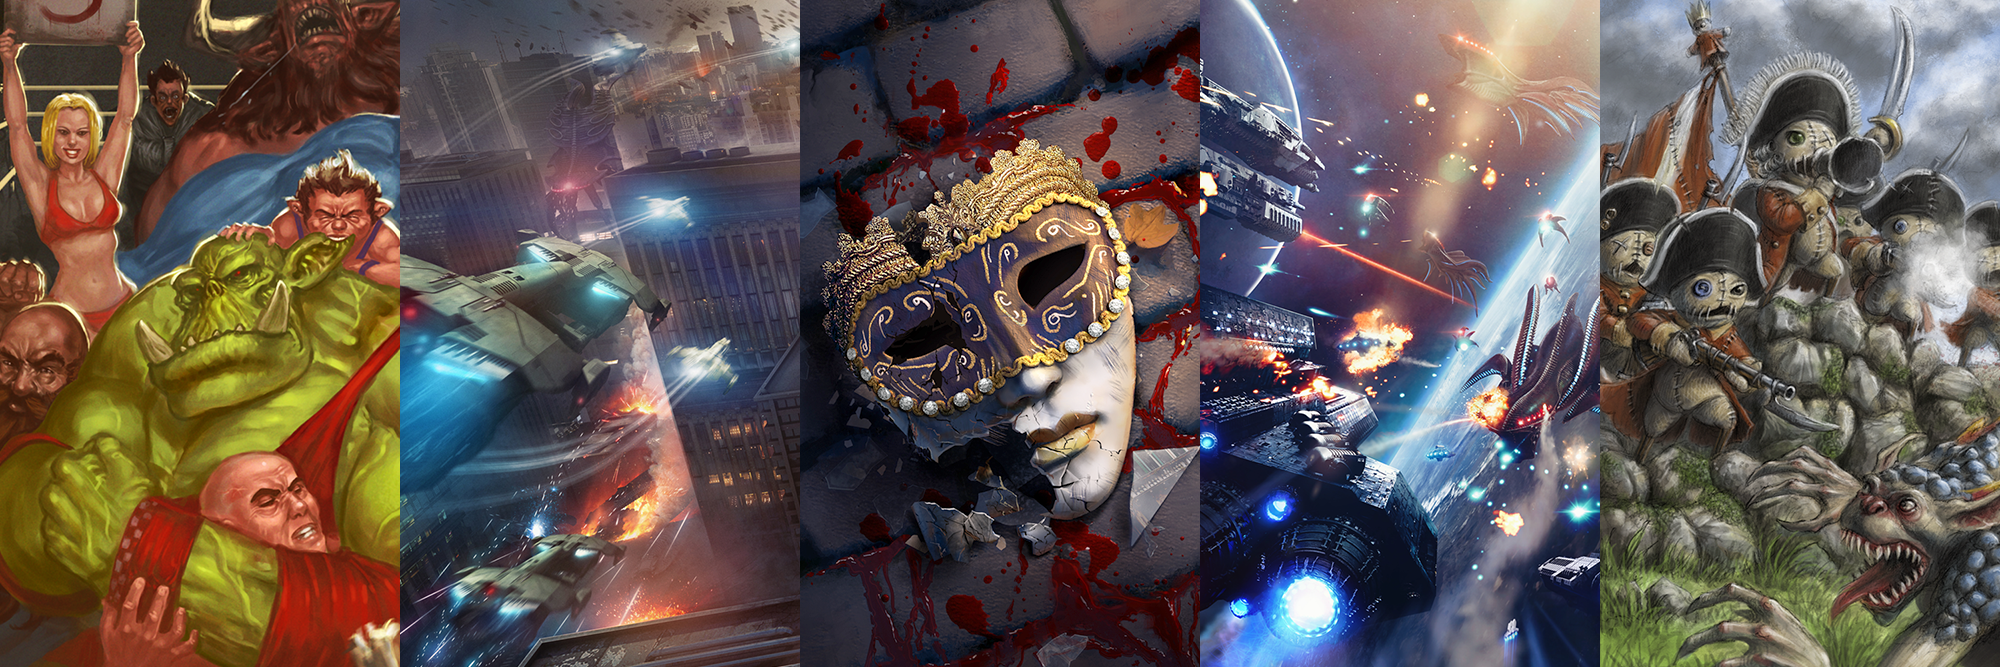
It’s time for another monday motivation, lets take a look.

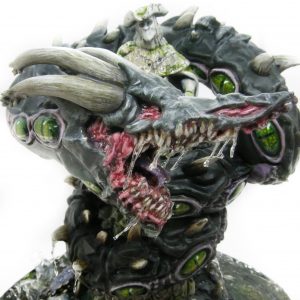
Hello guys and girls, hope you all had a good weekend. Today I have a special treat for you it is a very impressive Morgraur from our Carnevale range and has been painted by Jon Berenguer-Webb. He has also been kind enough to give us his methods behind how he achieved this look.
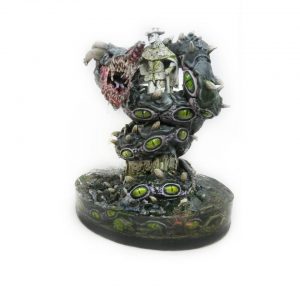
“With the recently released Escape from San Canciano set I thought it would be great to do the statue and base partially submerged so I began researching online about how to do that. I also widened the jaw and added a forked tongue with greenstuff. I really wanted to emphasise the mouth and added plenty of dripping saliva, kind of like the Alien Queen from Aliens! ” – Jon Berenguer-Webb
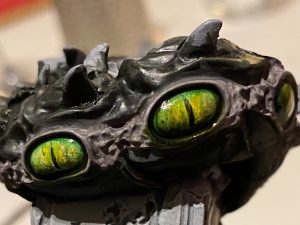
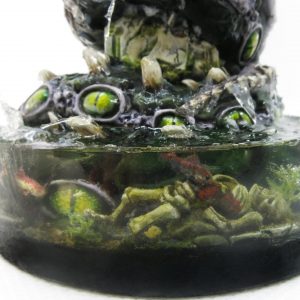
“Colour wise I knew I was going to follow the colour scheme of the rest of my Rashaar monsters but as the eyes on the body were so dominant I thought I’d make a feature of them. I found some close-up photographs of snakes eyes so I decided to copy those. The colour of the eyes are built up with green stippling, just painting a series of dots with a very fine brush (a 10/0!), then yellow around the pupil, then a thin greeny yellow glaze to tie it all together. I then used a black wash around the edges to build up some shading, painted in white highlights and finished with gloss varnish. Time consuming, but I knew I wanted to really go to town on this! Another feature I’m really pleased with are the veins under the skin of the tail. I wanted a cold mottled feeling as if it had been in the water a long time!” – Jon Berenguer-Webb
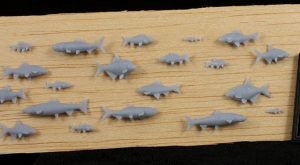
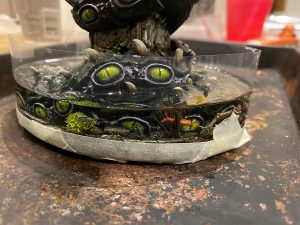
“Whilst painting I had the idea of adding a couple of fish in the water, with 1 nibbling on the remains of a person. I found some 3D files of fish and asked my friend Ed Burgos (who works at the TTCombat store in Bromley, my local!) to print them off for me. I actually googled Italian native fish as well to get the right ones – there’s a Cernia (Dusky Grouper), Parago (Pandora) Ricciola (Amberjack) and a Triglia (Striped Red Mullet).” – Jon Berenguer-Webb
“Once it was all painted and detailed I set about doing the water base. This was a steep learning curve and I was nervous about messing it up! So far I’ve exclusively used Vallejo Water Texture so I decided to use that – big mistake! My 1st attempt I didn’t get a perfect seal around the edges of the base and the water texture just leaked out. My 2nd attempt was better but still a lot of leakage. My 3rd attempt seemed fine at first but even after 5 days of drying, when I took the acetate off it pulled big chunks out of the sides and no amount of patching could fix it. Also, as Vallejo Water Texture is water based it retains a certain amount of flexibility so cannot be sanded, and if you attempt to dry it with a heat gun it bubbles and shrinks – as I found out the hard way! In the end I cut and peeled the water off of the model, repainted it, did some more research and bought a clear resin kit. This was so much easier and dried a lot quicker. I then used transparent thread and blister plastic to add splashes to the surface of the water and coated these in Vallejo Water Texture and it was finally done! I pushed myself technically with this model but I’m really pleased with the end result!” – Jon Berenguer-Webb
Seriously impressive stuff Jon, if you’d like to see more of what Jon has to offer you can find him under this instagram handle. “beedub_miniatures”
That is all from me for this weeks monday motivation, have a good week everyone.
