Placing your terrain in the right location can be critical…
Whilst it might be fun to charge your forces directly at the enemy in the centre of your tabletop, it’s not always for the best. In Carnevale miniatures game you need to take advantage of your surrounding terrain to gain an advantage. This is especially true if you’re fighting against those heavily armoured Vatican knights. Today, TTAgent Dario is going to outline how to set up a good board for your next game.
The following is written by TTAgent Dario (Monsters Behind the Masks).
Hello folks! It’s Dario here from Monsters Behind the Masks, back again to share my experience on how to set up a good board for your Carnevale games. Needless to say, our favorite game uniquely uses terrain, offering challenges and possibilities we all love. Poorly placed scenery can lead to boring games, with no opportunities to perform amazing acrobatic feats or hide your sneaky advance toward objectives. A carefully laid-out board can represent an ambush site, a gang’s brave last stand, or perhaps a fateful clash for survival. It’s Destiny, isn’t it? The wise Carnevale rulebook provides excellent advice for creating fun and engaging boards.
Basic Principles
The first rule is simple: alternate placing scenery with your opponent(s). This ensures a varied board—after all, you already know the scenario you’re playing, as it’s the first step in setting up a game of Carnevale! Depending on the mission and the gang you’re playing, you’ll likely place buildings close or far apart, lay down wide or narrow bodies of water, cut or open lines of sight, create bottlenecks to trap foes, and more.
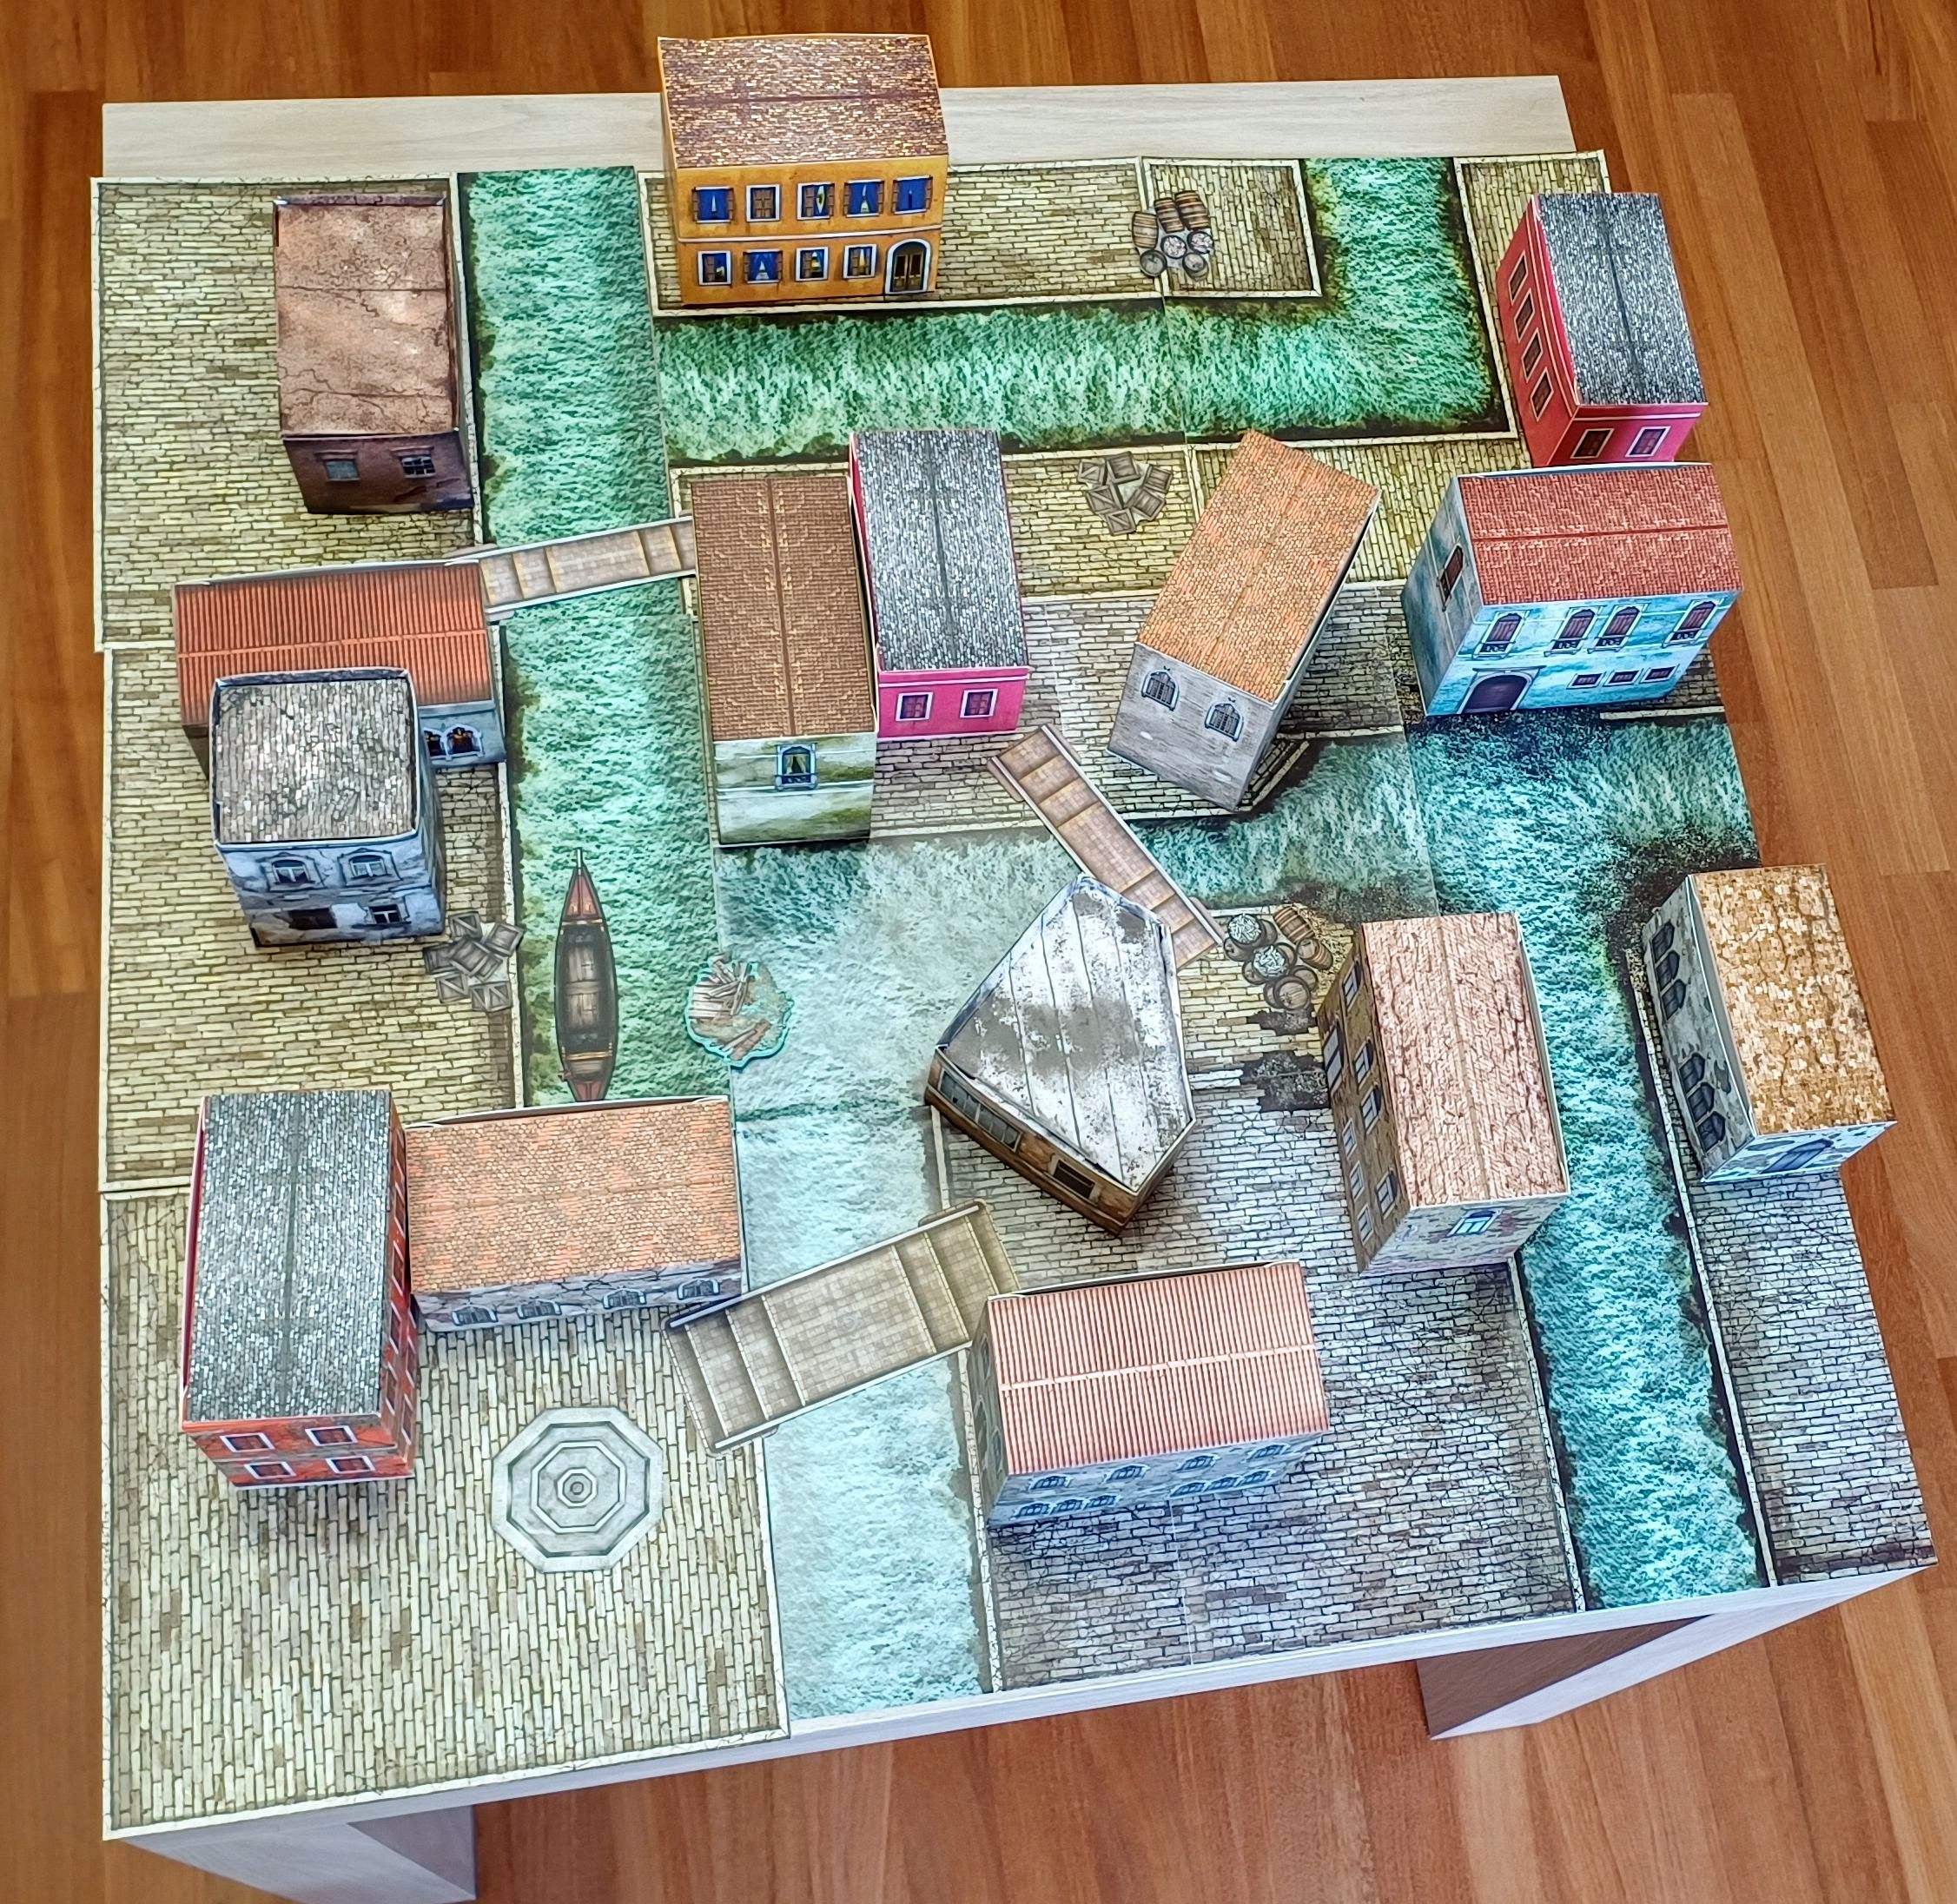
However, the golden rule for terrain layout is the Rule of Thirds: 1/3 water, 1/3 buildings, 1/3 ground. Following this simple yet effective guideline ensures your boards are never boring, unbalanced, or uninteresting. In this article I’m using the excellent cardboard terrain provided with the 2 Players Starter set and Escape from San Canciano. I decided to combine the two sets together to give additional variety (but just by using the 2 Players Starter set terrain you’re perfectly fine).
Step 1: Laying Out the Tiles
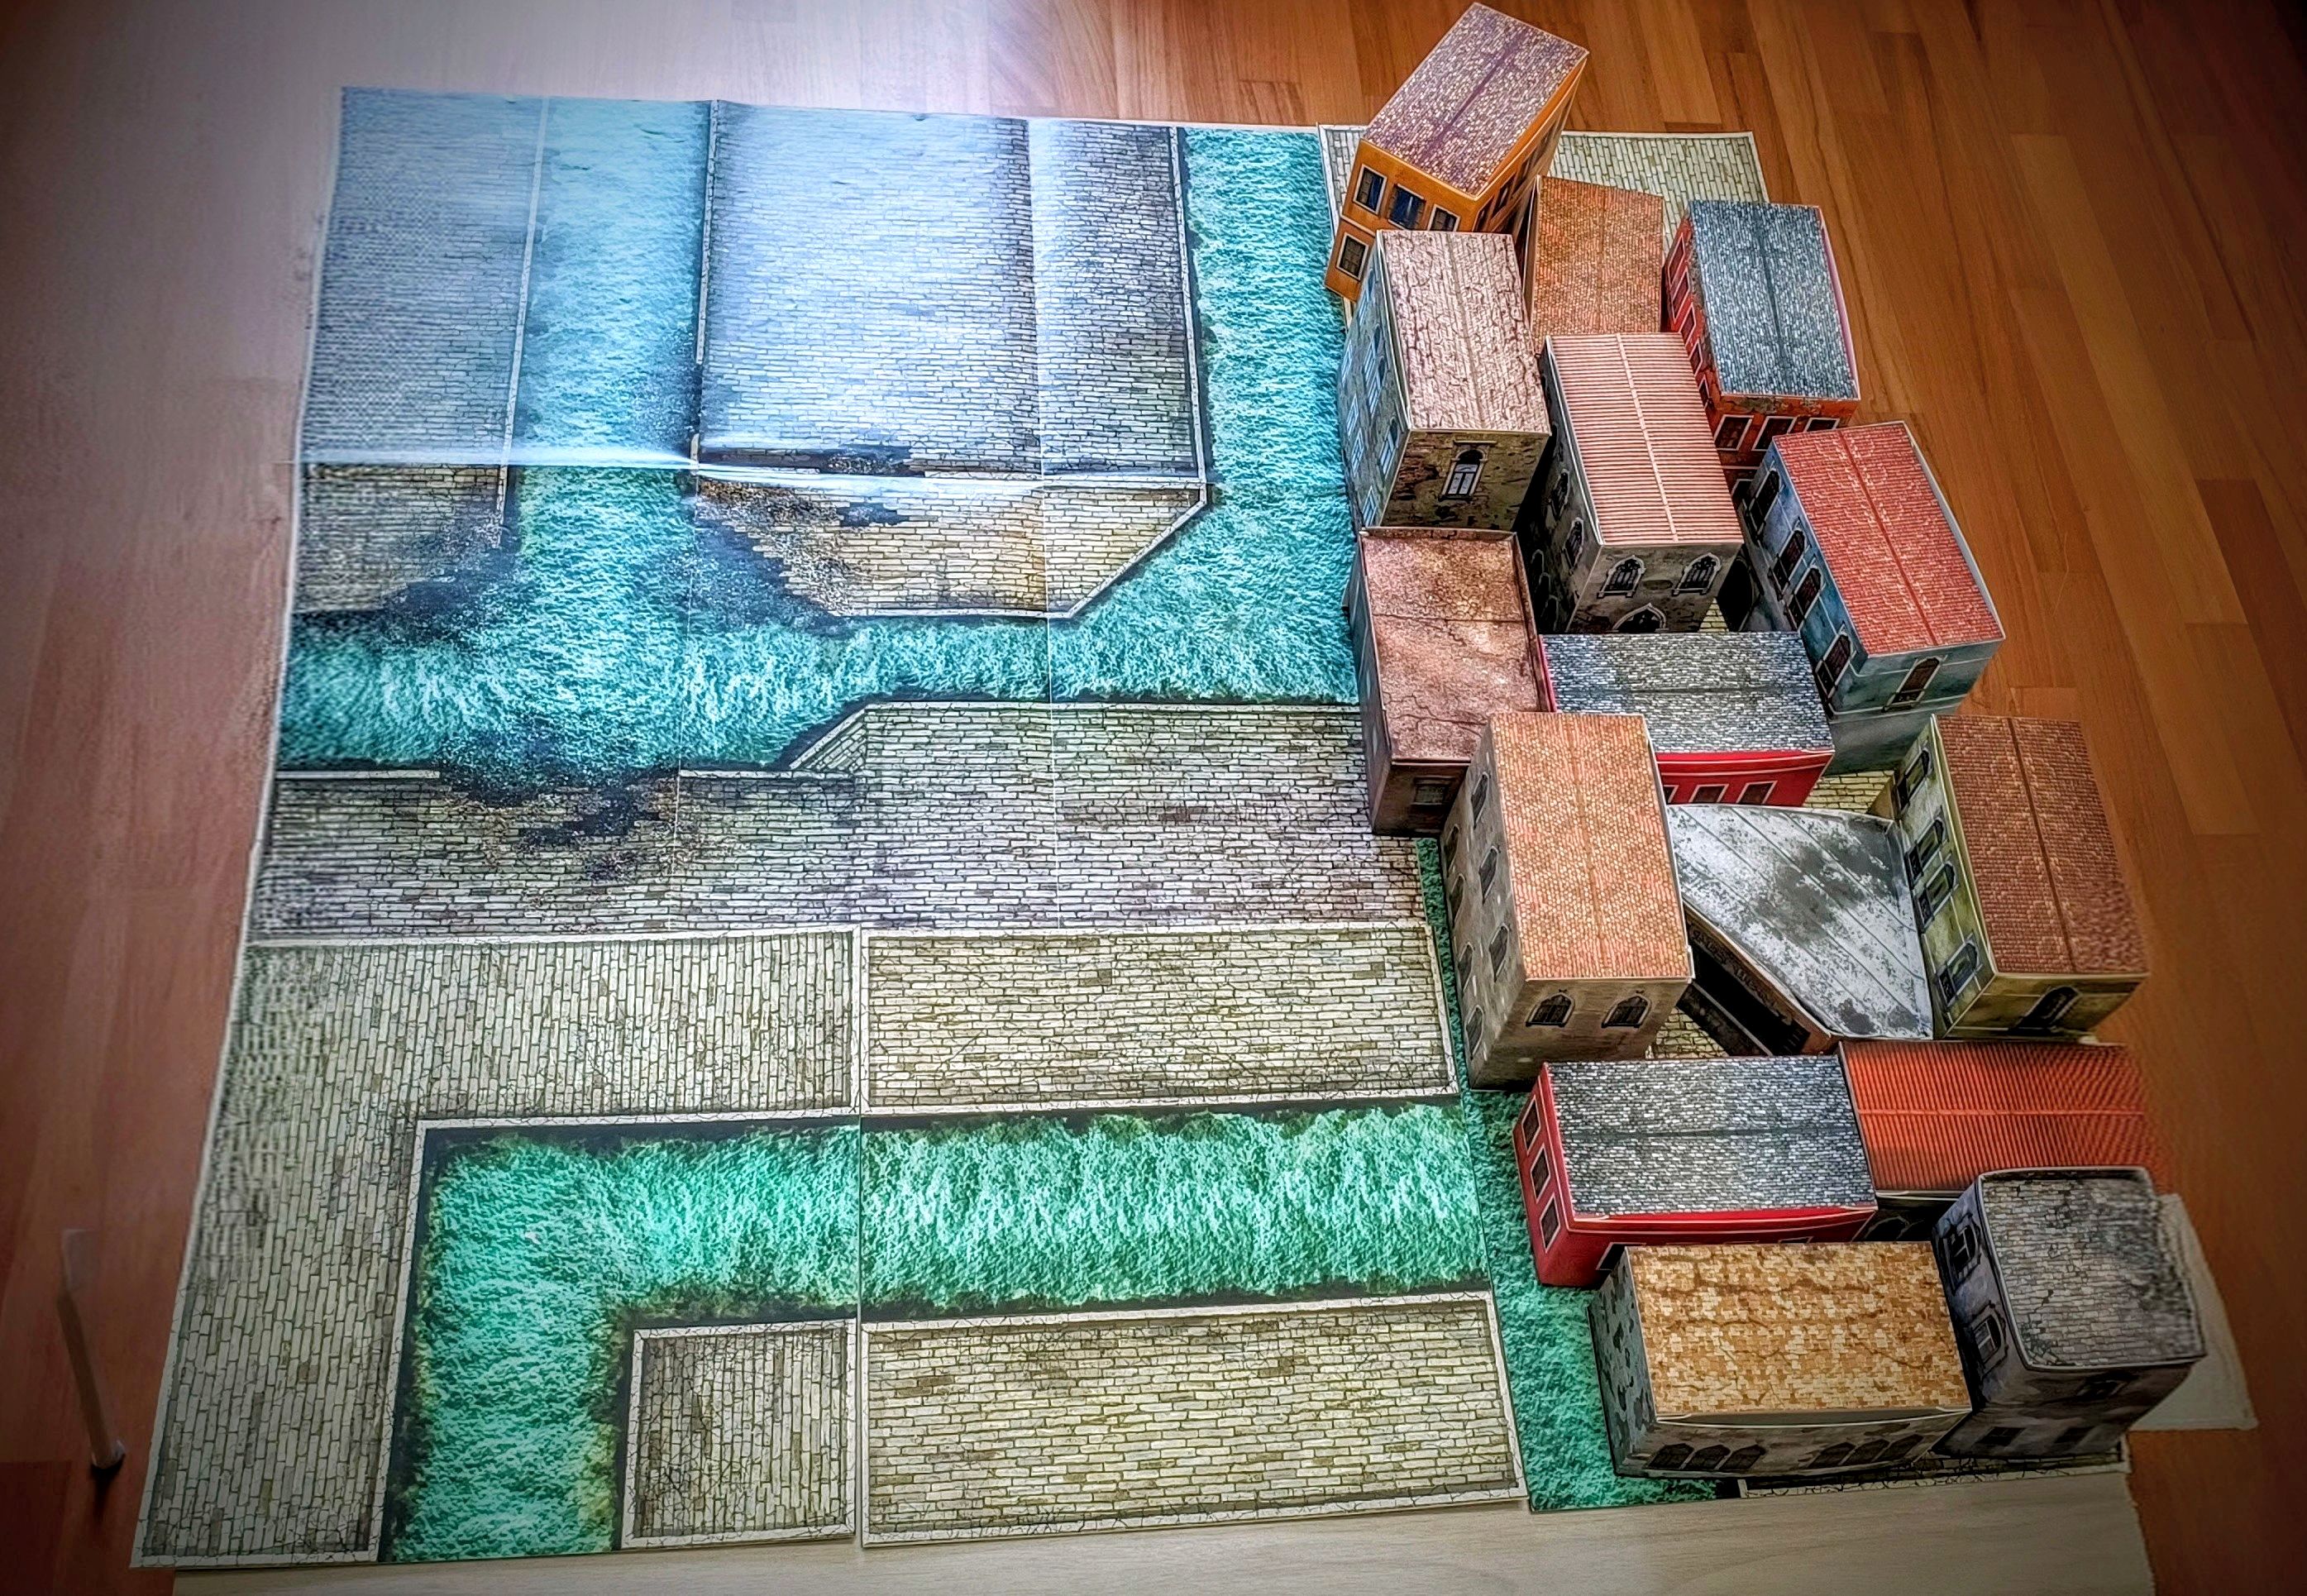
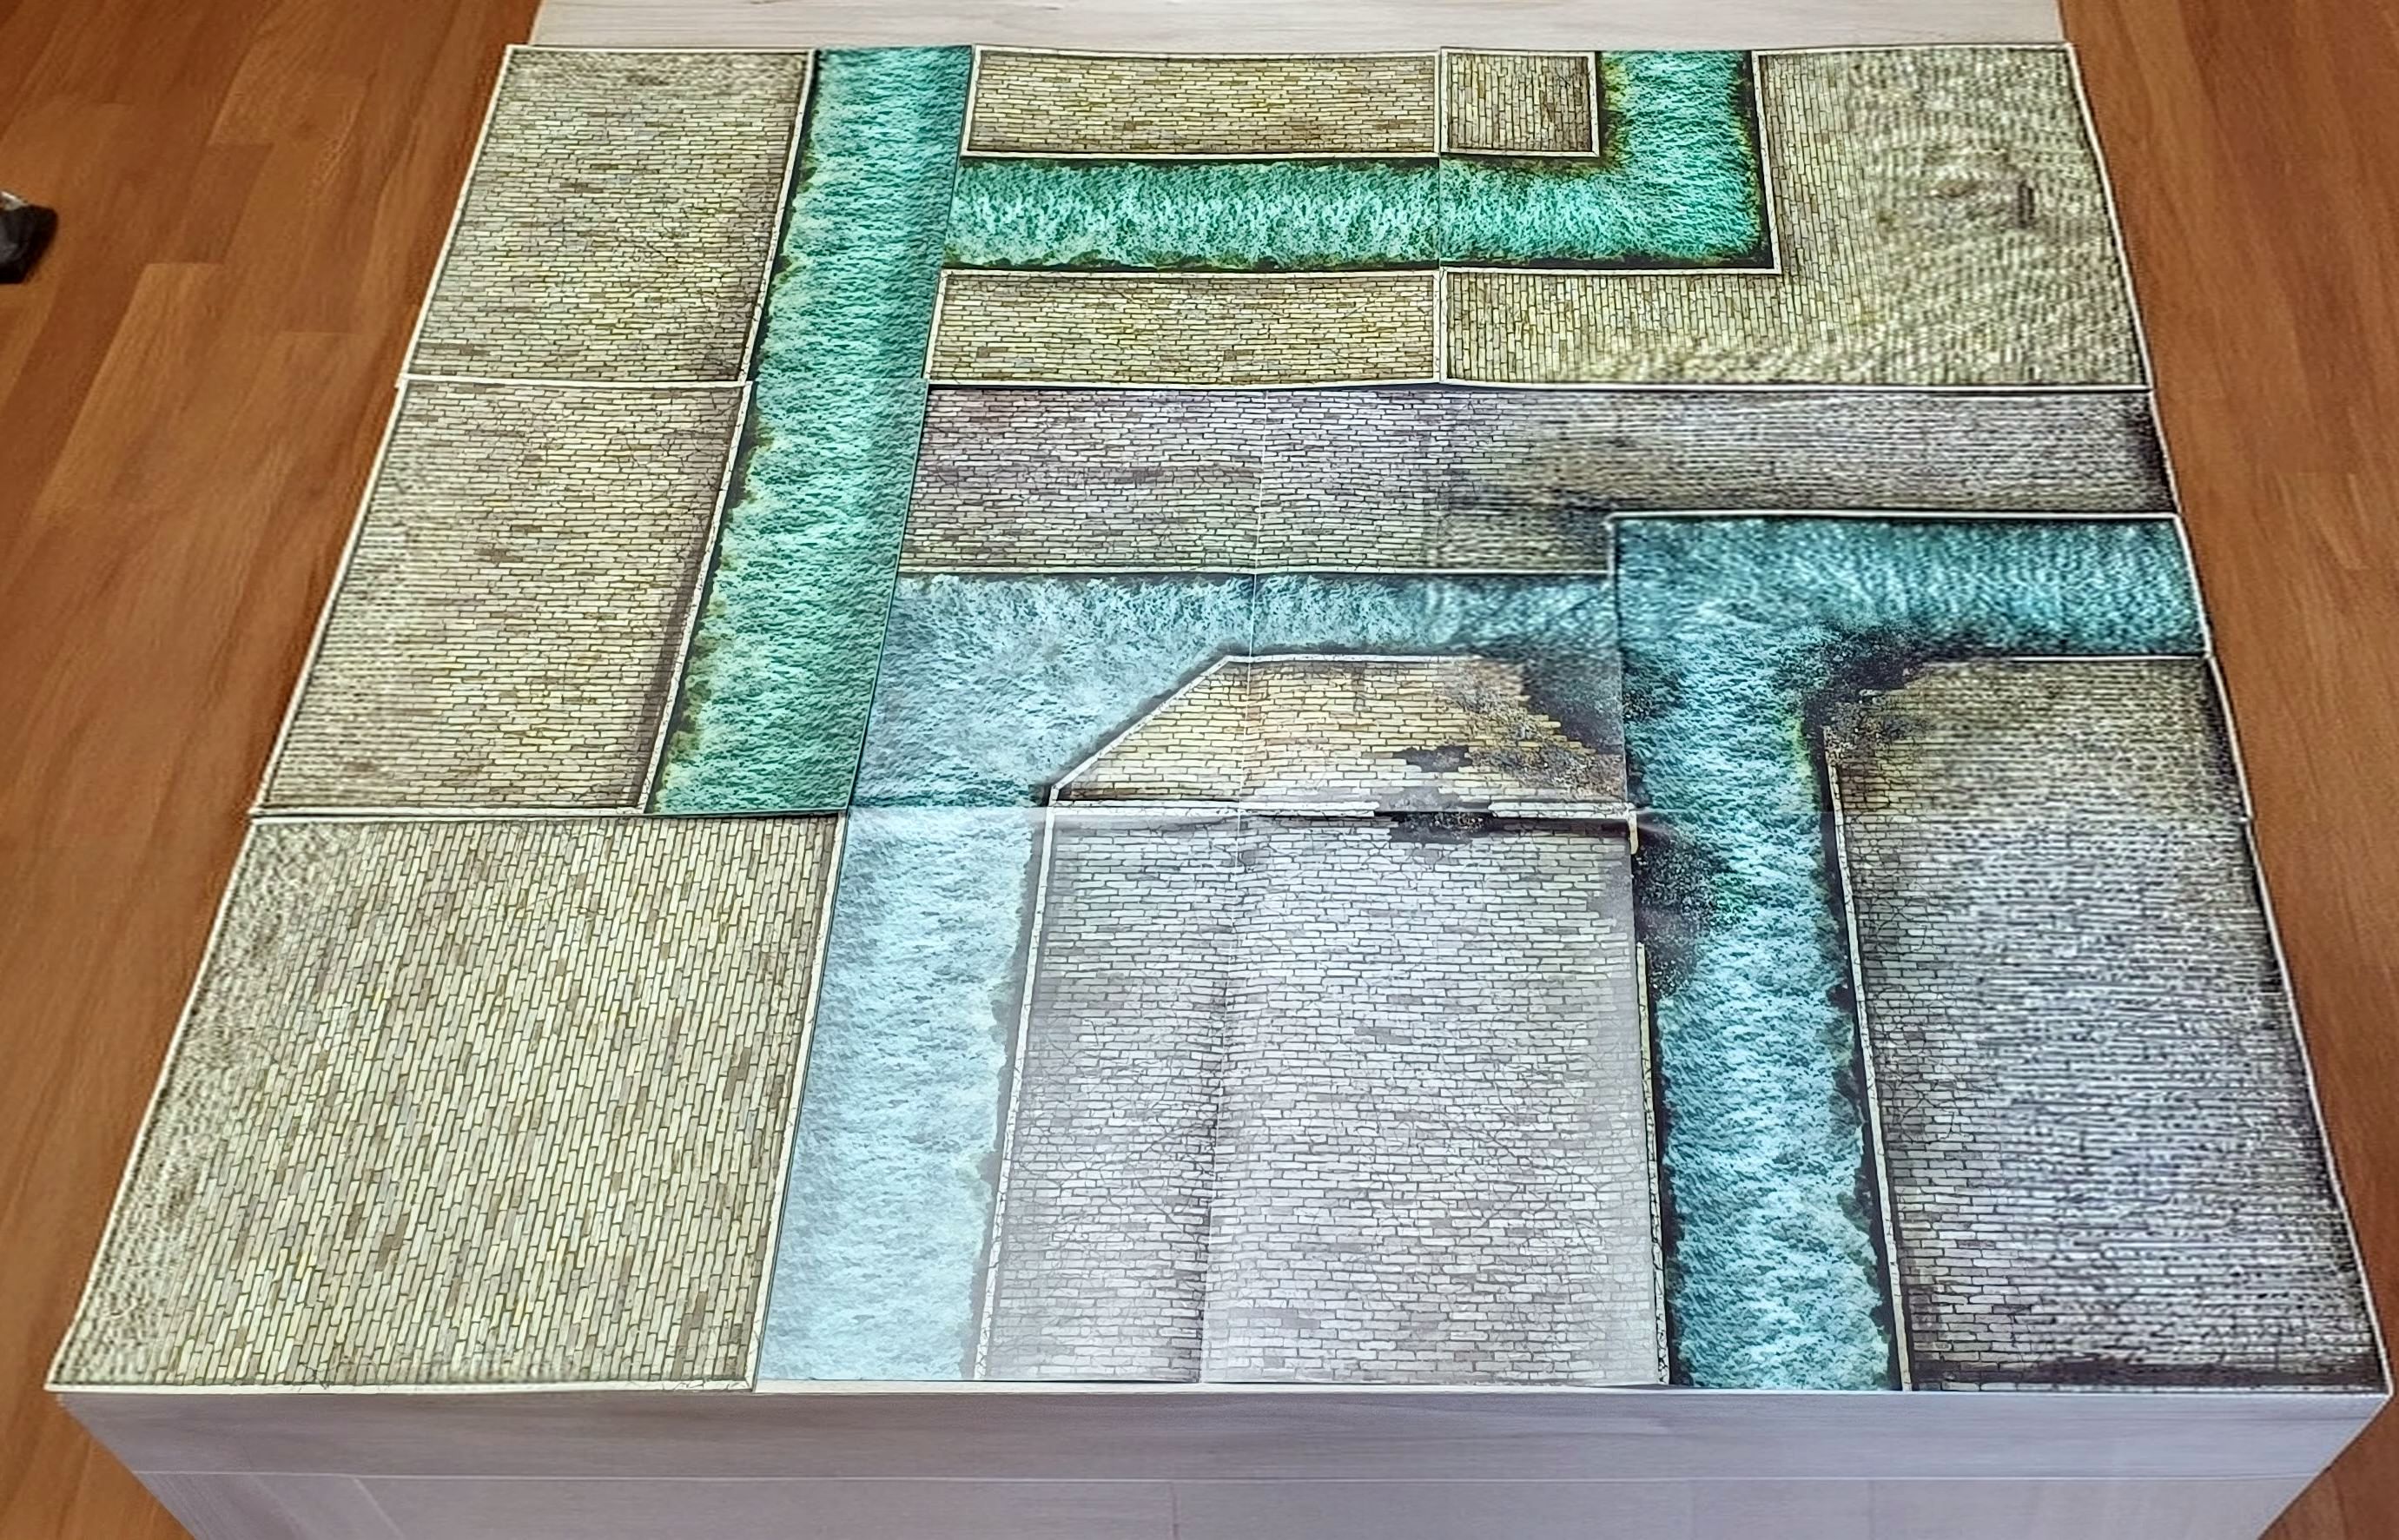
Start by placing the tiles. The 2 Players Starter set has 9 double-sided tiles: one side features full water, while the other side shows water and cobblestone. Today, we’ll use the cobblestone side; the full water side becomes more relevant once you add MDF kits for walkways and buildings. My gaming group still uses these tiles—they’re the best value for your money! Here I’m finishing my basic layout using my Escape from San Canciano game mat. How cool is it?
Step 2: Adding Buildings
Now, let’s place our gorgeous houses and palazzi. The goal is to cover about half of your walkways with buildings, maintaining the 1/3 proportion of water, ground, and buildings. Before starting everything, I set aside all the buildings to broadly cover ⅓ or my table space. You can’t go wrong with this method!
Pro Tip 1:
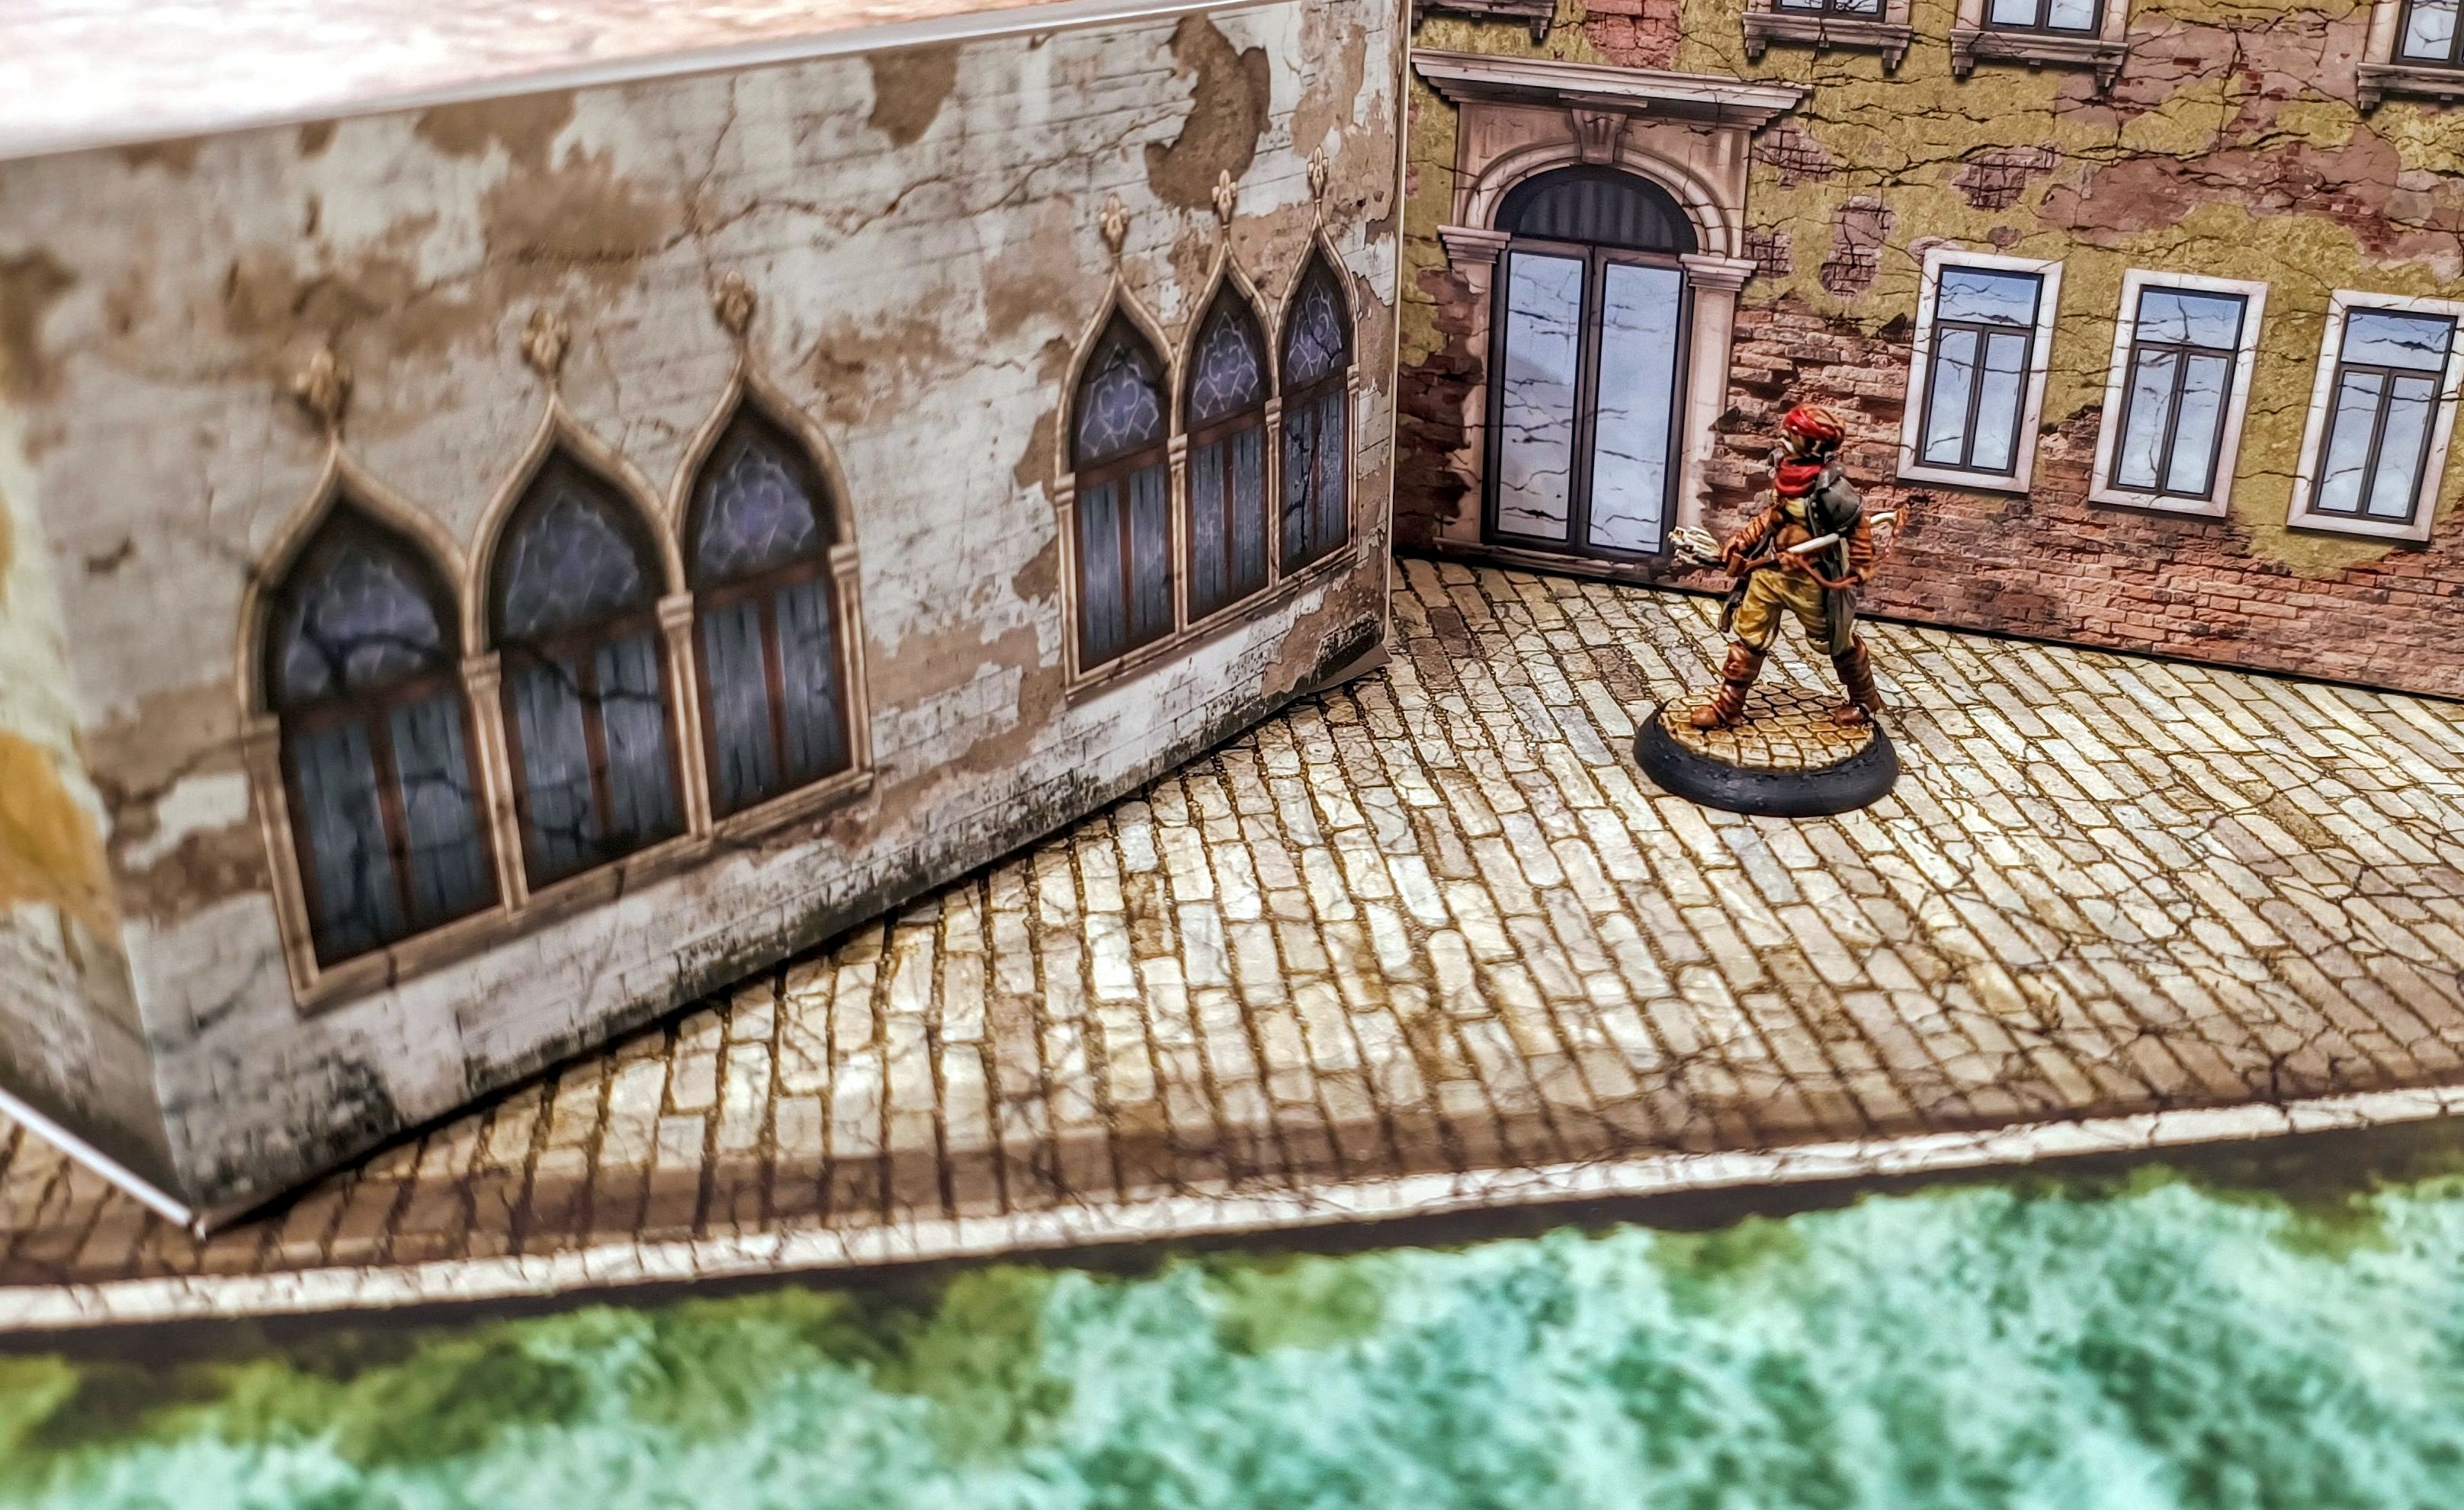
Don’t hesitate to place buildings close together or even touching. Avoid gaps smaller than 30mm—Venice’s narrow alleys are atmospheric but impractical for moving miniatures without accidentally hitting something. Go for either a minimum of 30mm or let the buildings touch. This creates spaces where some models can go while others can’t—perfect if your characters need to hide from a frightening monster!
Pro Tip 2:
Use the whole board. I often see beautifully painted boards with all the buildings aligned along the edges, leaving the center empty except for water. This kills the game. Without line-of-sight blockers or hiding spots, you’re just fighting an open-field battle dressed up in a Venetian theme. Be bold!
Pro Tip 3:
Don’t forget your strengths! If you have models with Infiltration, place tall buildings in the deployment zones. You won’t know where you’ll deploy yet, but starting to lay down a plan is always a good idea.
Step 3: Scatter Terrain
Finally, add scatter terrain—barrels, carts, market stalls, floating debris, cranes, tables, even corpses! The more, the better. Venice looks desolate and sad without bustling streets. In the Carnevale setting, the city brims with life (or unlife, in the case of Strigoi). Filling the streets with scatter terrain improves the game’s feel and experience.
Variations for More Excitement
To keep things fresh, try experimenting with different setups. Venice offers many distinct landscapes to inspire your games:
Arsenale: Wide areas with lots of water, ships, warehouses, and dock equipment.
Gardens: Elegant hedges, tall walls, and perhaps a grand greenhouse.
San Canciano: Submerged buildings, wide canals, and ruined houses—a paradise for Rashaar players!
I hope you found this article enjoyable and helpful for elevating your Carnevale experience.
Arrivederci a Venezia!


