Sometimes you need a guiding hand…
The Purloined Puissance are available to order now and one of our TTAgents (Chris McEwan) has very kindly put together this build guide. We hope this helps to make the assembly process even smoother.
The following is written by Chris.
The five models in this kit contain both single part and multi-part resin
characters. If you’re new to the hobby, or have never worked with resin before,
there are a few things you’ll need before getting them built and in the ring,
representing The Diamond Oasis.
The tools I use are small files, a hobby knife (with a sharp blade), mould line
remover, superglue and side cutters.
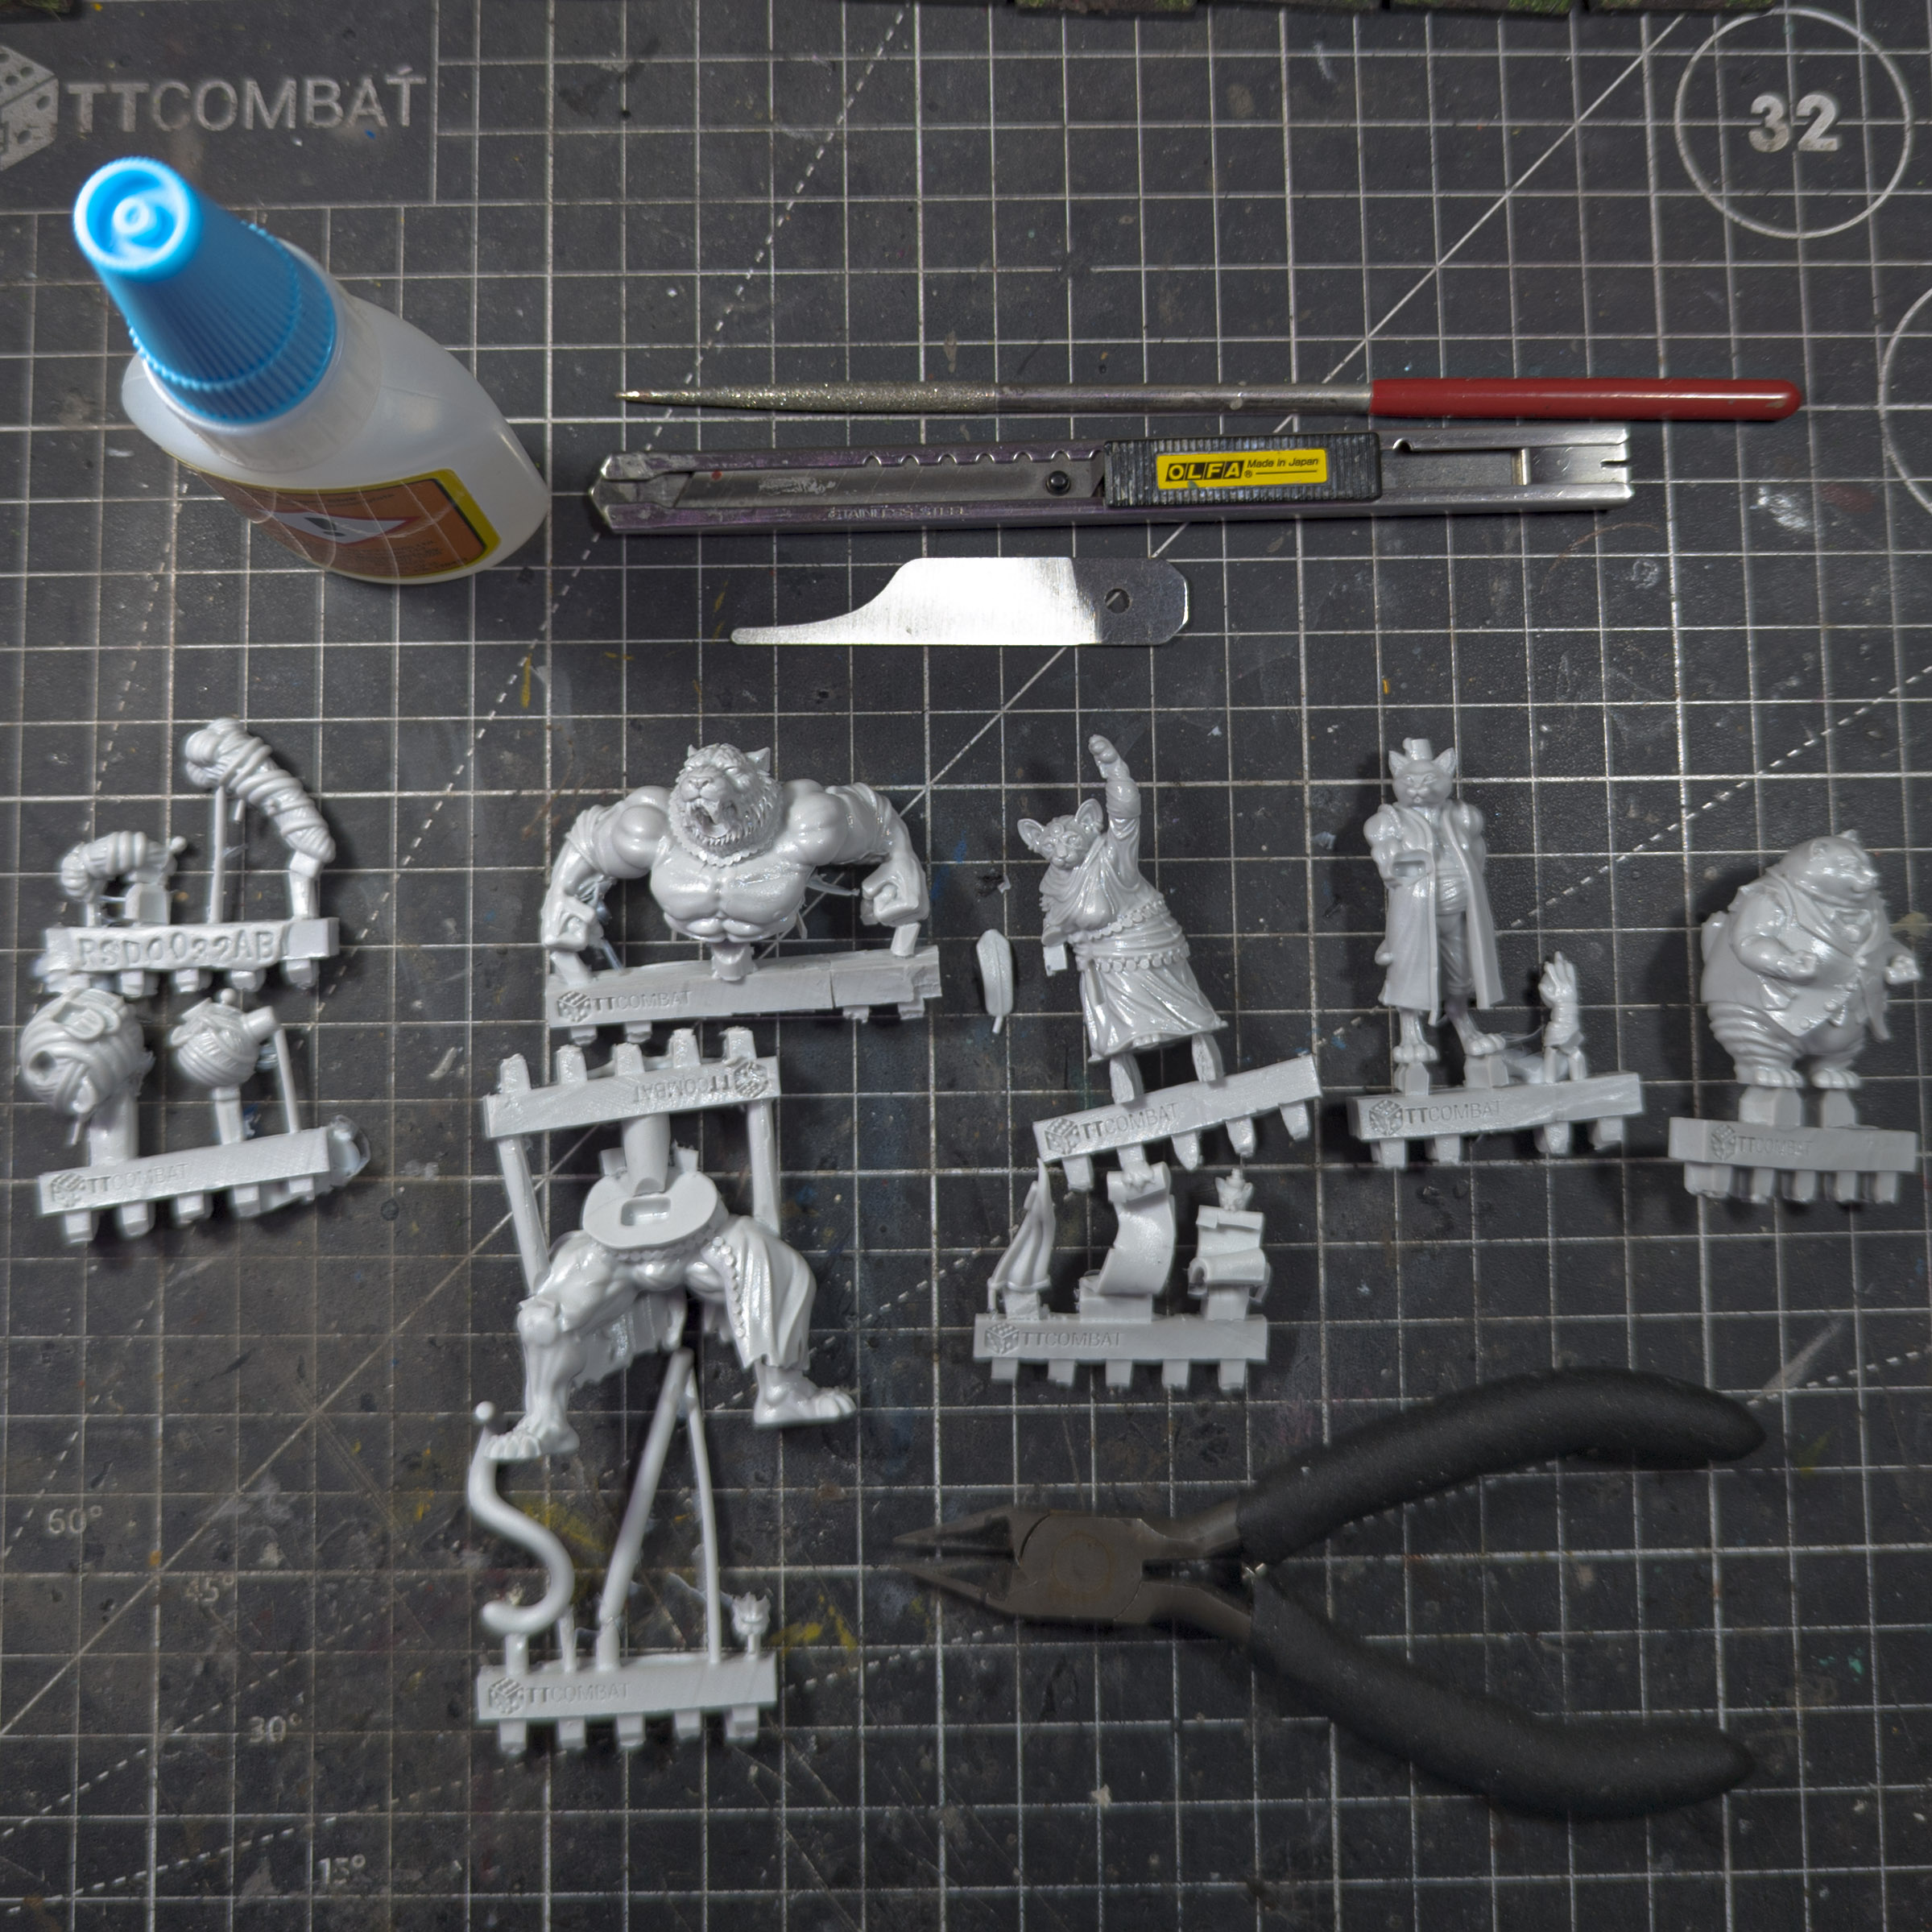
The side cutters will pull up some of the resin when cutting, so I recommend
only using them to cut the minis from the sprue, leaving some of the resin
channels attached, which we can remove with greater accuracy and care with
the hobby knife. In the following image, you’ll notice that the cut edges on the sprue and the channels attached to the minis have a rough edge as a result of
the side cutters pulling up some of the resin. Using the hobby knife, we can cut
away the channels and remove the mould lines. These are the small raised bit
of resin you’ll find which is a result of the two-part moulding process. I prefer
to use a Mould line remover for this job, as the edge on them is not a sharp,
cutting edge, so the risk of carving the resin is much lower. If you use your
hobby knife, I’d suggest using the back of the blade (not the cutting edge) and
simply run your chosen tool down the mould line a couple times to remove the
bump. Also remove any flashing (the thin film of resin you’ll see occasionally
on resin models) that may be on the minis. Repeat this for each of the
characters and keep the pieces together for each one, then test fit each of the
minis.
Most of the minis in this set have pieces that are very obvious where they will
fit, but the Yarn Elemental (pictured) is not as obvious at first glance. The
larger ball piece is the body, the smaller being the head, but the arms are
keyed in a way that they will only fit on the correct sides – The long arm on
their right, the shorter on their left.

The Raging Rostani fits together simply, with the upper and lower halves being
keyed, the tail fitting into a slot, just pick your angle, and the lower jaw fitting
being an obvious connection. I did find I had to remove a little bit of resin from
the upper jaw, around the teeth. Being careful with the hobby knife and the
file, I was able to remove and reshape the resin for one of the fangs. Clearing
this away allowed the lower jaw to fit in perfectly.
The Rostani Chronicler comes as 5 pieces, the main section, the quill, a paw
holding a scroll, and the end of the scroll with a little cat, and a blowing piece
of robe. The scroll is keyed to fit to the main section of the mini, which will also
line up to the wrist for the paw. The robe slots in nicely to the back of the mini,
and only fits one way. The end of the scroll with the little cat, I would suggest
leaving unglued for the moment, and when it comes to painting, we paint it as
a sub-assembly, which will allow us easier access to both of the pieces without
worrying about getting paint where we don’t want it. The quill in the raised hand I had glued in place, however I later found that it would have been a better idea to glue it on after washing the resin.

Rostani Trader only requires the paw with the genie’s lamp attached, and Fat Cat is a single part mini. Once the minis are all together, remember about the sub-assembly, leave the superglue to cure completely. I come back to them the following day.

Cleaning your resin
What is it they say about cats and water? Well, I’m afraid they’re going have a bath! To make resin models easier to de-mould, a mould release agent is used,
and without removing it, it makes painting them a nightmare. But removing it
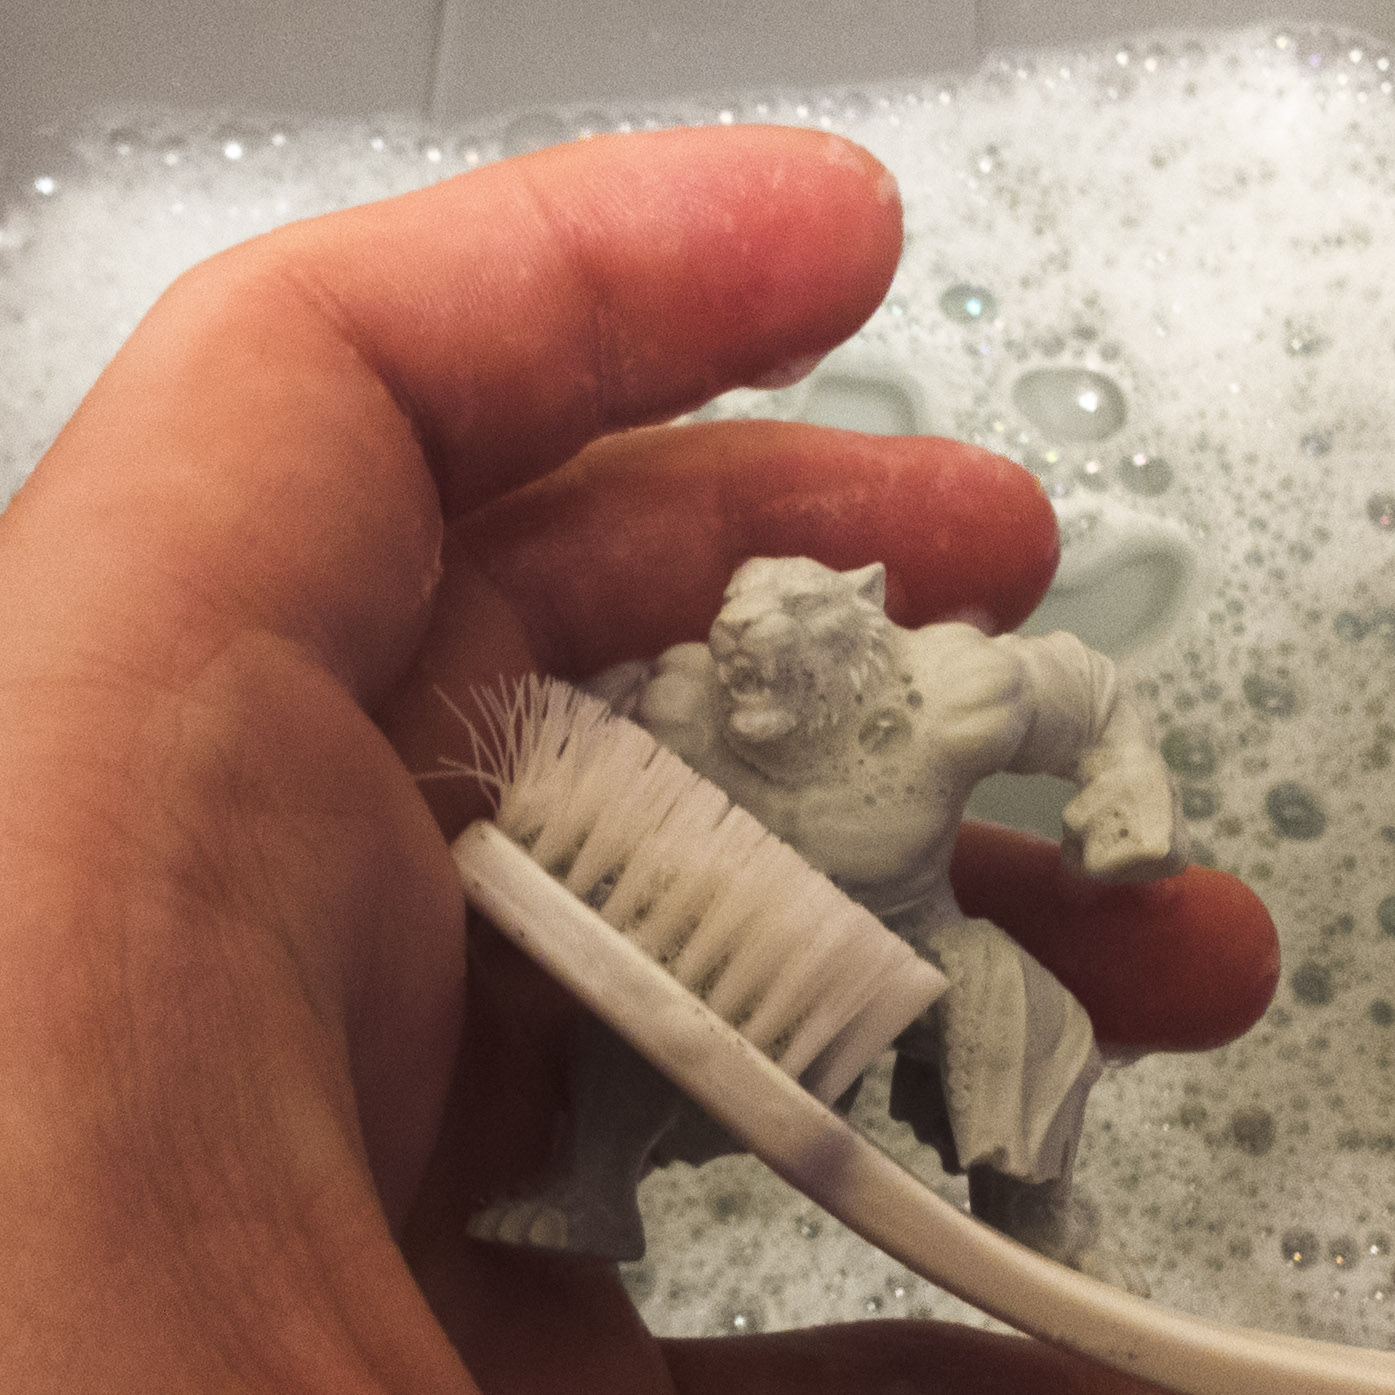
is a piece of cake! Using warm water with dish soap and a tooth brush, we can
give the models a soak and a scrub! I use a cheap toothbrush for this job, and
have some kitchen roll or a towel for drying the minis off afterwards.
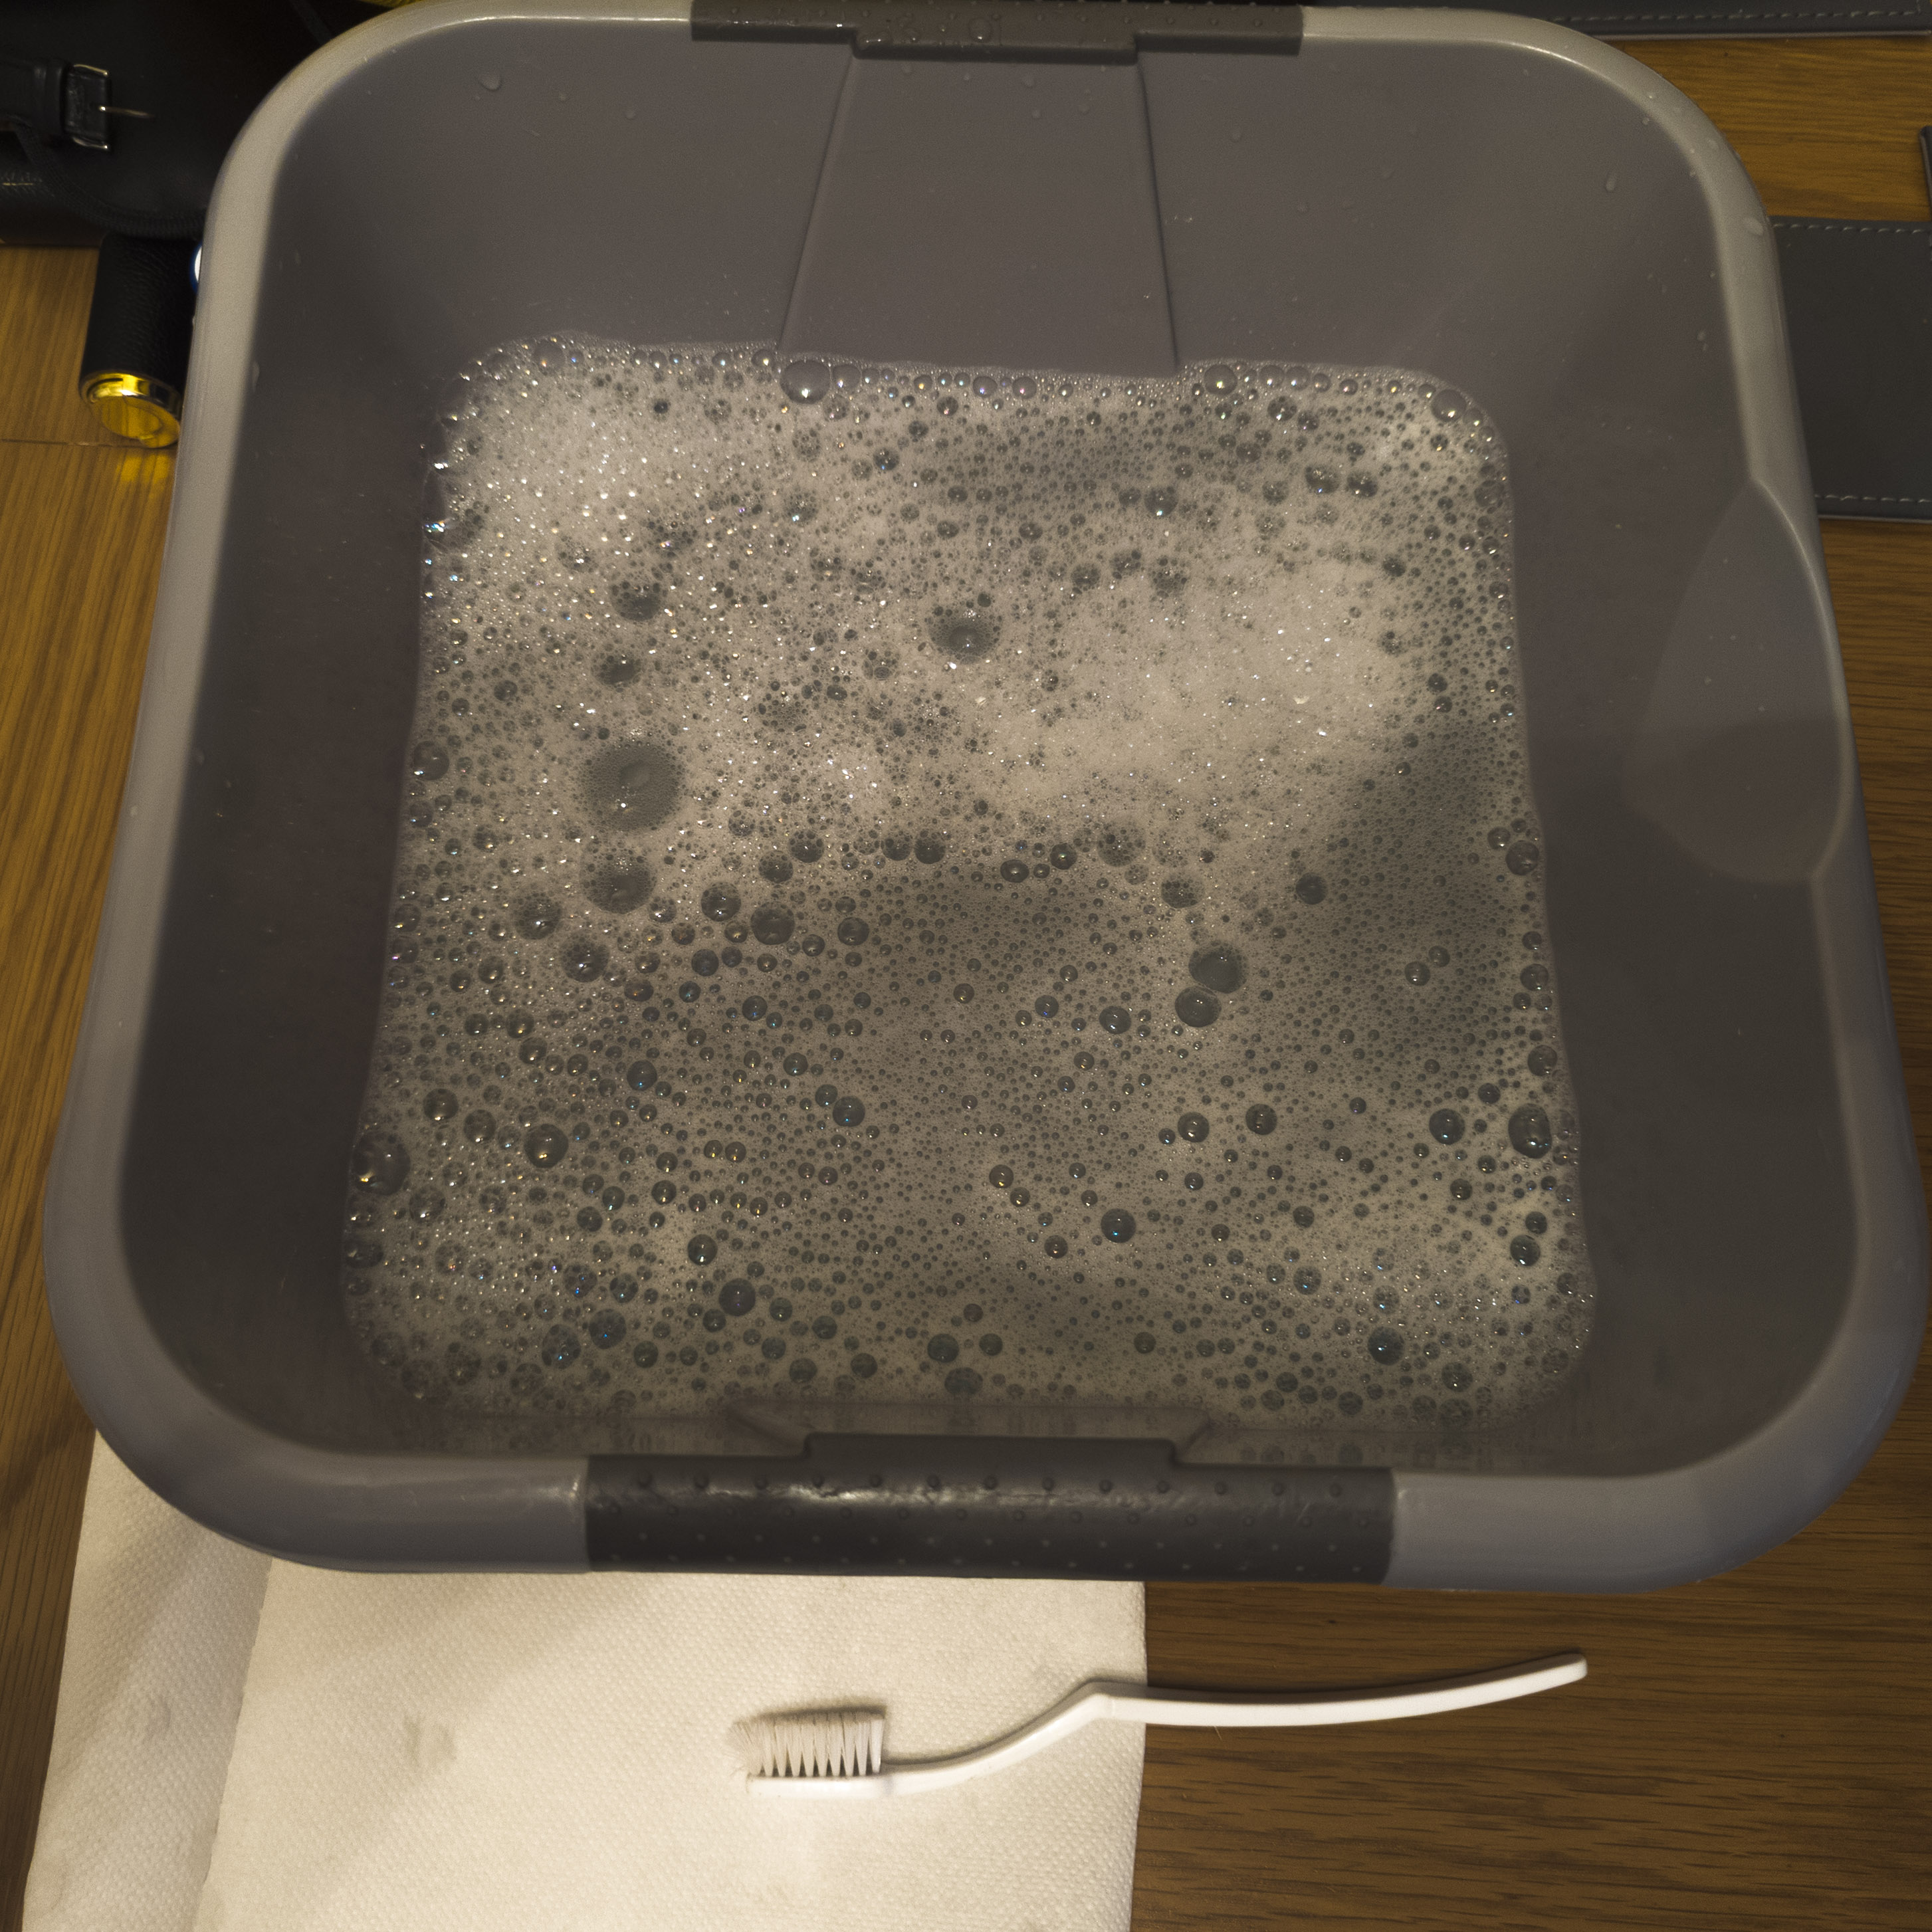
Important note – The water is warm, not hot or boiling, as that would soften
the resin and could result in bending pieces of the minis. Carefully soak the models and, with the toothbrush, gently scrub the models, getting into all of the nooks and crannies. This was where I realised that glueing the quill in place earlier was not the best idea, because even with light brushing, it came away from the model. After the brushing, rinse off the bubbles and place on the towel.
After the models are scrubbed, I like to swap out the water with just warm
water. I give the models another scrubbing in this water to remove any soap
residue left behind from the last step. Using a towel you can pat the models
dry, or leave them to air dry.
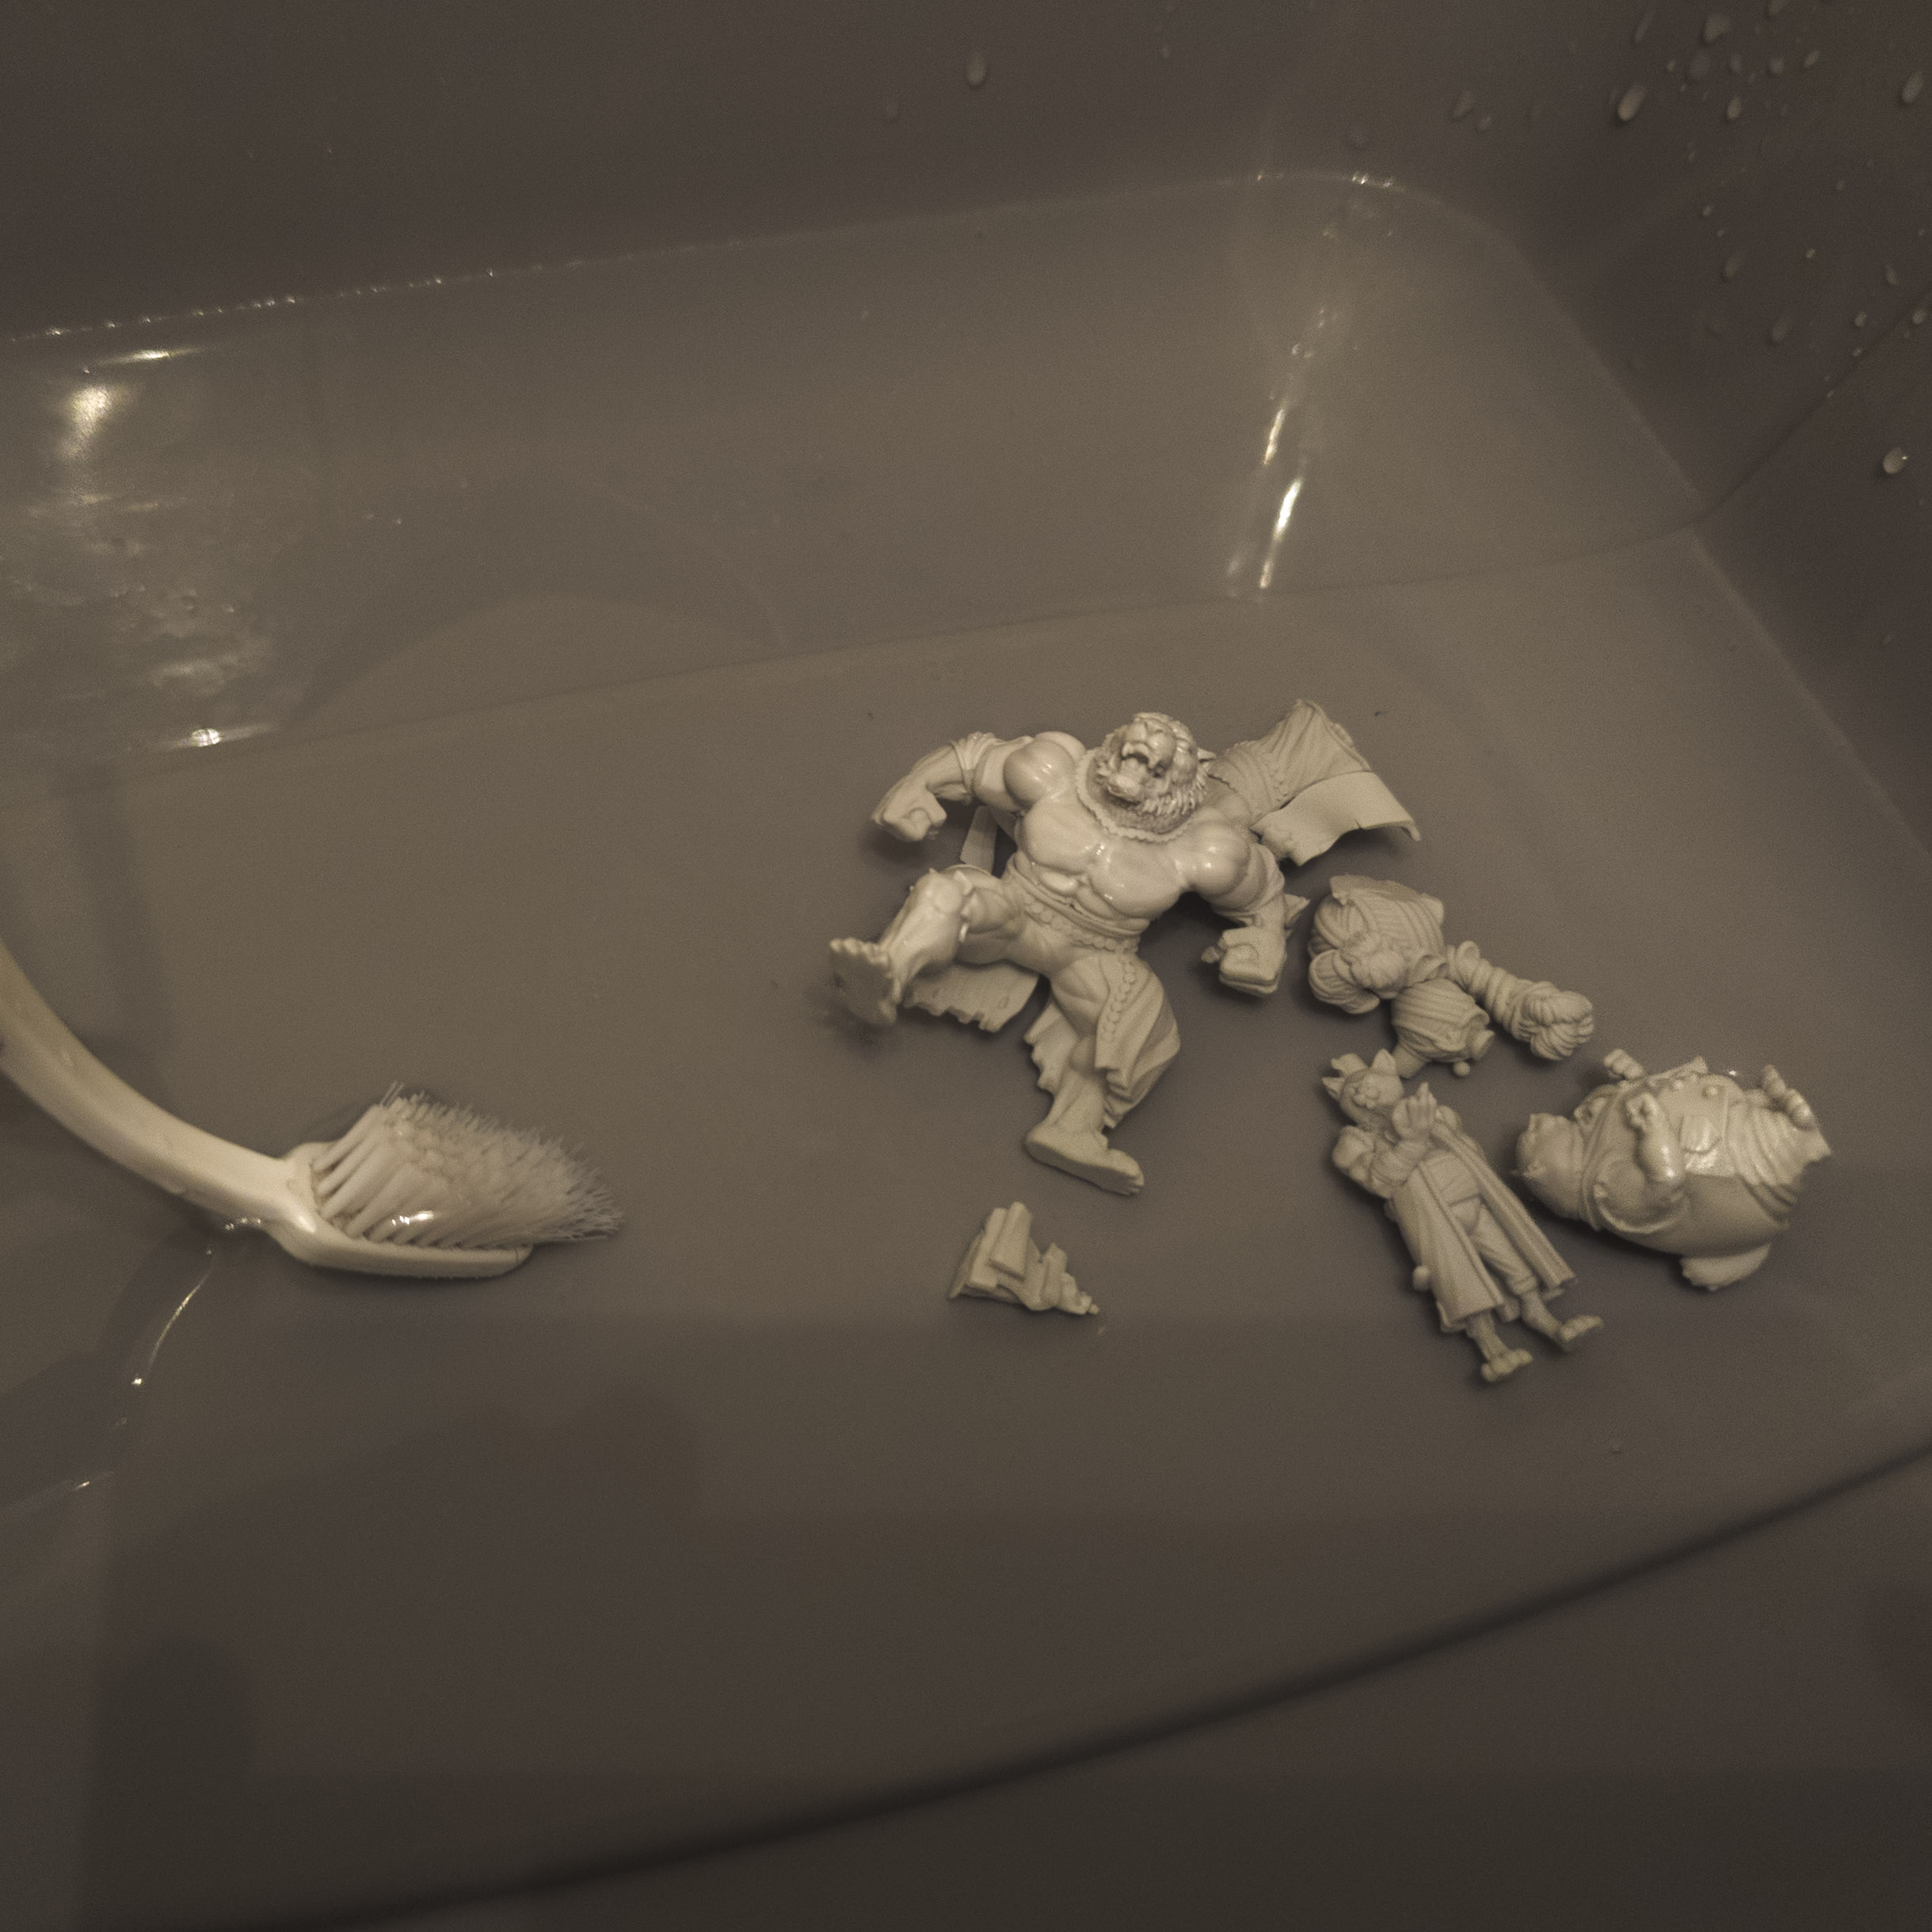
With this done, the models are now built and cleaned, ready to go to the
painting table. I’ll take you through how I paint the Purloined Puissance next
time!
-Chris McEwan, Tippy Club Gaming
If you’d like to know more about what I do, I run the Tippy Club Gaming YouTube channel. This is where I create painting tutorials, Let’s Plays and unboxing videos. I also host a Podcast on the channel, The Tippy Cast, with TTAgent Daz Burcombe, where we discuss topics ranging from taking your next steps in games like RUMBLESLAM, Solo Gaming and much more.
