A look at using the Army Builder for Dropzone Commander, launched with Battle for Earth.
Introduction to the Dropzone Commander Army Builder:
With the launch of Battle for Earth for Dropzone Commander and Dropfleet Commander we’ve moved all of the unit stats for Dropzone Commander into a living document. This means they are accessible online at all times and we can balance them regularly to keep the game competitive, balanced and fresh.
Of course that does mean you don’t have printed copies of the Unit stats. Therefore we’ve offered a few ways to get them for you to build your armies to play games. First of all, they are all present, and printable from https://www.dropzonecommander.com. Each faction has a tab and all the unit stats are there as is an option to print.
However we have also developed an army builder in house that allows you to see the stats, build an army, save, print and view that army for your games. In this post we’ll go through that app in depth. So here is your guide for the Dropzone Commander Army Builder.
First Steps:
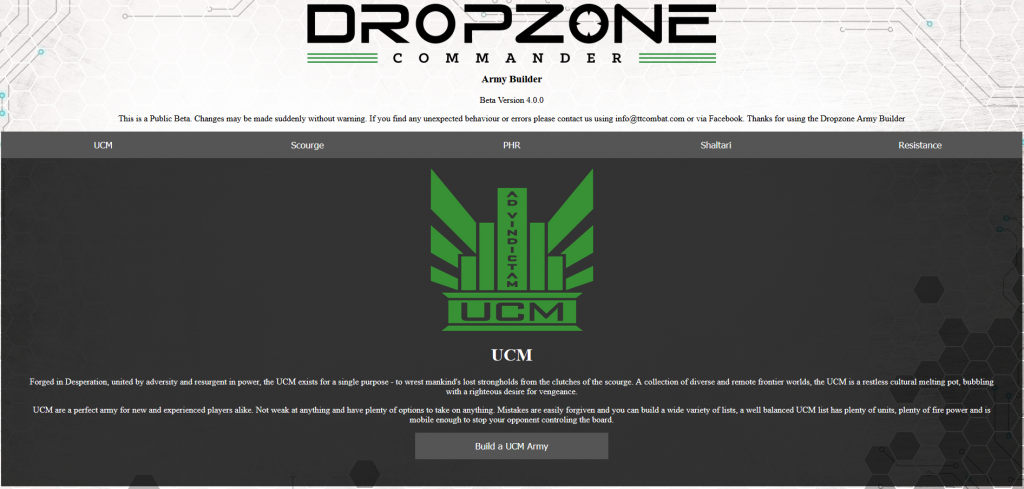
Faction Select on a Desktop Screen
The first step is choosing your faction. Simply select which faction you want to build an army for, and select ‘Build a {{faction}} Army’. That takes you to the main Army Builder screen. The components to this screen are the same for both Mobile and Desktop but arranged differently.
On Desktop
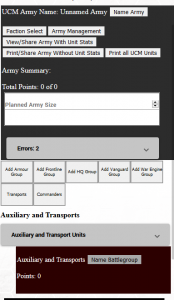
On Mobile
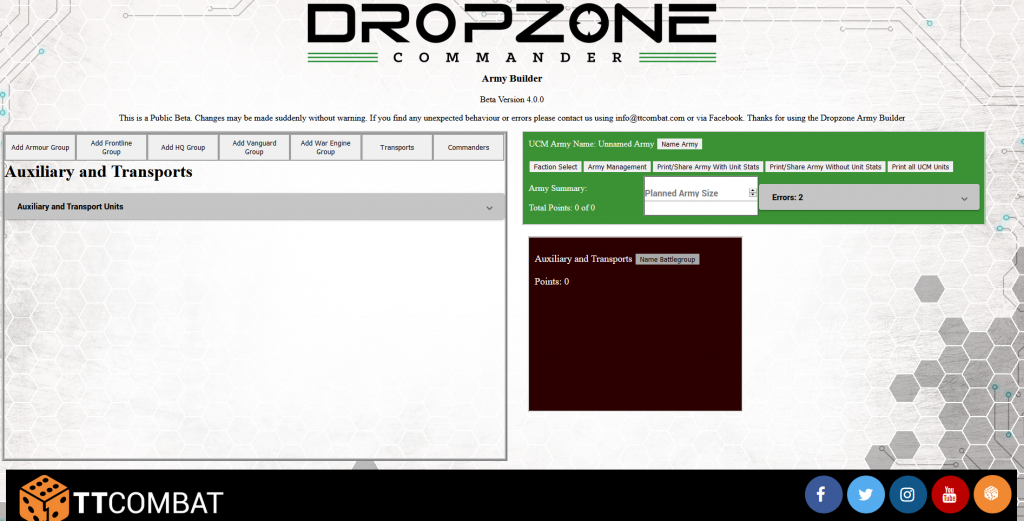
The three areas are:
Army Management:
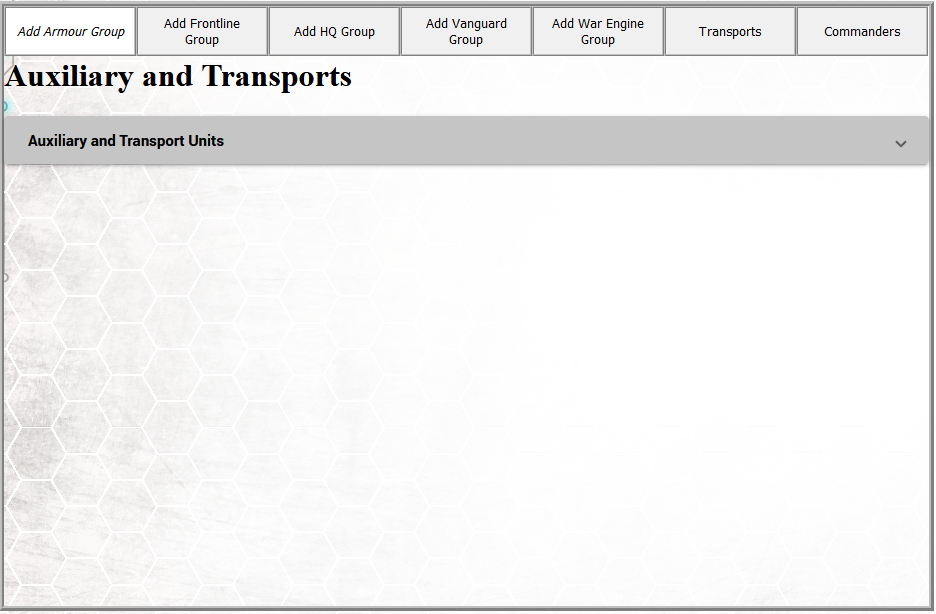
Add Battlegroups and Units Tool:
Battlegroups Select:
Setting up your Army:
First of all, let’s set a points value and name our new army. For this tutorial we are building a small 1000 point UCM army. So we set the points to 1000 in the box and press enter:
Then we click on the button marked Name Army and name our new army:
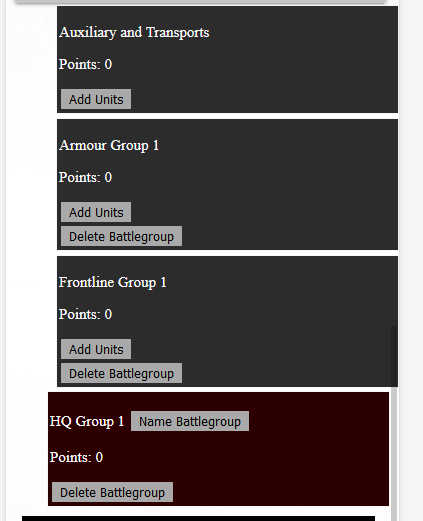
So we have a name and the points limit for you army. Let’s get some battlegroups. Looking at the error screen in army management we see we need 3 groups to have a legal army, one HQ group, one Frontline group and an armour group, so let’s add them.
Go to the Add Battlegroups and Units Tool and click Add HQ Group, a pop up should appear confirming that’s been added. Do the same again for Add a Frontline Group and Add an Armour group.
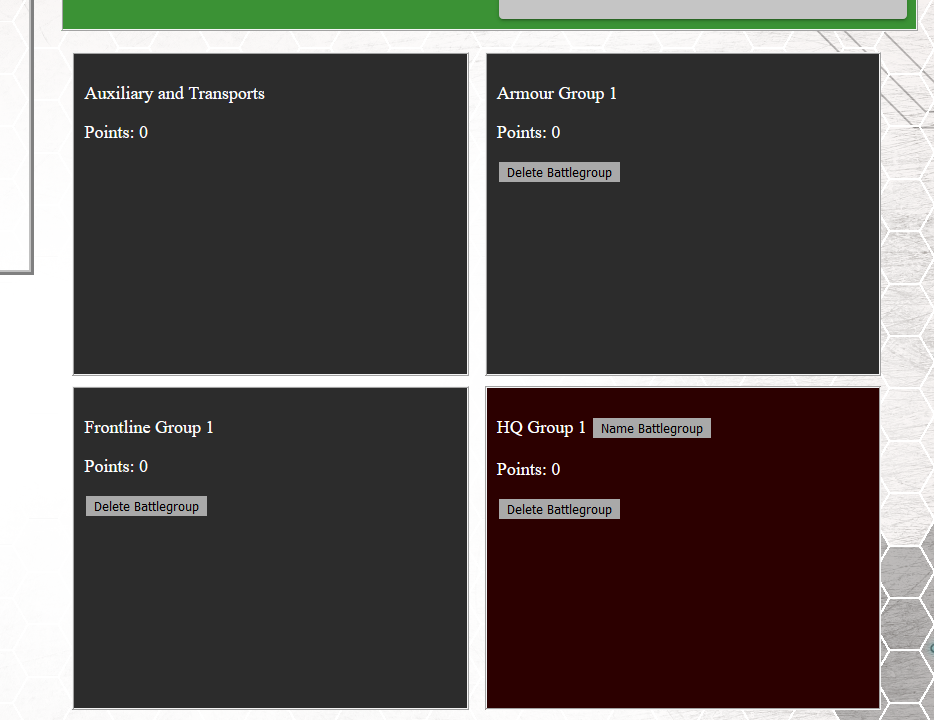
Click These three.
The Result.
On Mobile notice how the selected group is inset too.
Adding Units
We have our Battlegroups. However they are very empty so let’s fill them up with some units. Let’s work on the HQ group first:
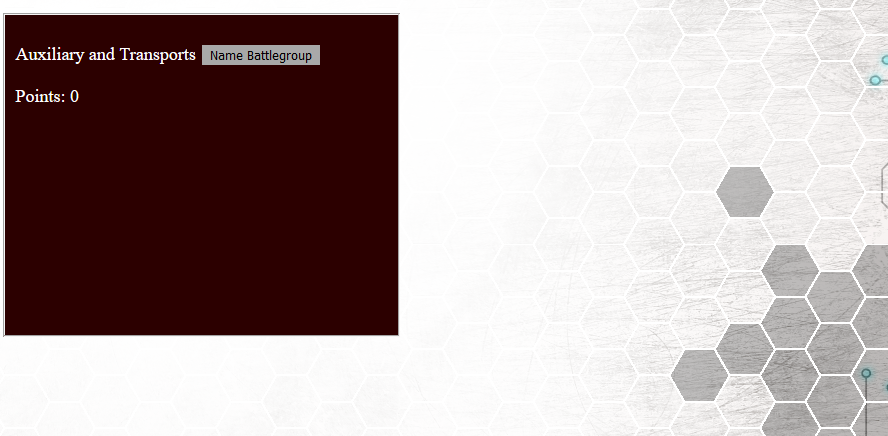
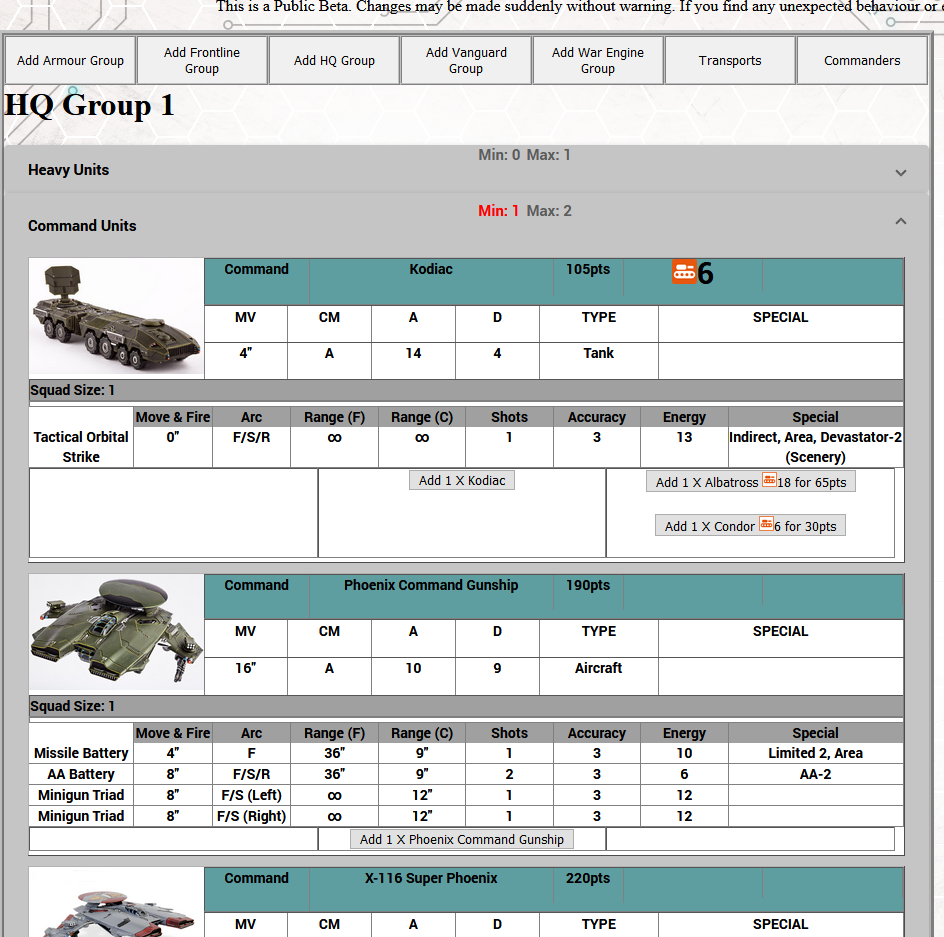
Make sure the HQ group is selected. It should appear on the screen in maroon if it is, and on mobile be inset compared to the others. Once selected go back to the Add Battlegroups and Units tool and you should see 3 dropdown menus. One is for Command Choices and it shows that the minimum requirement for one Command choice has not been met. Click on the dropdown and we see the three choices we have.
Let’s add a Kodiac and it’s transport. Click on the add 1 X Kodiak button, the confirmation message should pop up. Then add a Condor by clicking the Add a Condor button the same way.
Why not add some Scouts to this Group. If you want to keep your screen clear, close the Command Group dropdown by clicking it’s title again, and select Scouts.
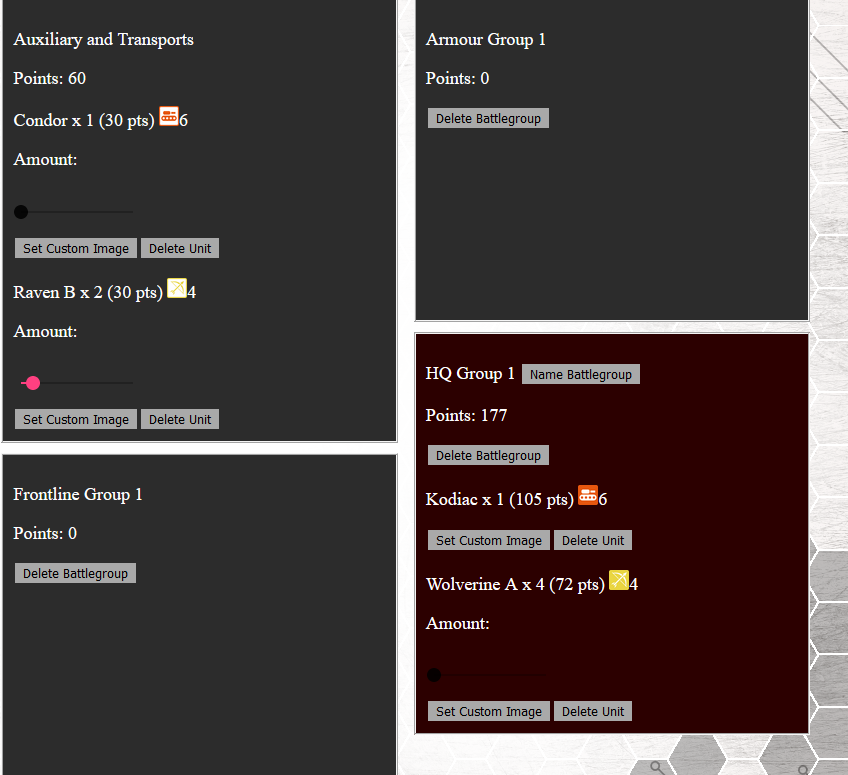
We’re going to add some Wolverine A’s for some Anti Air Goodness. Just 4 for this small army, so click the button once. We’ll use Raven B’s to transport them, however for 4 Wolverines we’ll need 2 Ravens, so click the Add Raven B button twice.
That is our HQ group done. Let’s get our Armour group set up to add some firepower to this army.
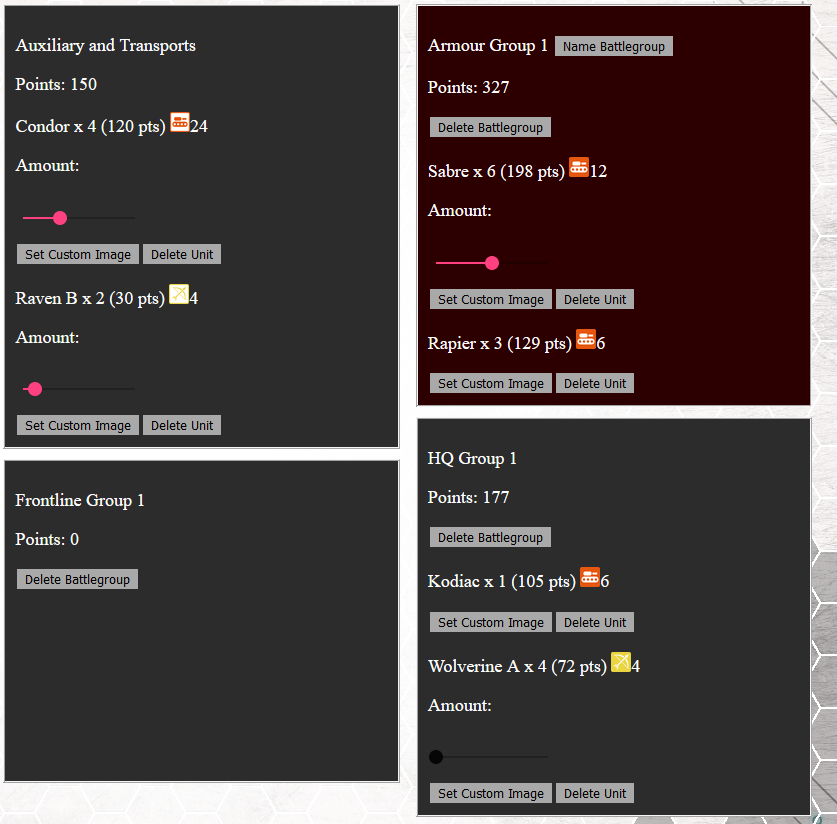
The result, a HQ group with Kodiak and Wolverines, and transports in the Auxiliary and Transports group.
Adding More Units
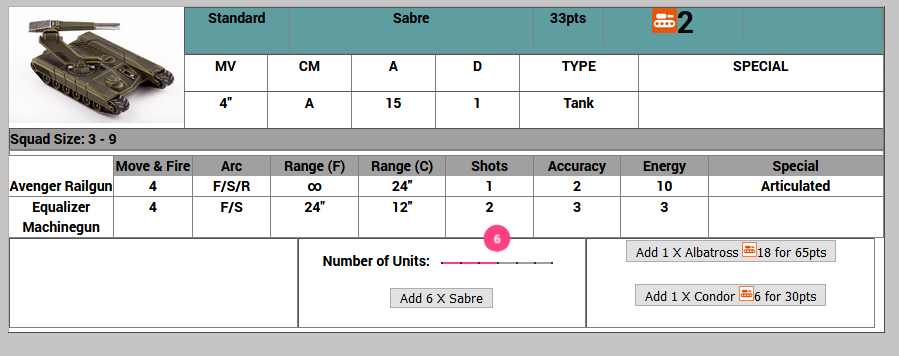
So select the Armour Battlegroup as we did the HQ group. Then go to add some Standard Units to it. We are going to add 6 Sabres to the army, we could do this as 2 squads of 3, however for this tutorial, we’ll do 1 squad of 6.
In the Sabre unit entry, at the bottom is slider, slide that until it’s at 6, you’ll see the button below change to ‘Add 6 X Sabres’ Once at 6 click the add unit button and it’ll add 6 Sabres. Now add their transports, 2 Condors for this Squad.
The Battlegroup can take a Support choice too, so let’s give it some Anti -Air via a squad of Rapiers. Close the Standard dropdown and open the Support units dropdown. Find the Rapiers and add 3 of them and a Condor.
The result, notice how the Condors added to the previous Condor so there are now 4.
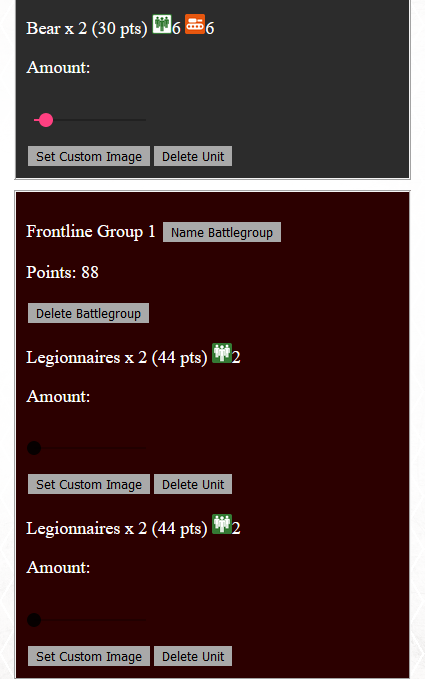
Now we need to populate our Frontline group. We all know in Dropzone Commander that infantry are very important since they collect the objectives. I won’t go through this once step by step, select the group and add two sets of 2 Legionnaires. Give them a Bear transport each.
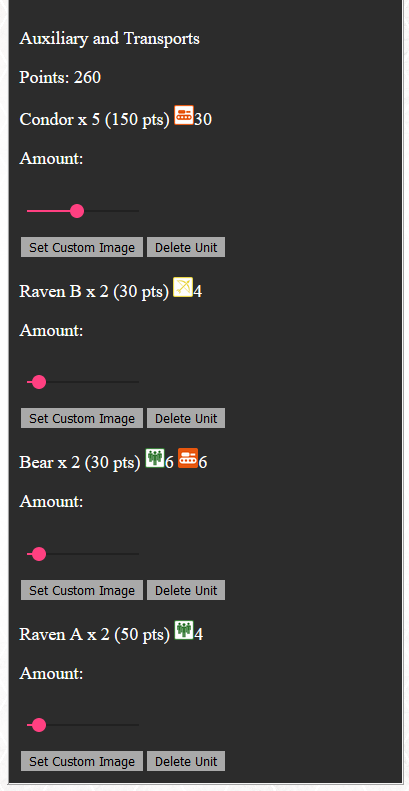
Frontline Group 1 now populated, and 2 bears added to Auxiliary and Transports
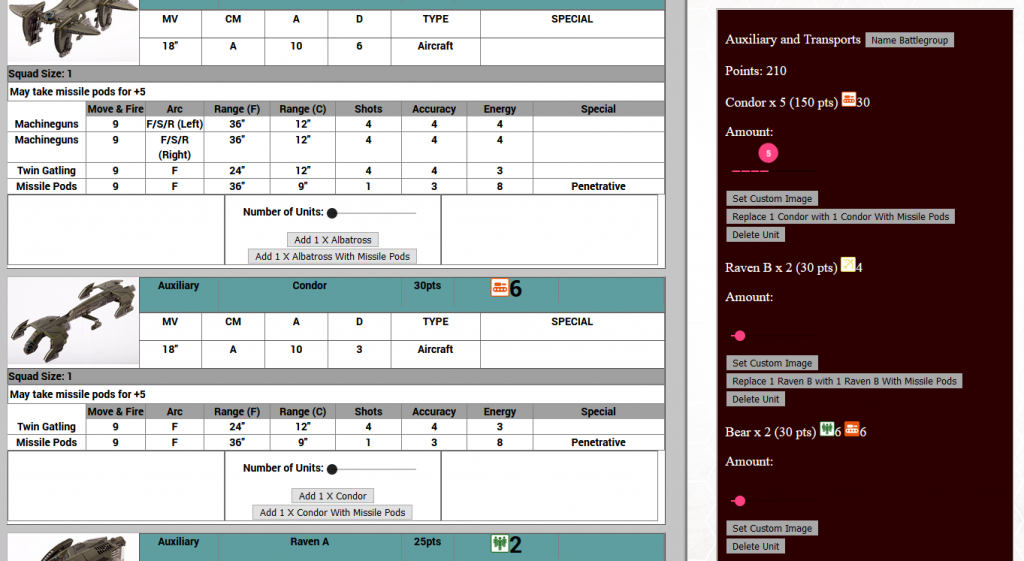
Now we need someway of getting those Bears filled with infantry into combat. So we need a Condor for our two bears. If we select the Auxiliary and Transport group there are two ways we can do this. First we can move the slider in the group display up by one. Or we can add it like any other unit. Whichever way feels more natural for you. Add a Condor.
Move the slider in the Battlegroup or press Add 1 X Condor.
Improving our Army:
We have a legal army, well done. However a look at army management shows we still have 198 points left to use, I don’t know how you guys play but I try to fill out my points….
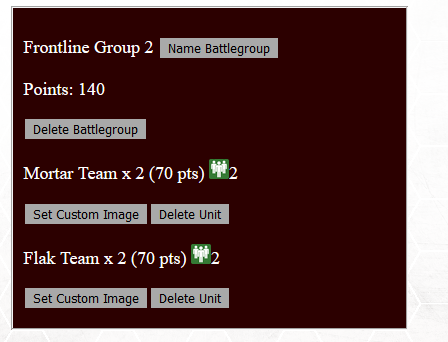
We’ve already touched on the importance of infantry in Dropzone Commander so let’s add some more. Following all the same steps as above for doing so, add a Frontline Battlegroup and within it, add a Flak Team and a Mortar Team. However instead of Bears we’ll use Raven A’s to transport them into combat.
Frontline Group 2
Raven A’s added to Auxiliary and Transports.
We have 8 points left, enough to upgrade one of the our transports to have a Missile pod. Whichever one is up to you, I’m choosing a Condor, the one that’ll be used to carry the Bears in my army at least.
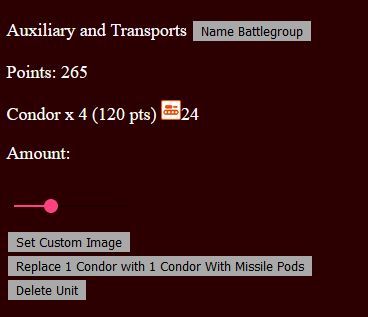
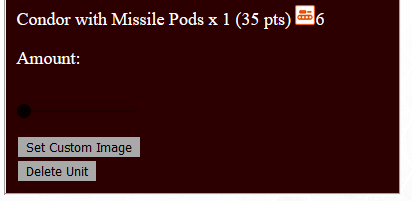
Select the Auxiliary and Transport group, and where it lists the Condor, press the Replace 1 Condo with 1 Condor With Missile Pods button. This will remove 1 Condor and add 1 Condor upgraded with Missile Pods.
Now just 4 Condors
Now we have 1 Condor with Missile Pods
Add a Commander:
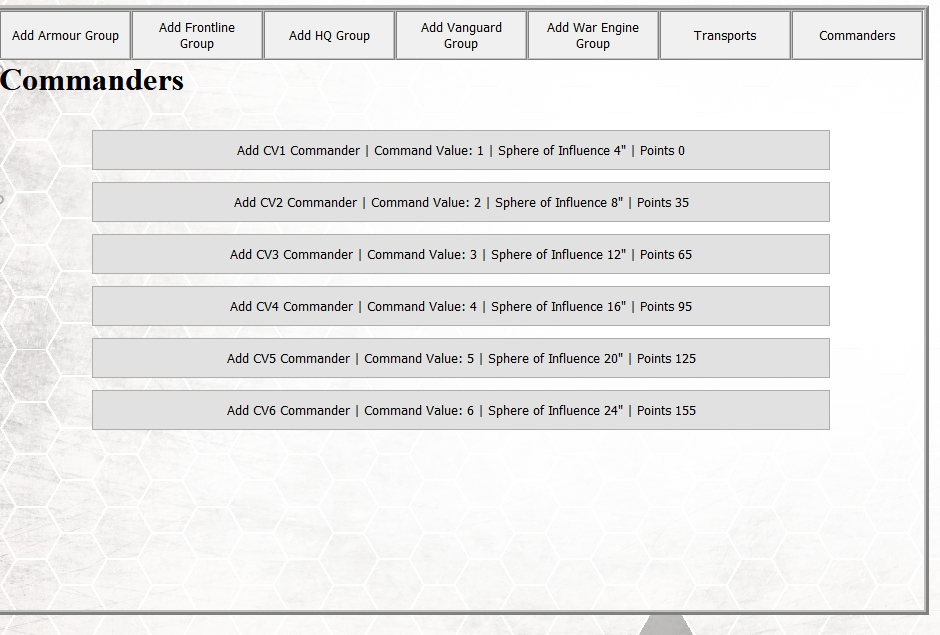
Well that’s our points all but full, however we don’t have a Commander for the Kodiak. Let’s add one, we don’t have any points left, but we have got free Commanders now.
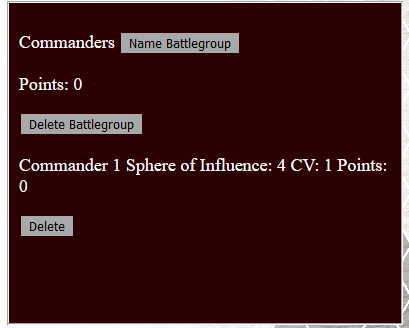
On the Add Battlegroup and Add Units tool click Commanders and a list of Commanders will appear, click Add CV1 Commander. And you’ll see a Commander in a Commander Group.
Congratulations, we have built a fully legal 1000 point army with the Dropzone Commander Army Builder. There are still some things to go over though that the App can do.
Saving:
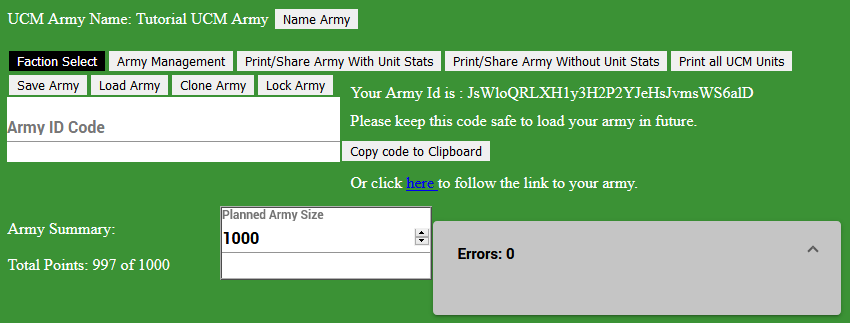
We have our army. Now we need to save it to use it again in the future. Go to Army Management, click on the Army Management button and click Save Army. This saves the army to the database and gives you the access code for it, it also generates a hyperlink for you to use to share.
We do recommend that if you are using the link to share your army, or sharing the code to use the Lock army button. This means no one can maliciously edit your army, they can clone it, as you can for yourself too, but only changes made will be via automatic unit updates. It cannot be unlocked once this is done!
Printing:
You can print your army for use in games and tournaments too. From Army Management click Print Army, there are two buttons for this, one with Unit Stats, one without. Select the appropriate one for your needs. Once you click that a screen appears which is a sort of preview of your army, here you can choose to hide the army ID or show the Unit pictures.
From here press the print button to print on your printer, or to a PDF if required. On a mobile device the print button is renamed view since it shows a printout style view of your army. Use whatever printing solution is on your device if required from here. On Android there is a known bug with printing to PDF on Chrome, it does work on Firefox if you have it.
Custom Photos:
Finally, one last feature I want to bring to your attention. On the Battlegroups list you will see that for every unit you have selected you can add a custom photo. All you do is click that button and then enter the link to the photo you want to use in the box. We don’t host photos ourselves, so you’ll have to host them elsewhere and link to them. This can help a lot if you have particular paint schemes for battle groups and want your print out or army view to reflect that.
Final Note:
Thanks for reading and I hope this helps you to use the Dropzone Commander Army Builder to it’s full potential for your needs. If you have any feedback on the app, please don’t hesitate to contact us from here or via info@ttcombat.com. Thank you very much again and here’s to some excellent games of Dropzone Commander.
